大模型推理优化:从量化到 KV Cache 的性能调优实战
大模型推理优化:从量化到 KV Cache 的性能调优实战
一、推理延迟与成本的双重压力:大模型落地的工程瓶颈
大语言模型在生产环境中的部署面临两个核心挑战:推理延迟和计算成本。以 Llama-3-70B 为例,单次推理需要 140GB 显存(FP16),A100 80GB 需要两张卡做张量并行,首 Token 延迟(TTFT)在 2-4 秒,生成吞吐约 15 Token/s。对于在线服务场景,这意味着用户体验差(等待时间长)和成本高(GPU 利用率低)。
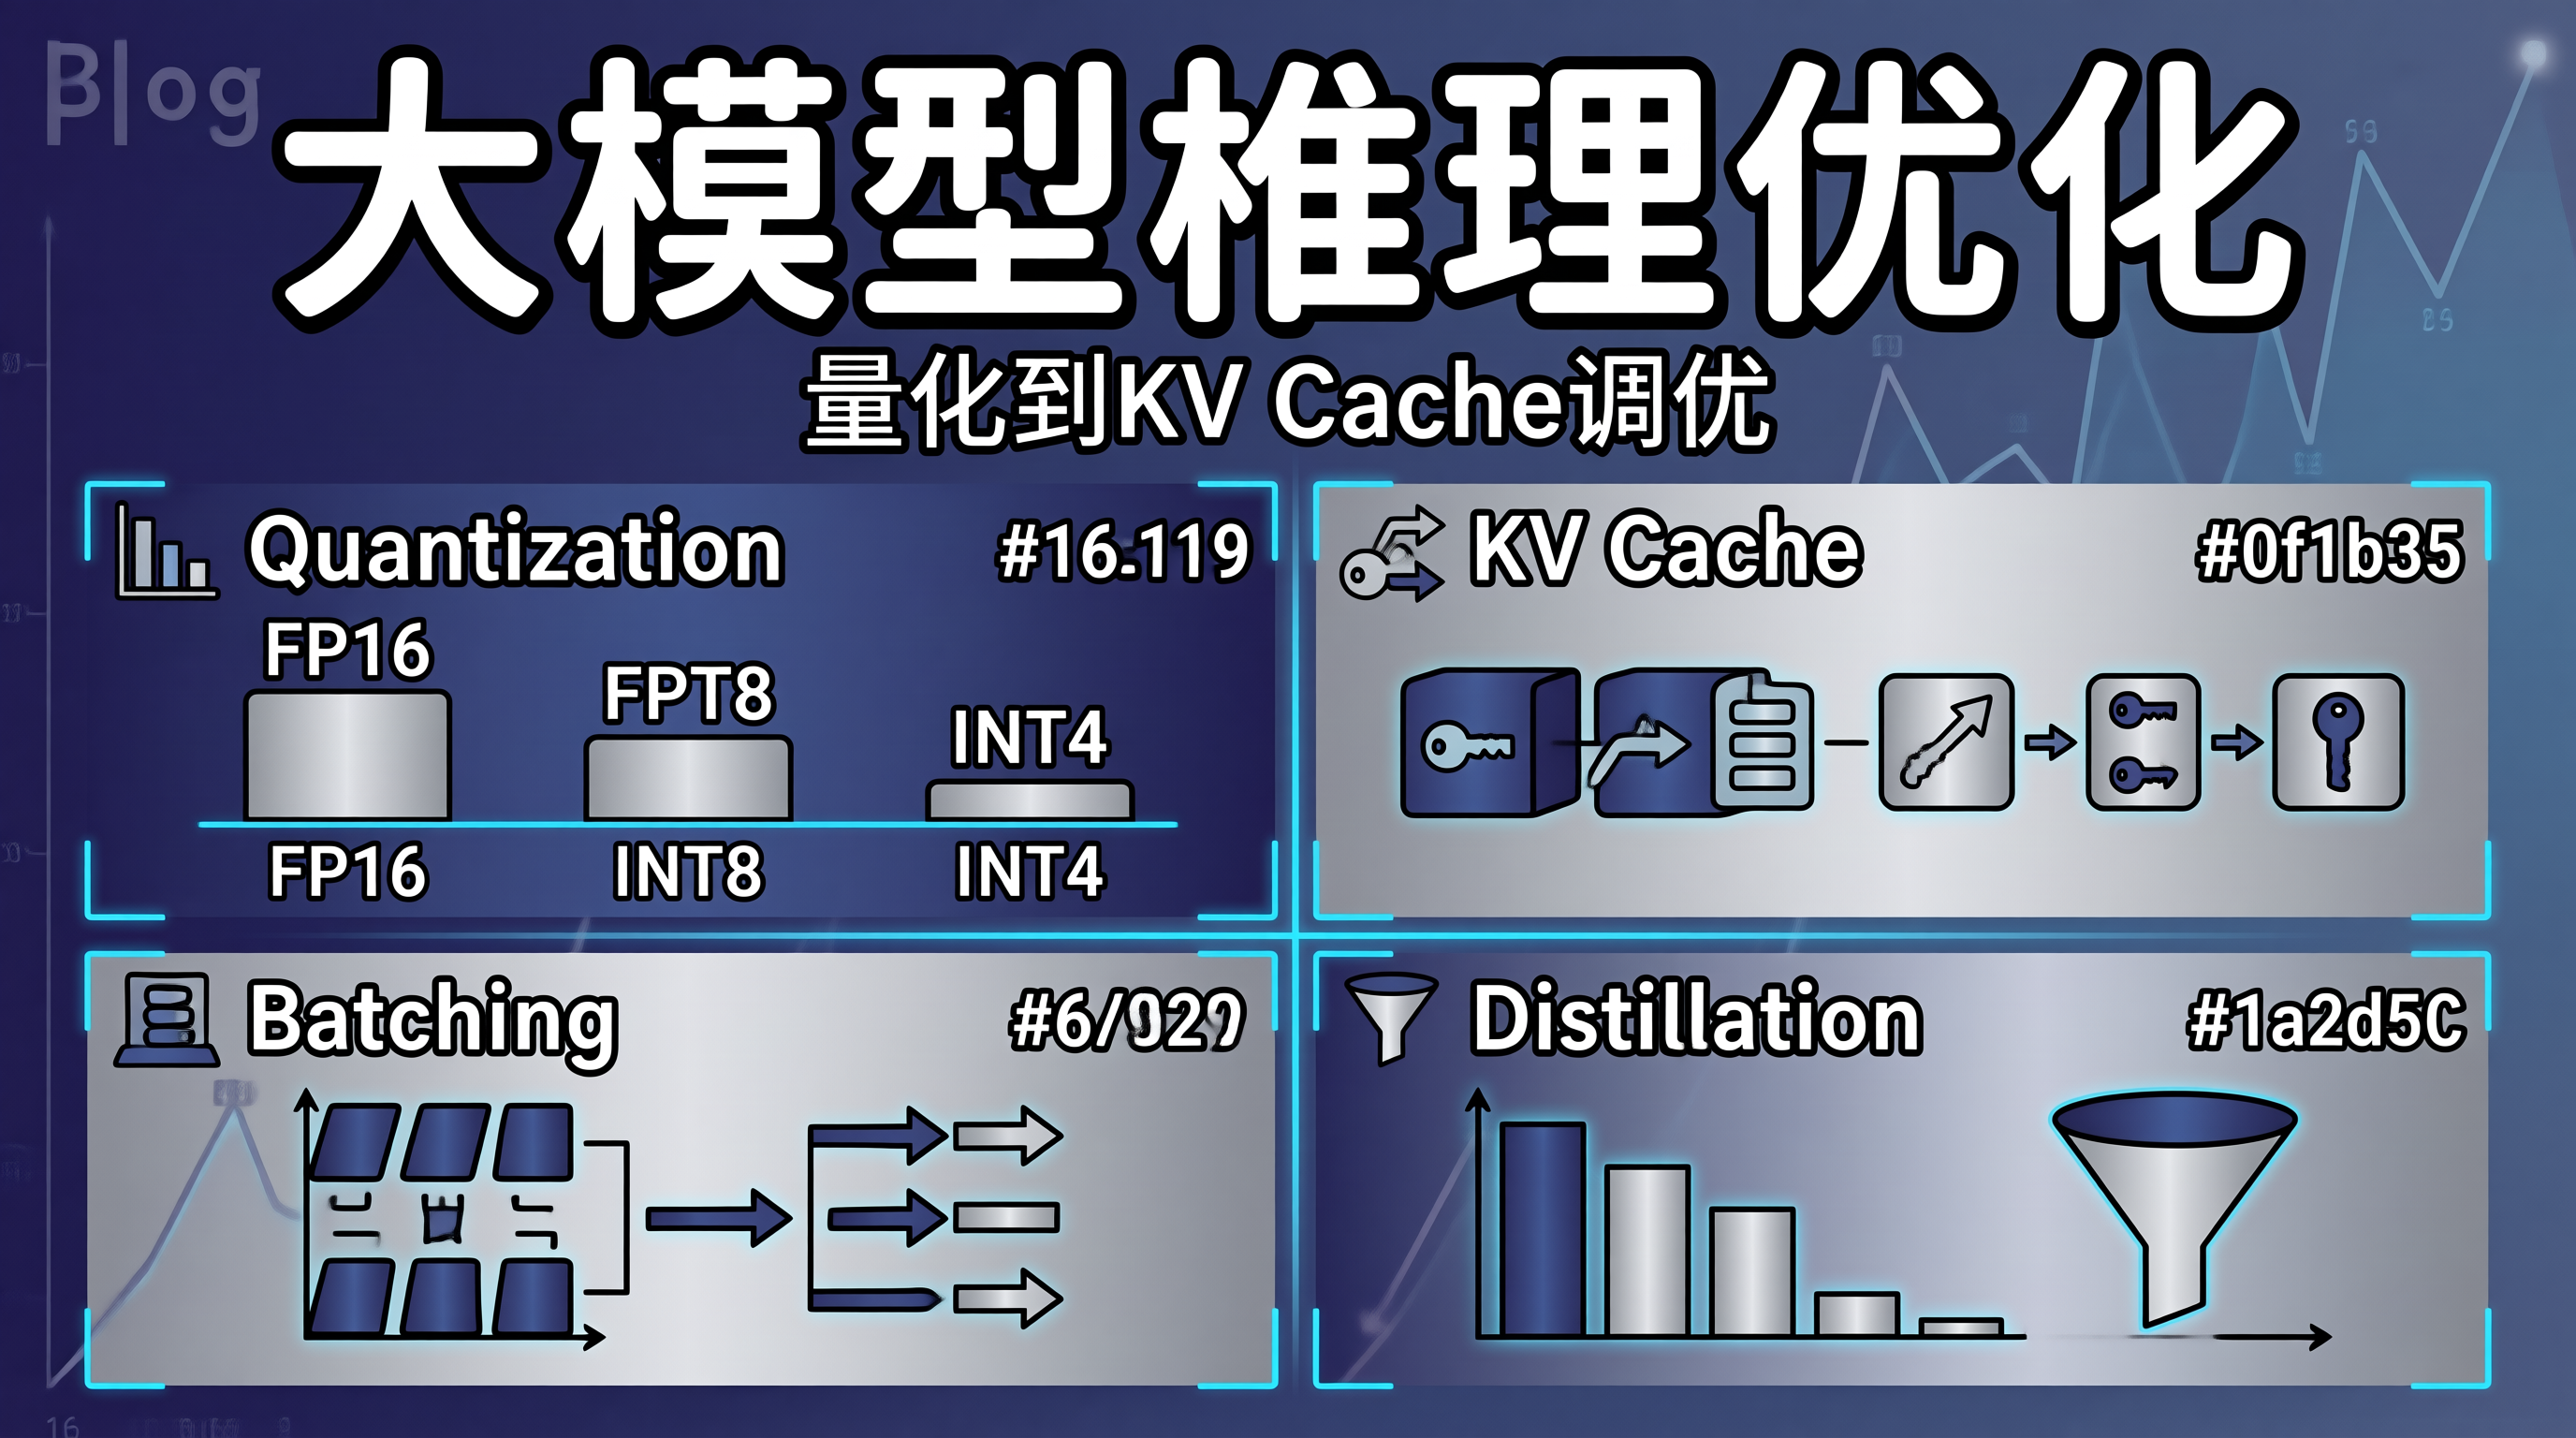
推理优化的目标是降低延迟、提升吞吐、减少显存占用,三者之间存在复杂的权衡关系。量化(Quantization)通过降低数值精度减少显存和计算量,但可能损失模型精度;KV Cache 优化减少重复计算,但增加显存占用;批处理(Continuous Batching)提升 GPU 利用率,但增加单请求延迟。本文从推理引擎的底层机制出发,系统梳理生产级推理优化的工程实践。
二、推理引擎的核心机制与优化原理
2.1 自回归生成的计算瓶颈
大模型的生成过程是自回归的:每次前向推理只产生一个 Token,该 Token 作为下一次推理的输入。这意味着生成 N 个 Token 需要 N 次前向推理。每次推理中,前面所有 Token 的 Key 和 Value 向量需要重复计算——这是巨大的计算浪费。KV Cache 通过缓存已计算的 Key/Value 向量,将每次推理的计算量从 O(N²) 降低到 O(N)。
flowchart TB
    A[输入 Prompt<br/>Token 1..N] --> B[Prefill 阶段<br/>并行计算所有 Token]
    B --> C[生成 Token N+1]
    C --> D[更新 KV Cache]
    D --> E[生成 Token N+2<br/>仅计算新 Token]
    E --> F[更新 KV Cache]
    F --> G[... 持续生成]

    subgraph Prefill 阶段
        A
        B
    end

    subgraph Decode 阶段
        C
        D
        E
        F
        G
    end

    H[KV Cache<br/>存储历史 Token 的 K/V 向量] -.-> D
    H -.-> F
2.2 量化的精度-效率权衡
量化将模型权重从 FP16(16 位浮点)降低到 INT8 或 INT4 表示。量化带来的收益是双重的:显存减半(INT8)或减至 1/4(INT4),计算速度提升(整数运算快于浮点运算)。但量化引入的舍入误差会累积,导致模型精度下降。量化方案分为训练后量化(PTQ)和量化感知训练(QAT):PTQ 直接对已训练模型做量化,实现简单但精度损失较大;QAT 在训练过程中模拟量化误差,精度保持更好但需要重新训练。
2.3 Continuous Batching 的调度原理
传统静态批处理(Static Batching)等待批次中所有请求完成后才返回结果,短请求被长请求拖慢。Continuous Batching(也称为 In-Flight Batching)在每次迭代时动态调整批次:已完成的请求立即移出批次,新请求加入批次。这种"流水线式"的调度方式显著提升了 GPU 利用率,吞吐量可提升 2-3 倍。
三、推理优化的工程实现
3.1 模型量化与精度验证
from dataclasses import dataclass
from typing import Optional
import subprocess
import json


@dataclass
class QuantizationConfig:
    """量化配置:控制精度与性能的平衡"""
    model_id: str
    quant_method: str          # "gptq" | "awq" | "bitsandbytes"
    bits: int = 4              # 量化位数:4 或 8
    group_size: int = 128      # 量化分组大小
    desc_act: bool = True      # 是否按激活值排序量化(GPTQ 专用)
    calibration_dataset: str = "wikitext2"


class ModelQuantizer:
    """模型量化工具:支持 GPTQ 和 AWQ 两种方案"""

    def quantize_gptq(self, config: QuantizationConfig) -> str:
        """使用 AutoGPTQ 执行训练后量化"""
        from auto_gptq import AutoGPTQForCausalLM, BaseQuantizeConfig
        from transformers import AutoTokenizer
        from datasets import load_dataset

        tokenizer = AutoTokenizer.from_pretrained(config.model_id)

        # 加载校准数据集
        dataset = load_dataset(config.calibration_dataset, split="train[:128]")
        calibration_data = []
        for example in dataset:
            tokens = tokenizer(example["text"], return_tensors="pt",
                              max_length=2048, truncation=True)
            calibration_data.append(tokens.input_ids)

        # 配置量化参数
        quantize_config = BaseQuantizeConfig(
            bits=config.bits,
            group_size=config.group_size,
            desc_act=config.desc_act,
        )

        # 加载 FP16 模型并执行量化
        model = AutoGPTQForCausalLM.from_pretrained(
            config.model_id,
            quantize_config=quantize_config,
        )
        model.quantize(calibration_data)

        # 保存量化模型
        output_dir = f"{config.model_id}-gptq-{config.bits}bit"
        model.save_quantized(output_dir)
        tokenizer.save_pretrained(output_dir)

        return output_dir

    def validate_accuracy(
        self,
        original_model_id: str,
        quantized_model_path: str,
        eval_dataset: str = "hellaswag",
    ) -> dict:
        """验证量化模型的精度损失"""
        # 使用 lm-eval-harness 对比原始模型和量化模型的评测分数
        results = {}
        for model_path, label in [
            (original_model_id, "fp16"),
            (quantized_model_path, "quantized"),
        ]:
            cmd = [
                "lm_eval",
                "--model", "hf",
                "--model_args", f"pretrained={model_path}",
                "--tasks", eval_dataset,
                "--batch_size", "8",
            ]
            output = subprocess.run(
                cmd, capture_output=True, text=True, timeout=3600,
            )
            # 解析评测结果
            if output.returncode == 0:
                for line in output.stdout.split("\n"):
                    if "acc" in line.lower():
                        results[label] = line.strip()

        return {
            "original": results.get("fp16", "评测失败"),
            "quantized": results.get("quantized", "评测失败"),
            "model_path": quantized_model_path,
        }
3.2 KV Cache 管理与显存优化
from dataclasses import dataclass


@dataclass
class KVCacheConfig:
    """KV Cache 配置:平衡显存占用与推理速度"""
    max_seq_length: int = 4096        # 最大序列长度
    cache_block_size: int = 16        # PagedAttention 块大小
    gpu_memory_utilization: float = 0.9  # GPU 显存利用率上限
    swap_space_bytes: int = 4 * 1024 ** 3  # CPU 交换空间大小


class KVCacheManager:
    """KV Cache 管理器:基于 PagedAttention 的显存优化"""

    def __init__(self, config: KVCacheConfig):
        self.config = config
        self.total_blocks = 0
        self.available_blocks = 0
        self.allocated_blocks: dict[str, int] = {}  # request_id → block_count

    def estimate_cache_size(
        self,
        num_layers: int,
        num_heads: int,
        head_dim: int,
        dtype_size: int = 2,  # FP16 = 2 bytes
    ) -> int:
        """估算 KV Cache 的总显存需求"""
        # 每个 Token 的 KV Cache 大小 = 2 (K+V) × num_layers × num_heads × head_dim × dtype_size
        bytes_per_token = 2 * num_layers * num_heads * head_dim * dtype_size
        total_bytes = bytes_per_token * self.config.max_seq_length
        return total_bytes

    def allocate_blocks(
        self,
        request_id: str,
        num_tokens: int,
    ) -> bool:
        """为请求分配 KV Cache 块(PagedAttention 按需分配)"""
        blocks_needed = (num_tokens + self.config.cache_block_size - 1) \
                        // self.config.cache_block_size

        if blocks_needed > self.available_blocks:
            # 显存不足,触发抢占或交换
            return False

        self.available_blocks -= blocks_needed
        self.allocated_blocks[request_id] = blocks_needed
        return True

    def release_blocks(self, request_id: str) -> int:
        """请求完成后释放 KV Cache 块"""
        blocks = self.allocated_blocks.pop(request_id, 0)
        self.available_blocks += blocks
        return blocks

    def get_memory_stats(self) -> dict:
        """返回当前显存使用统计"""
        used = sum(self.allocated_blocks.values())
        return {
            "total_blocks": self.total_blocks,
            "used_blocks": used,
            "available_blocks": self.available_blocks,
            "utilization": used / self.total_blocks if self.total_blocks > 0 else 0,
        }
3.3 vLLM 推理服务部署
# Kubernetes 部署 vLLM 推理服务
apiVersion: apps/v1
kind: Deployment
metadata:
  name: vllm-inference
  namespace: llm-serving
spec:
  replicas: 2
  selector:
    matchLabels:
      app: vllm-inference
  template:
    metadata:
      labels:
        app: vllm-inference
    spec:
      containers:
        - name: vllm
          image: vllm/vllm-openai:v0.6.0
          args:
            - --model
            - /models/llama-3-70b-gptq-4bit
            - --quantization
            - gptq
            - --tensor-parallel-size
            - "2"
            - --max-model-len
            - "4096"
            - --gpu-memory-utilization
            - "0.9"
            - --enable-prefix-caching    # 启用前缀缓存,复用公共 Prompt 的 KV Cache
            - --max-num-seqs
            - "64"                       # 最大并发序列数
            - --swap-space
            - "4"                        # CPU 交换空间(GB)
          ports:
            - containerPort: 8000
          resources:
            limits:
              nvidia.com/gpu: 2
            requests:
              nvidia.com/gpu: 2
          volumeMounts:
            - name: model-storage
              mountPath: /models
          livenessProbe:
            httpGet:
              path: /health
              port: 8000
            initialDelaySeconds: 120
            periodSeconds: 30
      volumes:
        - name: model-storage
          persistentVolumeClaim:
            claimName: model-pvc
---
# HPA:基于 GPU 利用率自动扩缩容
apiVersion: autoscaling/v2
kind: HorizontalPodAutoscaler
metadata:
  name: vllm-hpa
  namespace: llm-serving
spec:
  scaleTargetRef:
    apiVersion: apps/v1
    kind: Deployment
    name: vllm-inference
  minReplicas: 2
  maxReplicas: 8
  metrics:
    - type: Pods
      pods:
        metric:
          name: gpu_utilization_percent
        target:
          type: AverageValue
          averageValue: "70"
四、推理优化的边界与权衡
4.1 量化精度损失的不可预测性
4-bit 量化在通用基准测试上的精度损失通常在 1%-3%,但在特定领域(如代码生成、数学推理)可能下降 5%-10%。更关键的是,量化对长上下文场景的影响更大——随着序列长度增加,量化误差在注意力计算中累积,导致长文档理解能力显著下降。生产环境建议先在目标业务数据集上做量化验证,而非仅依赖通用基准。
4.2 KV Cache 的显存-延迟权衡
KV Cache 显著降低计算量,但占用大量显存。以 70B 模型为例,单个请求的 KV Cache 在 4096 Token 长度下约需 2GB 显存。64 个并发请求就需要 128GB 显存,超过了两张 A100 的总显存。PagedAttention 通过虚拟内存分页机制缓解这一问题,但块级管理引入了碎片化——小块的空闲块可能无法满足新请求的需求,需要 Compaction 或 Swap。
4.3 Continuous Batching 的尾部延迟
Continuous Batching 提升了吞吐量,但增加了单请求的尾部延迟。当批次中存在长请求时,短请求的 Token 生成间隔可能被拉长(GPU 时间片被长请求的 Prefill 阶段占用)。生产环境需要设置 Prefill 的最大 Token 预算,或采用 Chunked Prefill 将长 Prompt 分块处理,避免阻塞 Decode 阶段。
4.4 适用边界
本优化方案适用于自回归 LLM 的在线推理服务。对于扩散模型(如 Stable Diffusion)或编码器模型(如 BERT),优化策略完全不同。此外,量化方案的选择依赖硬件支持:GPTQ 在 NVIDIA GPU 上表现最优,AWQ 对 AMD GPU 兼容性更好,BitsAndBytes 适合快速验证但推理速度不如前两者。
五、总结
大模型推理优化是一个多维度的工程问题,需要在精度、延迟、吞吐和成本之间寻找最优平衡。量化是最直接的显存优化手段,4-bit GPTQ 在大多数场景下精度损失可控,但需在目标数据集上验证。KV Cache 是推理加速的基础设施,PagedAttention 解决了显存碎片化问题,但需关注并发请求的显存预算。Continuous Batching 是吞吐提升的关键,但需配合 Chunked Prefill 控制尾部延迟。落地路线:先以 FP16 基线建立性能基准,再逐步引入量化、KV Cache 优化和 Continuous Batching,每步验证精度和延迟指标,最终通过 HPA 实现弹性扩缩容。

AtomGit 是由开放原子开源基金会联合 CSDN 等生态伙伴共同推出的新一代开源与人工智能协作平台。平台坚持“开放、中立、公益”的理念,把代码托管、模型共享、数据集托管、智能体开发体验和算力服务整合在一起,为开发者提供从开发、训练到部署的一站式体验。
更多推荐



 2
2 0
0- 0


 已为社区贡献99条内容

所有评论(0)