【Django 实验一】官网教程 8 个 Demo + SimpleUI 实战
【Django 实验一】官网教程 8 个 Demo + SimpleUI 实战
目录
- 环境准备
- Demo 1 - Part 1:项目创建与第一个视图
- Demo 2 - Part 2:数据库与模型
- Demo 3 - Part 3:视图与路由
- Demo 4 - Part 4:通用视图
- Demo 5 - Part 5:单元测试
- Demo 6 - Part 6:静态文件
- Demo 7 - Part 7:Admin 后台定制
- Demo 8 - Part 7:自定义表单
- Demo 9:附加边界测试
- SimpleUI 集成
- 总结
一、环境准备
1.1 环境要求
- Python: 3.10+
- Django: 5.2 LTS
- 数据库: MySQL 8.0(通过 phpstudy_pro 运行)
- pymysql: Python MySQL 驱动
1.2 安装依赖
# 创建虚拟环境
cd e:\F23016208_刘静怡\exp1_polls
python -m venv venv
.\venv\Scripts\Activate.ps1

# 安装 Django 和相关依赖
pip install Django==5.2.12
pip install django-simpleui
pip install pymysql
1.3 项目目录结构
exp1_polls/
├── manage.py              # Django 管理脚本
├── requirements.txt        # 依赖文件
├── mysite/                # 项目配置目录
│   ├── __init__.py        # pymysql 配置
│   ├── settings.py         # 项目配置
│   ├── urls.py            # 主 URL 配置
│   └── wsgi.py            # WSGI 配置
├── polls/                 # 投票应用
│   ├── __init__.py
│   ├── admin.py           # Admin 配置
│   ├── apps.py            # 应用配置
│   ├── models.py          # 数据模型
│   ├── views.py           # 视图函数
│   ├── urls.py            # URL 配置
│   ├── forms.py           # 表单
│   ├── tests.py           # 单元测试
│   └── migrations/        # 数据库迁移
├── templates/             # 模板目录
│   └── polls/
│       ├── base.html      # 基础模板
│       ├── index.html     # 列表页
│       ├── detail.html    # 详情页
│       └── results.html   # 结果页
└── static/                # 静态文件目录
    └── css/
        └── style.css      # 样式文件
二、Demo 1 - Part 1:项目创建与第一个视图
2.1 创建项目和应用
# 1. 创建 Django 项目
django-admin startproject mysite

# 2. 进入项目目录
cd mysite

# 3. 创建 polls 应用
python manage.py startapp polls
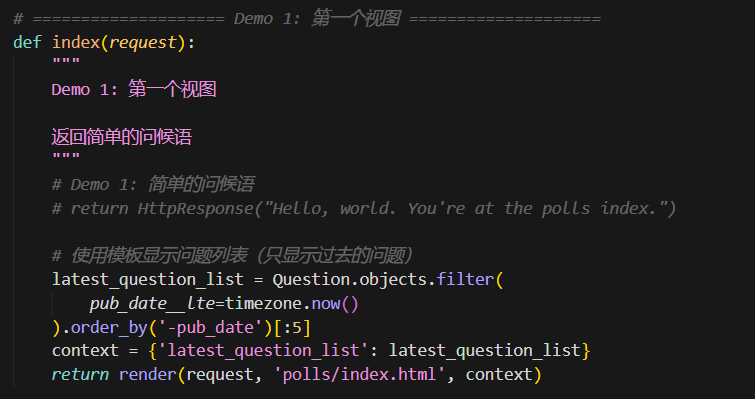
2.2 编写第一个视图
在 polls/views.py 中编写第一个视图函数:
from django.http import HttpResponse


def index(request):
    """第一个视图:返回问候语"""
    return HttpResponse("Hello, world. You're at the polls index.")
2.3 配置 URL 路由
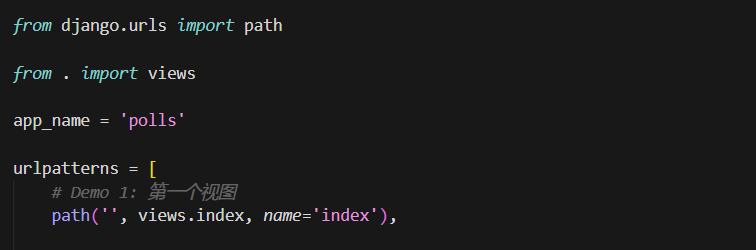
创建 polls/urls.py:
from django.urls import path
from . import views

app_name = 'polls'

urlpatterns = [
    path('', views.index, name='index'),
]
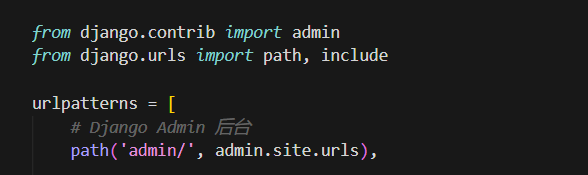
修改 mysite/urls.py:
from django.contrib import admin
from django.urls import path, include

urlpatterns = [
    path('admin/', admin.site.urls),
    path('polls/', include('polls.urls')),
]
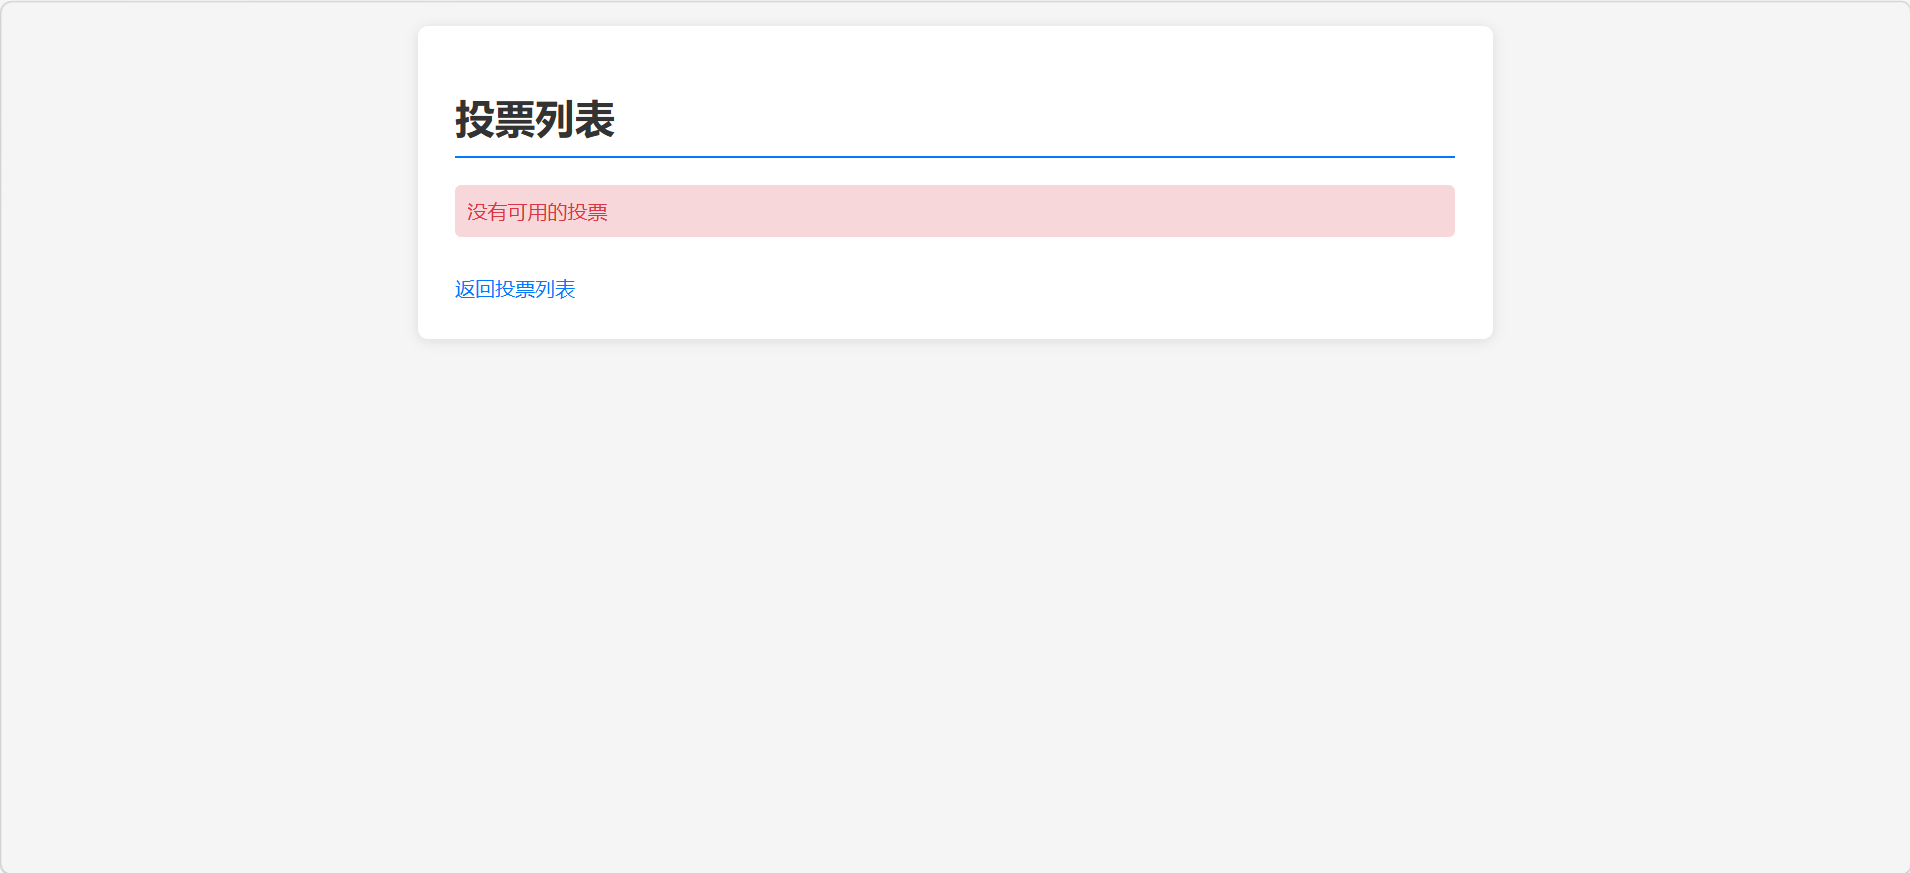
2.4 启动服务器验证
python manage.py runserver
访问 http://127.0.0.1:8000/polls/ ,将看到:
Hello, world. You're at the polls index.
2.5 原理讲解
┌─────────────────────────────────────────────────────────┐
│                     请求流程                            │
├─────────────────────────────────────────────────────────┤
│                                                         │
│   用户浏览器 ──▶ http://127.0.0.1:8000/polls/           │
│                         │                              │
│                         ▼                              │
│              Django URL 路由系统                        │
│         mysite/urls.py (path('polls/', ...))           │
│                         │                              │
│                         ▼                              │
│              polls/urls.py (path('', ...))              │
│                         │                              │
│                         ▼                              │
│              polls/views.py (index 函数)                │
│                         │                              │
│                         ▼                              │
│              HttpResponse("Hello, world...")            │
│                         │                              │
│                         ▼                              │
│                   返回给浏览器                          │
│                                                         │
└─────────────────────────────────────────────────────────┘
三、Demo 2 - Part 2:数据库与模型
3.1 Django 数据库配置
Django 自带 SQLite 数据库,无需额外配置。如果使用 MySQL,修改 settings.py:
DATABASES = {
    'default': {
        'ENGINE': 'django.db.backends.mysql',
        'NAME': 'exp1_polls',
        'USER': 'root',
        'PASSWORD': 'root',
        'HOST': '127.0.0.1',
        'PORT': '3306',
        'OPTIONS': {
            'charset': 'utf8mb4',
        },
    }
}
3.2 创建数据模型
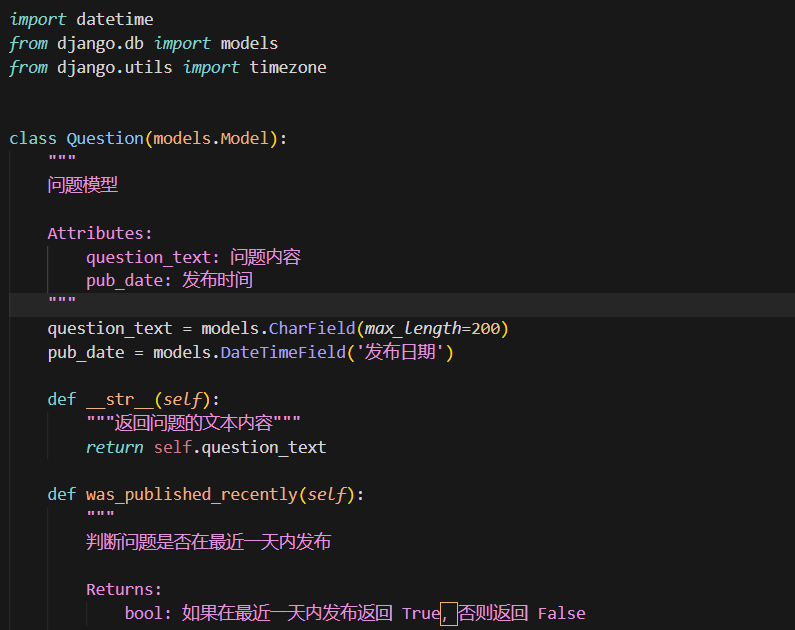
在 polls/models.py 中定义模型:
import datetime
from django.db import models
from django.utils import timezone


class Question(models.Model):
    """问题模型"""
    question_text = models.CharField(max_length=200)
    pub_date = models.DateTimeField('发布日期')

    def __str__(self):
        """返回问题的文本内容"""
        return self.question_text

    def was_published_recently(self):
        """判断问题是否在最近一天内发布"""
        now = timezone.now()
        return now - datetime.timedelta(days=1) <= self.pub_date <= now


class Choice(models.Model):
    """选项模型"""
    question = models.ForeignKey(Question, on_delete=models.CASCADE)
    choice_text = models.CharField(max_length=200)
    votes = models.IntegerField(default=0)

    def __str__(self):
        """返回选项的文本内容"""
        return self.choice_text
3.3 模型字段说明
| 模型 | 字段 | 类型 | 说明 |
|---|---|---|---|
| Question | id | AutoField | 主键,自动递增 |
| Question | question_text | CharField(200) | 问题内容,最多200字符 |
| Question | pub_date | DateTimeField | 发布时间 |
| Choice | id | AutoField | 主键,自动递增 |
| Choice | question | ForeignKey | 外键,关联 Question |
| Choice | choice_text | CharField(200) | 选项内容 |
| Choice | votes | IntegerField | 投票数,默认0 |
3.4 字段类型详解
Django 提供了丰富的字段类型:
CharField(max_length)- 字符串字段,需要指定最大长度TextField()- 文本字段,无最大长度限制IntegerField()- 整数字段DateTimeField()- 日期时间字段BooleanField()- 布尔字段ForeignKey()- 外键字段,用于一对多关系AutoField()- 自动递增字段
3.5 外键关系
ForeignKey(Question, on_delete=models.CASCADE)
Question: 关联的模型on_delete=models.CASCADE: 当 Question 被删除时,关联的 Choice 也被删除
3.6 执行数据库迁移
# 1. 创建迁移文件
python manage.py makemigrations

# 2. 执行迁移
python manage.py migrate
3.7 Django ORM 常用命令
# 进入 Django shell
python manage.py shell

# 在 shell 中操作数据库
from polls.models import Question, Choice
from django.utils import timezone

# 创建问题
q = Question(question_text="你最喜欢什么编程语言?", pub_date=timezone.now())
q.save()

# 创建选项
q.choice_set.create(choice_text="Python", votes=0)
q.choice_set.create(choice_text="JavaScript", votes=0)

# 查询所有问题
Question.objects.all()

# 过滤查询
Question.objects.filter(question_text__contains="什么")

# 获取关联对象
q.choice_set.all()
3.8 原理讲解
┌─────────────────────────────────────────────────────────┐
│              Django ORM 工作原理                        │
├─────────────────────────────────────────────────────────┤
│                                                         │
│   Python 代码                                          │
│   ┌─────────────────┐                                  │
│   │ Question.objects│                                  │
│   │     .create()   │                                  │
│   └────────┬────────┘                                  │
│            │                                           │
│            ▼                                           │
│   ┌─────────────────┐                                  │
│   │   Django ORM    │                                  │
│   │   (翻译层)      │                                  │
│   └────────┬────────┘                                  │
│            │                                           │
│            ▼                                           │
│   ┌─────────────────┐                                  │
│   │     SQL         │                                  │
│   │ INSERT INTO...  │                                  │
│   └────────┬────────┘                                  │
│            │                                           │
│            ▼                                           │
│   ┌─────────────────┐                                  │
│   │   数据库        │                                  │
│   │   MySQL/SQLite  │                                  │
│   └─────────────────┘                                  │
│                                                         │
└─────────────────────────────────────────────────────────┘
四、Demo 3 - Part 3:视图与路由
4.1 编写视图函数
修改 polls/views.py,添加 detail、results、vote 视图:
from django.shortcuts import render, get_object_or_404
from django.http import HttpResponse, HttpResponseRedirect
from django.urls import reverse
from django.utils import timezone

from .models import Question, Choice


def index(request):
    """问题列表视图"""
    latest_question_list = Question.objects.filter(
        pub_date__lte=timezone.now()
    ).order_by('-pub_date')[:5]
    context = {'latest_question_list': latest_question_list}
    return render(request, 'polls/index.html', context)


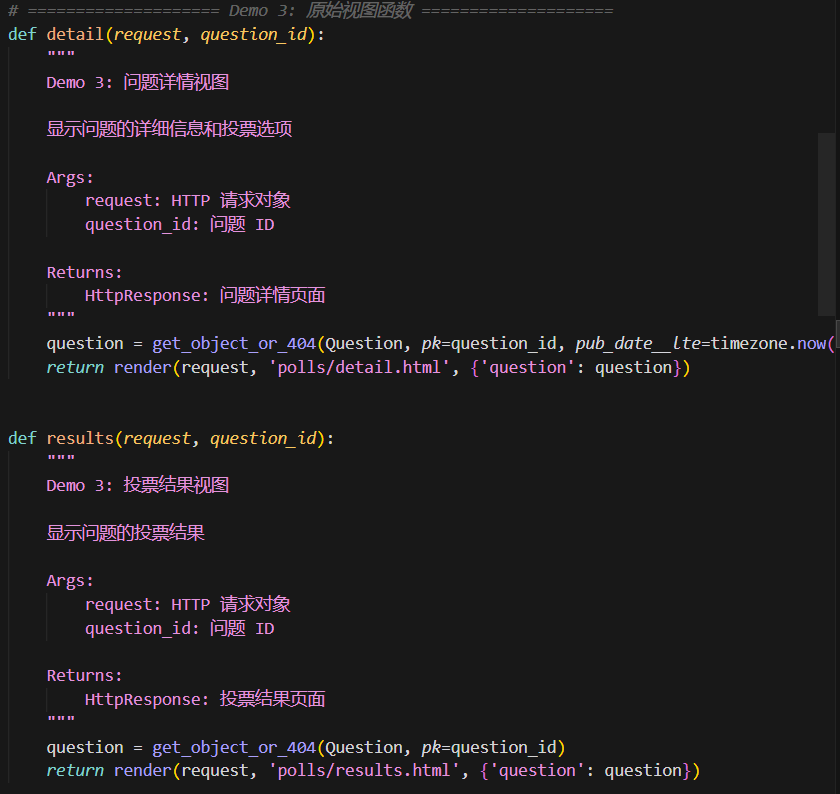
def detail(request, question_id):
    """问题详情视图"""
    question = get_object_or_404(Question, pk=question_id, pub_date__lte=timezone.now())
    return render(request, 'polls/detail.html', {'question': question})


def results(request, question_id):
    """投票结果视图"""
    question = get_object_or_404(Question, pk=question_id)
    return render(request, 'polls/results.html', {'question': question})


def vote(request, question_id):
    """投票处理视图"""
    question = get_object_or_404(Question, pk=question_id)
    try:
        selected_choice = question.choice_set.get(pk=request.POST['choice'])
    except (KeyError, Choice.DoesNotExist):
        # 未选择选项,显示错误
        return render(request, 'polls/detail.html', {
            'question': question,
            'error_message': "请选择一个选项",
        })
    else:
        # 保存投票
        selected_choice.votes += 1
        selected_choice.save()
        # 重定向到结果页
        return HttpResponseRedirect(reverse('polls:results', args=(question.id,)))
4.2 模板系统
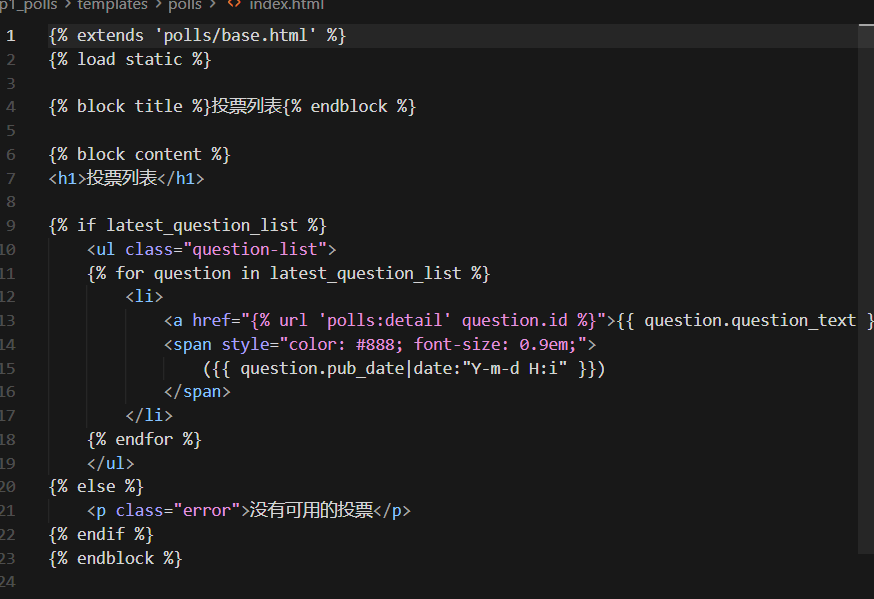
创建模板文件 templates/polls/index.html:
{% extends 'polls/base.html' %}

{% block title %}投票列表{% endblock %}

{% block content %}
<h1>投票列表</h1>

{% if latest_question_list %}
    <ul class="question-list">
    {% for question in latest_question_list %}
        <li>
            <a href="{% url 'polls:detail' question.id %}">
                {{ question.question_text }}
            </a>
            <span style="color: #888;">
                ({{ question.pub_date|date:"Y-m-d H:i" }})
            </span>
        </li>
    {% endfor %}
    </ul>
{% else %}
    <p>没有可用的投票</p>
{% endif %}
{% endblock %}
创建 templates/polls/detail.html:
{% extends 'polls/base.html' %}

{% block title %}{{ question.question_text }}{% endblock %}

{% block content %}
<h1>{{ question.question_text }}</h1>

{% if error_message %}
    <p class="error">{{ error_message }}</p>
{% endif %}

<form action="{% url 'polls:vote' question.id %}" method="post">
    {% csrf_token %}
    {% for choice in question.choice_set.all %}
        <label>
            <input type="radio" name="choice" value="{{ choice.id }}">
            {{ choice.choice_text }}
        </label>
    {% endfor %}
    <button type="submit">投票</button>
</form>
{% endblock %}
创建 templates/polls/results.html:
{% extends 'polls/base.html' %}

{% block title %}投票结果{% endblock %}

{% block content %}
<h1>{{ question.question_text }}</h1>

<ul>
{% for choice in question.choice_set.all %}
    <li>
        {{ choice.choice_text }} - {{ choice.votes }} 票
    </li>
{% endfor %}
</ul>

<a href="{% url 'polls:detail' question.id %}">再次投票</a>
{% endblock %}
4.3 配置 URL 路由
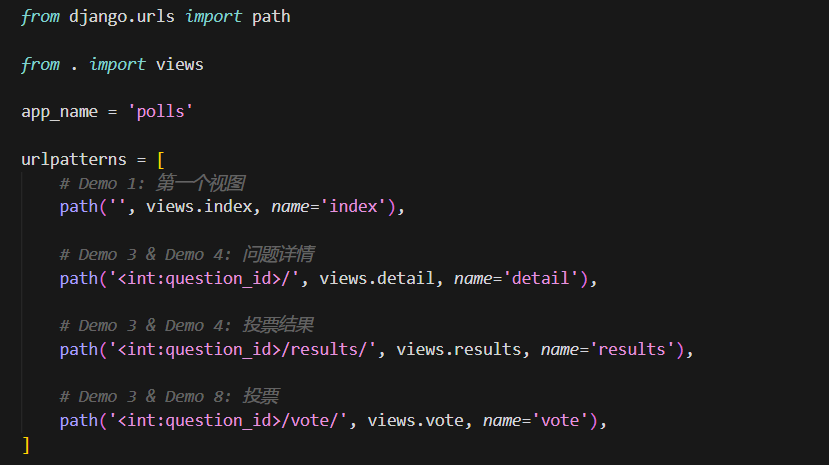
更新 polls/urls.py:
from django.urls import path
from . import views

app_name = 'polls'

urlpatterns = [
    # 列表页
    path('', views.index, name='index'),
    # 详情页
    path('<int:question_id>/', views.detail, name='detail'),
    # 结果页
    path('<int:question_id>/results/', views.results, name='results'),
    # 投票处理
    path('<int:question_id>/vote/', views.vote, name='vote'),
]
4.4 URL 路由参数说明
path('<int:question_id>/', views.detail, name='detail')
<int:question_id>: URL 路径参数int: 参数类型(整数)question_id: 参数名称,将作为关键字参数传递给视图函数
4.5 视图函数参数说明
def detail(request, question_id):
    # request: Django HttpRequest 对象
    # question_id: URL 中的路径参数
4.6 render() 函数详解
render(request, 'polls/detail.html', {'question': question})
request: HttpRequest 对象'polls/detail.html': 模板文件路径{'question': question}: 模板上下文变量字典
4.7 get_object_or_404() 函数详解
question = get_object_or_404(Question, pk=question_id)
- 如果对象存在,返回对象
- 如果对象不存在,返回 404 错误
4.8 原理讲解
┌─────────────────────────────────────────────────────────┐
│               Django MTV 架构                           │
├─────────────────────────────────────────────────────────┤
│                                                         │
│   ┌─────────┐     ┌─────────┐     ┌─────────┐          │
│   │  Model  │────▶│  View   │────▶│ Template│          │
│   │  模型   │◀────│  视图   │◀────│  模板   │          │
│   └─────────┘     └─────────┘     └─────────┘          │
│        │                                    ▲           │
│        │                                    │           │
│        ▼                                    │           │
│   ┌─────────┐                              │           │
│   │  数据库  │                              │           │
│   └─────────┘                              │           │
│                                                         │
│   请求流程:                                            │
│   1. URL 路由匹配 → 视图函数                            │
│   2. 视图函数调用 Model 获取数据                        │
│   3. 视图函数调用 render() 渲染模板                     │
│   4. 返回 HttpResponse 给浏览器                        │
│                                                         │
└─────────────────────────────────────────────────────────┘
五、Demo 4 - Part 4:通用视图
5.1 为什么使用通用视图?
Django 提供了通用视图来处理常见的模式:
ListView: 显示对象列表DetailView: 显示单个对象详情
使用通用视图可以减少重复代码。
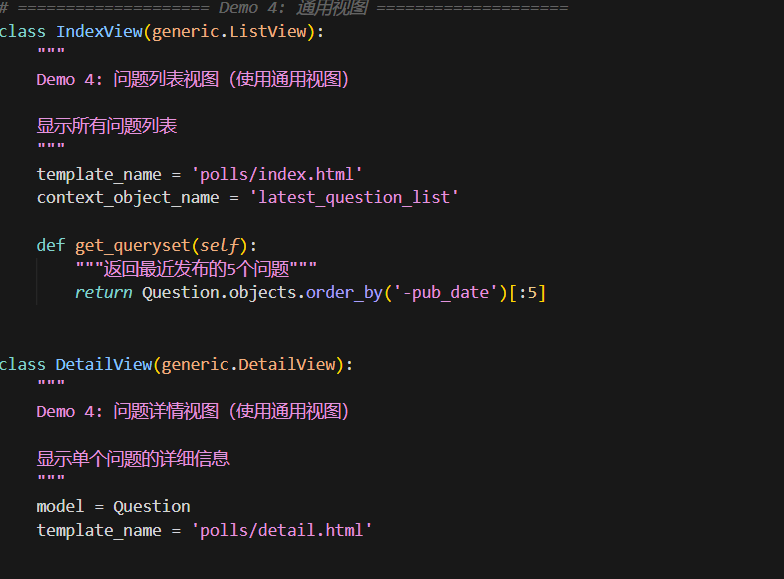
5.2 使用通用视图重构
修改 polls/views.py:
from django.views import generic


class IndexView(generic.ListView):
    """问题列表视图(通用视图)"""
    template_name = 'polls/index.html'
    context_object_name = 'latest_question_list'

    def get_queryset(self):
        """返回最近发布的5个问题"""
        return Question.objects.order_by('-pub_date')[:5]


class DetailView(generic.DetailView):
    """问题详情视图(通用视图)"""
    model = Question
    template_name = 'polls/detail.html'


class ResultsView(generic.DetailView):
    """投票结果视图(通用视图)"""
    model = Question
    template_name = 'polls/results.html'
5.3 通用视图配置
| 类 | 属性 | 说明 |
|---|---|---|
| ListView | model | 要查询的模型 |
| ListView | template_name | 模板文件路径 |
| ListView | context_object_name | 模板中的变量名 |
| ListView | get_queryset() | 自定义查询集 |
| DetailView | model | 要查询的模型 |
| DetailView | template_name | 模板文件路径 |
5.4 URL 配置
更新 polls/urls.py 使用通用视图:
from django.urls import path
from . import views

app_name = 'polls'

urlpatterns = [
    path('', views.IndexView.as_view(), name='index'),
    path('<int:pk>/', views.DetailView.as_view(), name='detail'),
    path('<int:pk>/results/', views.ResultsView.as_view(), name='results'),
    path('<int:question_id>/vote/', views.vote, name='vote'),
]
注意:DetailView 使用 pk 而不是 question_id
5.5 通用视图自动查找模板
ListView 查找模板规则:
    polls/templates/polls/question_list.html
    或 template_name 指定

DetailView 查找模板规则:
    polls/templates/polls/question_detail.html
    或 template_name 指定
5.6 原理讲解
┌─────────────────────────────────────────────────────────┐
│           通用视图工作原理                              │
├─────────────────────────────────────────────────────────┤
│                                                         │
│   class DetailView(generic.DetailView)                 │
│                                                         │
│   ┌─────────────────────────────────────────────────┐   │
│   │              DetailView 自动处理                │   │
│   ├─────────────────────────────────────────────────┤   │
│   │  1. get_queryset()    → 获取对象               │   │
│   │  2. get_context_data()→ 添加上下文             │   │
│   │  3. get_template_names()→ 查找模板              │   │
│   │  4. render_to_response()→ 渲染模板             │   │
│   └─────────────────────────────────────────────────┘   │
│                                                         │
│   上下文变量:                                           │
│   - question: 单个 Question 对象(默认)                │
│   - question_list: Question 列表(ListView 默认)      │
│                                                         │
└─────────────────────────────────────────────────────────┘
六、Demo 5 - Part 5:单元测试
6.1 为什么需要测试?
- 保证代码质量
- 防止回归错误
- 文档化代码功能
6.2 编写模型测试
在 polls/tests.py 中编写测试:
import datetime
from django.test import TestCase
from django.utils import timezone
from .models import Question, Choice


class QuestionModelTests(TestCase):
    """Question 模型的单元测试"""

    def test_was_published_recently_with_old_question(self):
        """测试旧问题(超过1天前发布)"""
        time = timezone.now() - datetime.timedelta(days=1, seconds=1)
        old_question = Question(pub_date=time)
        self.assertIs(old_question.was_published_recently(), False)

    def test_was_published_recently_with_recent_question(self):
        """测试最近问题(在1天之内发布)"""
        time = timezone.now() - datetime.timedelta(hours=23, minutes=59, seconds=59)
        recent_question = Question(pub_date=time)
        self.assertIs(recent_question.was_published_recently(), True)

    def test_was_published_recently_with_future_question(self):
        """测试未来问题(尚未发布)"""
        time = timezone.now() + datetime.timedelta(days=30)
        future_question = Question(pub_date=time)
        self.assertIs(future_question.was_published_recently(), False)


class ChoiceModelTests(TestCase):
    """Choice 模型的单元测试"""

    def test_choice_str(self):
        """测试 Choice 的 __str__ 方法"""
        choice = Choice(choice_text="选项A")
        self.assertEqual(str(choice), "选项A")

    def test_choice_default_votes(self):
        """测试 Choice 的默认投票数"""
        choice = Choice(choice_text="测试选项")
        self.assertEqual(choice.votes, 0)
6.3 编写视图测试
from django.urls import reverse


class QuestionIndexViewTests(TestCase):
    """问题列表视图的测试"""

    def test_no_questions(self):
        """测试没有问题时显示的消息"""
        response = self.client.get(reverse('polls:index'))
        self.assertEqual(response.status_code, 200)
        self.assertContains(response, "没有可用的投票")

    def test_past_question(self):
        """测试过去的问题是否显示"""
        question = Question.objects.create(
            question_text="过去的问题",
            pub_date=timezone.now() - datetime.timedelta(days=30)
        )
        response = self.client.get(reverse('polls:index'))
        self.assertContains(response, question.question_text)

    def test_future_question(self):
        """测试未来的问题不显示"""
        Question.objects.create(
            question_text="未来的问题",
            pub_date=timezone.now() + datetime.timedelta(days=30)
        )
        response = self.client.get(reverse('polls:index'))
        self.assertContains(response, "没有可用的投票")


class QuestionDetailViewTests(TestCase):
    """问题详情视图的测试"""

    def test_future_question(self):
        """测试未来问题返回 404"""
        future_question = Question.objects.create(
            question_text="未来的问题",
            pub_date=timezone.now() + datetime.timedelta(days=30)
        )
        url = reverse('polls:detail', args=(future_question.id,))
        response = self.client.get(url)
        self.assertEqual(response.status_code, 404)
6.4 运行测试
# 运行 polls 应用的测试
python manage.py test polls

# 运行测试并显示详细信息
python manage.py test polls -v 2

# 运行特定测试类
python manage.py test polls.tests.QuestionModelTests
6.5 测试断言方法
| 方法 | 说明 |
|---|---|
| assertEqual(a, b) | 断言 a == b |
| assertNotEqual(a, b) | 断言 a != b |
| assertTrue(x) | 断言 x 为 True |
| assertFalse(x) | 断言 x 为 False |
| assertIs(a, b) | 断言 a is b |
| assertIsNone(x) | 断言 x is None |
| assertIn(a, b) | 断言 a in b |
| assertContains(response, text) | 断言响应包含 text |
6.6 Django Test Client
Django 提供了一个测试客户端来模拟浏览器:
from django.test import Client

# GET 请求
response = self.client.get('/polls/')

# POST 请求
response = self.client.post('/polls/1/vote/', {'choice': 1})

# 检查状态码
self.assertEqual(response.status_code, 200)

# 检查响应内容
self.assertContains(response, 'Hello')
6.7 原理讲解
┌─────────────────────────────────────────────────────────┐
│              Django 测试执行流程                        │
├─────────────────────────────────────────────────────────┤
│                                                         │
│   python manage.py test polls                          │
│                                                         │
│         │                                              │
│         ▼                                              │
│   ┌─────────────────┐                                  │
│   │  加载测试用例   │                                  │
│   │  polls.tests    │                                  │
│   └────────┬────────┘                                  │
│            │                                           │
│            ▼                                           │
│   ┌─────────────────┐                                  │
│   │  创建测试数据库 │                                  │
│   │  (独立的空库)   │                                  │
│   └────────┬────────┘                                  │
│            │                                           │
│            ▼                                           │
│   ┌─────────────────┐                                  │
│   │  执行每个测试   │                                  │
│   │  setUp()        │                                  │
│   │  test_xxx()     │                                  │
│   │  tearDown()     │                                  │
│   └────────┬────────┘                                  │
│            │                                           │
│            ▼                                           │
│   ┌─────────────────┐                                  │
│   │  输出测试结果   │                                  │
│   │  OK / FAILED    │                                  │
│   └─────────────────┘                                  │
│                                                         │
└─────────────────────────────────────────────────────────┘
七、Demo 6 - Part 6:静态文件
7.1 创建静态文件目录
exp1_polls/
├── static/
│   └── css/
│       └── style.css
7.2 编写 CSS 样式
创建 static/css/style.css:
body {
    font-family: 'Segoe UI', Tahoma, Geneva, Verdana, sans-serif;
    margin: 0;
    padding: 20px;
    background-color: #f5f5f5;
}

.container {
    max-width: 800px;
    margin: 0 auto;
    background-color: white;
    padding: 30px;
    border-radius: 8px;
    box-shadow: 0 2px 10px rgba(0, 0, 0, 0.1);
}

h1 {
    color: #333;
    border-bottom: 2px solid #007bff;
    padding-bottom: 10px;
}

.question-list {
    list-style: none;
    padding: 0;
}

.question-list li {
    background-color: #f8f9fa;
    margin: 10px 0;
    padding: 15px;
    border-radius: 5px;
    border-left: 4px solid #007bff;
}

.question-list li a {
    text-decoration: none;
    color: #333;
    font-weight: bold;
}

.question-list li a:hover {
    color: #007bff;
}

.vote-form label {
    display: block;
    padding: 10px;
    margin: 5px 0;
    background-color: #e9ecef;
    border-radius: 4px;
    cursor: pointer;
}

.vote-form button {
    background-color: #007bff;
    color: white;
    padding: 10px 30px;
    border: none;
    border-radius: 5px;
    cursor: pointer;
}

.results {
    background-color: #fff3cd;
    padding: 20px;
    border-radius: 5px;
    border: 1px solid #ffc107;
}
7.3 在模板中加载静态文件
更新 templates/polls/base.html:
{% load static %}
<!DOCTYPE html>
<html lang="zh-hans">
<head>
    <meta charset="UTF-8">
    <meta name="viewport" content="width=device-width, initial-scale=1.0">
    <title>{% block title %}投票应用{% endblock %}</title>
    <link rel="stylesheet" href="{% static 'css/style.css' %}">
</head>
<body>
    <div class="container">
        {% block content %}
        {% endblock %}
    </div>
</body>
</html>
7.4 settings.py 配置
确保静态文件配置正确:
# settings.py
STATIC_URL = '/static/'
STATICFILES_DIRS = [
    os.path.join(BASE_DIR, 'static'),
]
7.5 Django 静态文件查找规则
STATICFILES_DIRS = [
    os.path.join(BASE_DIR, 'static'),  # 项目 static 目录
]

# {% static 'css/style.css' %}
# 查找路径: BASE_DIR/static/css/style.css
7.6 原理讲解
┌─────────────────────────────────────────────────────────┐
│           Django 静态文件处理流程                        │
├─────────────────────────────────────────────────────────┤
│                                                         │
│   开发环境(DEBUG=True):                               │
│                                                         │
│   1. 请求 /static/css/style.css                        │
│         │                                              │
│         ▼                                              │
│   2. Django 自动从 STATICFILES_DIRS 查找文件            │
│         │                                              │
│         ▼                                              │
│   3. 返回文件内容                                       │
│                                                         │
│   生产环境:                                            │
│                                                         │
│   1. 运行 python manage.py collectstatic               │
│         │                                              │
│         ▼                                              │
│   2. 所有静态文件复制到 STATIC_ROOT                    │
│         │                                              │
│         ▼                                              │
│   3. Web 服务器(Nginx/Apache)直接提供文件            │
│                                                         │
└─────────────────────────────────────────────────────────┘
八、Demo 7 - Part 7:Admin 后台定制
8.1 创建超级用户
python manage.py createsuperuser
8.2 注册模型到 Admin
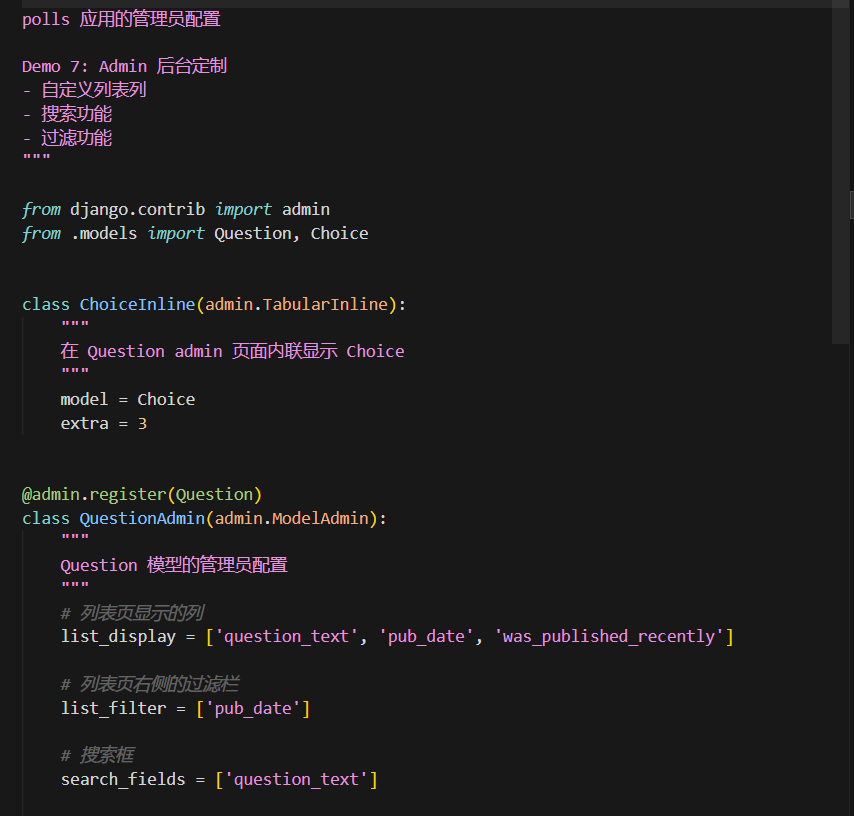
修改 polls/admin.py:
from django.contrib import admin
from .models import Question, Choice


class ChoiceInline(admin.TabularInline):
    """在 Question admin 页面内联显示 Choice"""
    model = Choice
    extra = 3  # 默认显示3个空选项


@admin.register(Question)
class QuestionAdmin(admin.ModelAdmin):
    """Question 模型的管理员配置"""
    # 列表页显示的列
    list_display = ['question_text', 'pub_date', 'was_published_recently']

    # 列表页右侧的过滤栏
    list_filter = ['pub_date']

    # 搜索框
    search_fields = ['question_text']

    # 在详情页内联显示 Choice
    inlines = [ChoiceInline]

    # 列表页显示排序
    ordering = ['-pub_date']


@admin.register(Choice)
class ChoiceAdmin(admin.ModelAdmin):
    """Choice 模型的管理员配置"""
    list_display = ['choice_text', 'question', 'votes']
    list_filter = ['question']
    search_fields = ['choice_text']
    ordering = ['-votes']
8.3 Admin 配置选项详解
| 选项 | 说明 |
|---|---|
| list_display | 列表页显示的字段 |
| list_filter | 右侧过滤栏字段 |
| search_fields | 搜索框搜索字段 |
| inlines | 内联显示的关联模型 |
| ordering | 默认排序方式 |
| date_hierarchy | 日期层级导航 |
| readonly_fields | 只读字段 |
| fieldsets | 表单字段分组 |
8.4 ModelAdmin 方法
@admin.register(Question)
class QuestionAdmin(admin.ModelAdmin):

    def was_published_recently(self, obj):
        """自定义列表列显示方法"""
        return obj.pub_date >= timezone.now() - datetime.timedelta(days=1)

    was_published_recently.boolean = True  # 显示为图标
    was_published_recently.short_description = '最近发布?'  # 列标题
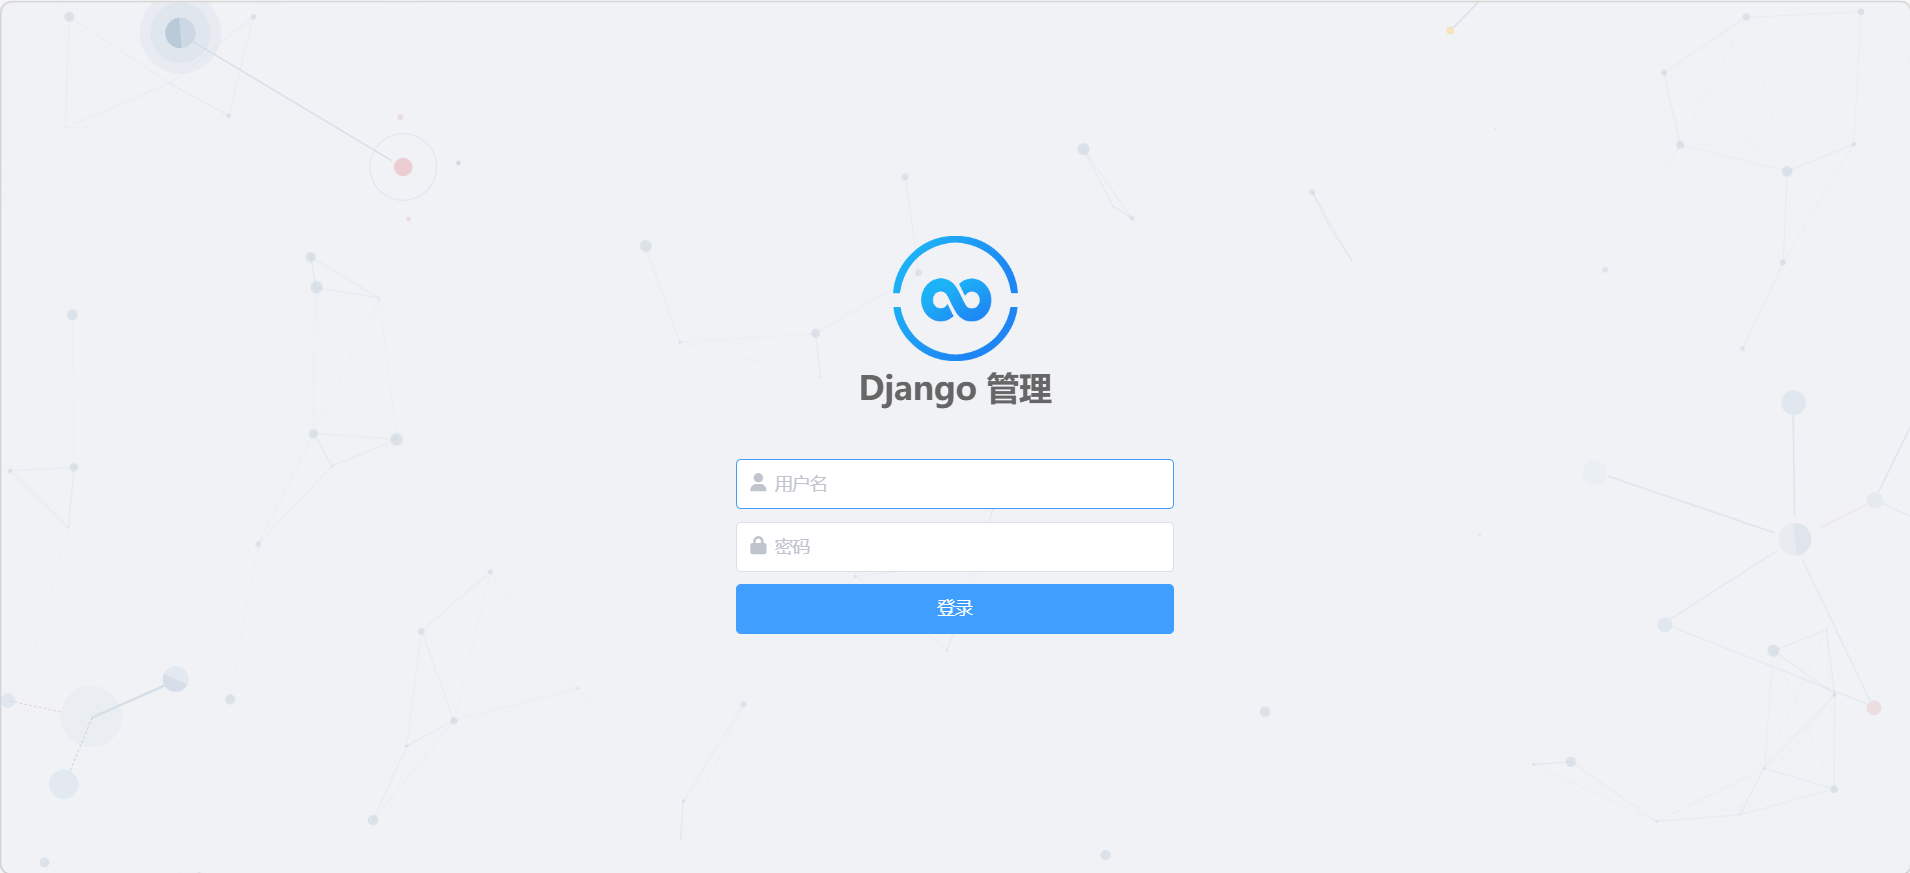
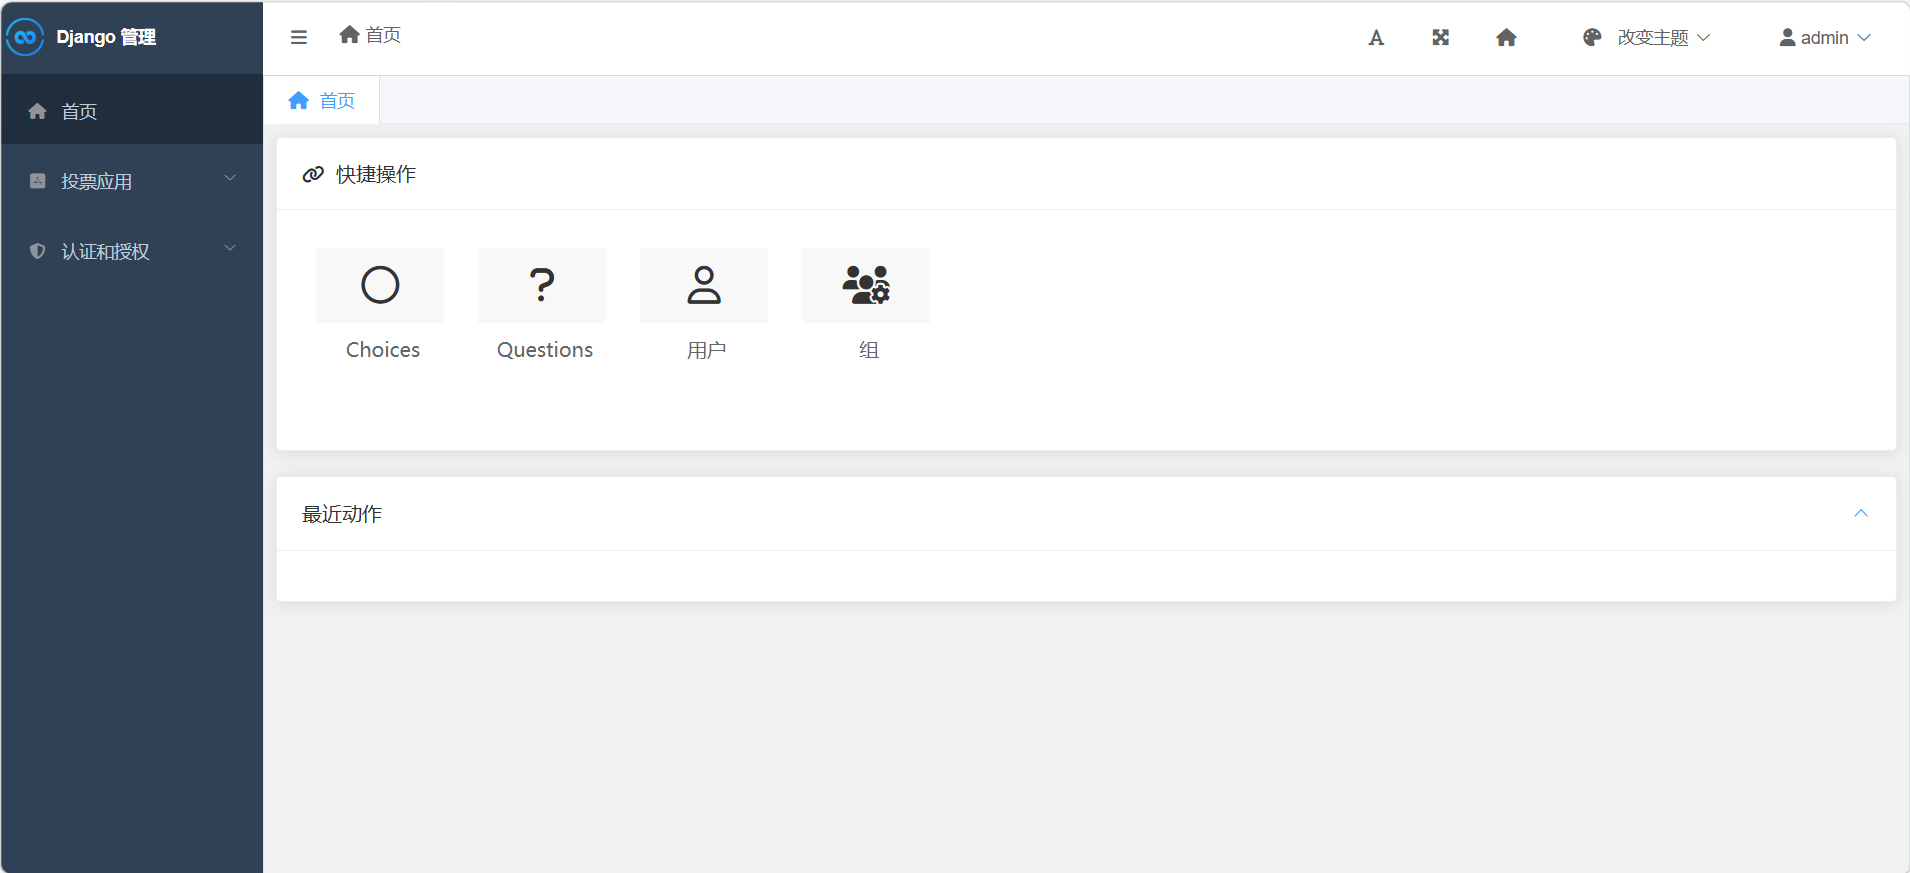
8.5 访问 Admin 后台
运行服务器后访问:
http://127.0.0.1:8000/admin/
8.6 原理讲解
┌─────────────────────────────────────────────────────────┐
│              Django Admin 工作原理                     │
├─────────────────────────────────────────────────────────┤
│                                                         │
│   1. 用户登录 Admin                                     │
│         │                                              │
│         ▼                                              │
│   2. Django 读取注册的 ModelAdmin 配置                 │
│         │                                              │
│         ▼                                              │
│   3. 根据配置生成管理界面                              │
│         │                                              │
│         ▼                                              │
│   4. CRUD 操作自动处理                                 │
│         │                                              │
│         ▼                                              │
│   5. 保存到数据库                                      │
│                                                         │
│   ModelAdmin 职责:                                     │
│   - 定义列表显示                                       │
│   - 定义表单字段                                       │
│   - 定义过滤和搜索                                     │
│   - 定义动作(actions)                                │
│   - 自定义验证逻辑                                     │
│                                                         │
└─────────────────────────────────────────────────────────┘
九、Demo 8 - Part 7:自定义表单
9.1 创建表单
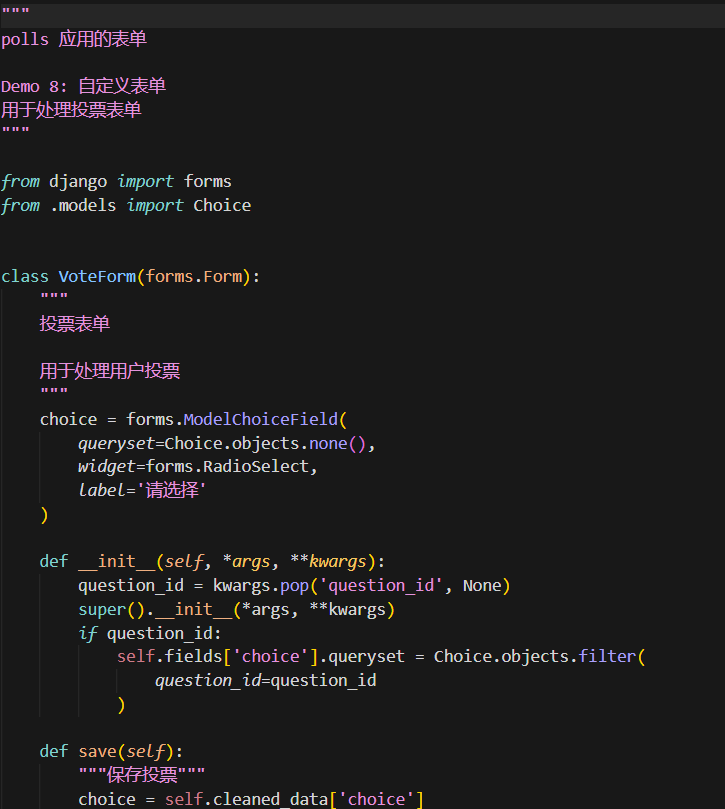
创建 polls/forms.py:
from django import forms
from .models import Choice


class VoteForm(forms.Form):
    """投票表单"""
    choice = forms.ModelChoiceField(
        queryset=Choice.objects.none(),
        widget=forms.RadioSelect,
        label='请选择'
    )

    def __init__(self, *args, **kwargs):
        question_id = kwargs.pop('question_id', None)
        super().__init__(*args, **kwargs)
        if question_id:
            self.fields['choice'].queryset = Choice.objects.filter(
                question_id=question_id
            )

    def save(self):
        """保存投票"""
        choice = self.cleaned_data['choice']
        choice.votes += 1
        choice.save()
        return choice


class ChoiceForm(forms.ModelForm):
    """选项表单(用于创建和编辑)"""

    class Meta:
        model = Choice
        fields = ['choice_text']
        labels = {
            'choice_text': '选项内容'
        }
        widgets = {
            'choice_text': forms.TextInput(attrs={
                'class': 'form-control',
                'placeholder': '请输入选项内容'
            })
        }
9.2 在视图中使用表单
更新 polls/views.py:
from .forms import VoteForm


def detail(request, question_id):
    """使用表单的问题详情视图"""
    question = get_object_or_404(Question, pk=question_id, pub_date__lte=timezone.now())

    if request.method == 'POST':
        form = VoteForm(request.POST, question_id=question_id)
        if form.is_valid():
            form.save()
            return HttpResponseRedirect(reverse('polls:results', args=(question_id,)))
    else:
        form = VoteForm(question_id=question_id)

    return render(request, 'polls/detail.html', {
        'question': question,
        'form': form
    })
9.3 模板中使用表单
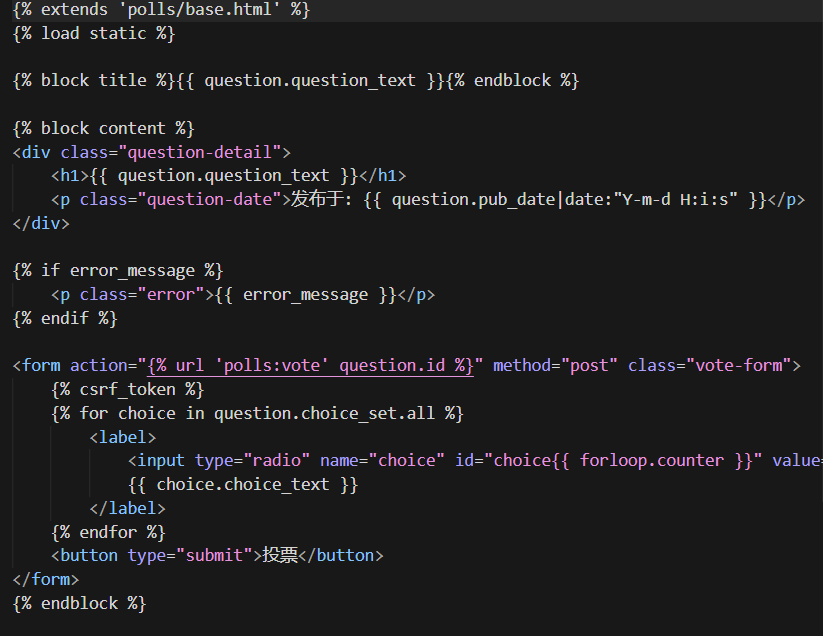
更新 templates/polls/detail.html:
<form action="{% url 'polls:vote' question.id %}" method="post">
    {% csrf_token %}

    <!-- 原生方式 -->
    <!-- {% for choice in question.choice_set.all %}
        <input type="radio" name="choice" value="{{ choice.id }}">
        <label>{{ choice.choice_text }}</label>
    {% endfor %} -->

    <!-- 表单方式 -->
    {{ form.as_p }}

    <button type="submit">投票</button>
</form>
9.4 表单验证
Django 表单自动进行以下验证:
- 必填字段验证
- 数据类型验证
- 唯一性验证
- 自定义验证
class VoteForm(forms.Form):
    choice = forms.ModelChoiceField(
        queryset=Choice.objects.none(),
        widget=forms.RadioSelect,
        label='请选择'
    )

    def clean_choice(self):
        """自定义验证"""
        choice = self.cleaned_data['choice']
        if choice.votes >= 1000:
            raise forms.ValidationError("该选项已满票!")
        return choice
9.5 原理讲解
┌─────────────────────────────────────────────────────────┐
│              Django 表单处理流程                        │
├─────────────────────────────────────────────────────────┤
│                                                         │
│   GET 请求:                                           │
│   ┌─────────┐                                          │
│   │ Form()  │ → 创建空白表单                           │
│   └────┬────┘                                          │
│        │                                               │
│        ▼                                               │
│   ┌─────────┐                                          │
│   │ render  │ → 渲染模板                               │
│   └─────────┘                                          │
│                                                         │
│   POST 请求:                                          │
│   ┌─────────────┐                                      │
│   │ Form(request.POST)│ → 绑定数据                     │
│   └──────┬──────┘                                      │
│          │                                              │
│          ▼                                              │
│   ┌─────────────┐                                      │
│   │ is_valid()  │ → 表单验证                           │
│   └──────┬──────┘                                      │
│          │                                              │
│          ▼                                              │
│   ┌─────────────┐                                      │
│   │ clean_xxx() │ → 自定义验证                         │
│   └──────┬──────┘                                      │
│          │                                              │
│          ▼                                              │
│   ┌─────────────┐                                      │
│   │cleaned_data │ → 获取干净数据                       │
│   └─────────────┘                                      │
│                                                         │
└─────────────────────────────────────────────────────────┘
十、Demo 9:附加边界测试
10.1 边界测试概念
边界测试是针对边界情况的测试,确保代码在极端情况下也能正确工作。
10.2 was_published_recently 边界测试
def test_was_published_recently_with_future_question(self):
    """
    边界测试:未来时间

    未来发布的问题,was_published_recently() 应返回 False
    """
    time = timezone.now() + datetime.timedelta(days=30)
    future_question = Question(pub_date=time)
    self.assertIs(future_question.was_published_recently(), False)


def test_was_published_recently_boundary_future(self):
    """
    边界测试:刚好超过1天

    pub_date = now - 1天 - 1秒
    应该返回 False
    """
    time = timezone.now() - datetime.timedelta(days=1, seconds=1)
    question = Question(pub_date=time)
    self.assertIs(question.was_published_recently(), False)


def test_was_published_recently_boundary_recent(self):
    """
    边界测试:刚好在1天内

    pub_date = now - 1天 + 1秒
    应该返回 True
    """
    time = timezone.now() - datetime.timedelta(days=1, seconds=-1)
    question = Question(pub_date=time)
    self.assertIs(question.was_published_recently(), True)
10.3 完整测试类
class QuestionModelTests(TestCase):
    """Question 模型的完整测试"""

    def test_was_published_recently_with_old_question(self):
        """正常测试:旧问题"""
        time = timezone.now() - datetime.timedelta(days=1, seconds=1)
        old_question = Question(pub_date=time)
        self.assertIs(old_question.was_published_recently(), False)

    def test_was_published_recently_with_recent_question(self):
        """正常测试:最近问题"""
        time = timezone.now() - datetime.timedelta(hours=23, minutes=59, seconds=59)
        recent_question = Question(pub_date=time)
        self.assertIs(recent_question.was_published_recently(), True)

    def test_was_published_recently_with_future_question(self):
        """边界测试:未来问题"""
        time = timezone.now() + datetime.timedelta(days=30)
        future_question = Question(pub_date=time)
        self.assertIs(future_question.was_published_recently(), False)

    def test_was_published_recently_with_future_question_and_old_question(self):
        """组合测试:多个问题"""
        # 旧问题
        time = timezone.now() - datetime.timedelta(days=30)
        old_question = Question(pub_date=time)
        self.assertIs(old_question.was_published_recently(), False)

        # 未来问题
        time = timezone.now() + datetime.timedelta(days=30)
        future_question = Question(pub_date=time)
        self.assertIs(future_question.was_published_recently(), False)

    def test_question_str(self):
        """测试 __str__ 方法"""
        question = Question(question_text="这是什么?")
        self.assertEqual(str(question), "这是什么?")
10.4 测试覆盖场景
| 场景 | 输入 | 期望输出 |
|---|---|---|
| 旧问题 | pub_date = now - 2天 | False |
| 最近问题 | pub_date = now - 12小时 | True |
| 刚好1天 | pub_date = now - 24小时 | True |
| 刚好1天+1秒 | pub_date = now - 1天-1秒 | False |
| 未来问题 | pub_date = now + 30天 | False |
十一、SimpleUI 集成
11.1 安装 SimpleUI
pip install django-simpleui
11.2 配置 settings.py
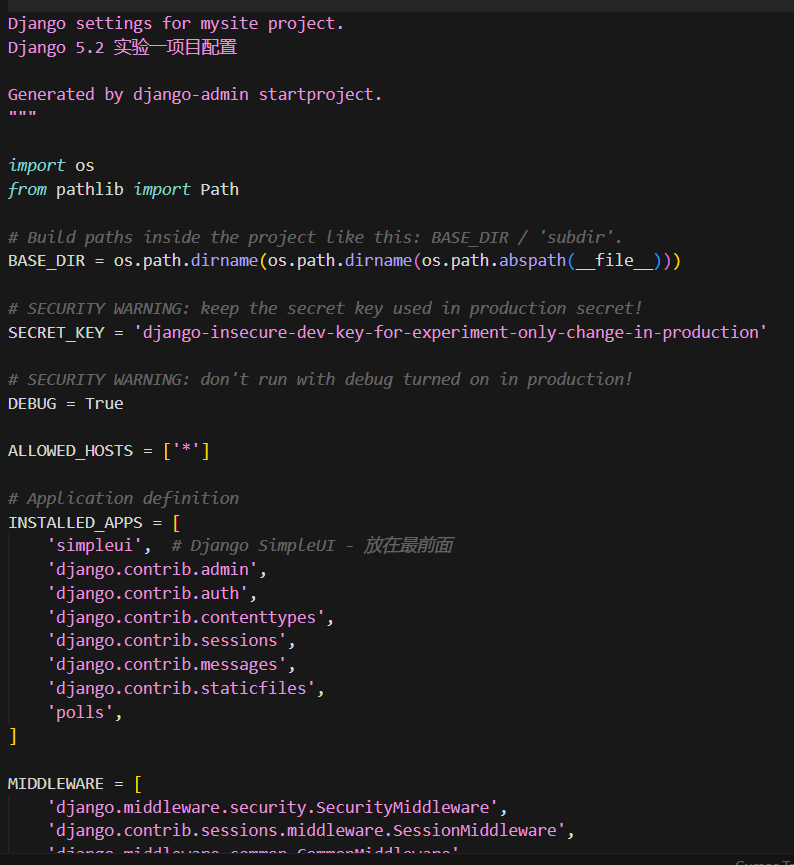
INSTALLED_APPS = [
    'simpleui',  # 必须放在最前面
    'django.contrib.admin',
    'django.contrib.auth',
    # ... 其他应用
]

# 中文配置
LANGUAGE_CODE = 'zh-hans'
TIME_ZONE = 'Asia/Shanghai'
USE_TZ = True
11.3 pymysql 配置
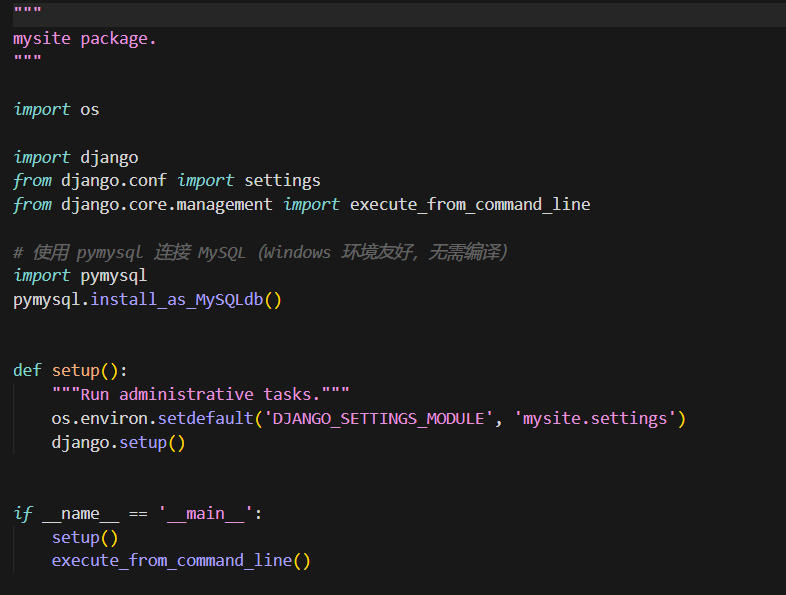
由于 Windows 环境没有编译环境,需要使用 pymysql:
在 mysite/__init__.py 中添加:
import pymysql
pymysql.install_as_MySQLdb()
11.4 SimpleUI 特性
- 简洁美观的界面
- 响应式设计
- 快速后台管理
- 支持自定义主题
11.5 SimpleUI 配置选项
# settings.py

# 登录页 Logo
SIMPLEUI_LOGIN_LOGO = '/static/admin-logo.png'

# 是否显示分析图表
SIMPLEUI_ANALYSIS = False

# 首页信息
SIMPLEUI_HOME_INFO = False

# 首页快捷操作
SIMPLEUI_HOME_ACTION = True
十二、总结
12.1 Django 开发流程
┌─────────────────────────────────────────────────────────┐
│           Django Web 开发流程                           │
├─────────────────────────────────────────────────────────┤
│                                                         │
│   1. 创建项目:django-admin startproject               │
│                                                         │
│   2. 创建应用:python manage.py startapp               │
│                                                         │
│   3. 设计模型:models.py                               │
│                                                         │
│   4. 数据库迁移:                                       │
│      makemigrations → migrate                         │
│                                                         │
│   5. 编写视图:views.py                                │
│                                                         │
│   6. 配置路由:urls.py                                 │
│                                                         │
│   7. 创建模板:templates/                              │
│                                                         │
│   8. 配置 Admin:admin.py                              │
│                                                         │
│   9. 测试:python manage.py test                       │
│                                                         │
│   10. 运行:python manage.py runserver                 │
│                                                         │
└─────────────────────────────────────────────────────────┘
12.2 MVT 架构回顾
| 组件 | 职责 | 文件 |
|---|---|---|
| Model | 数据模型、数据库交互 | models.py |
| View | 业务逻辑、处理请求 | views.py |
| Template | 页面展示、用户界面 | templates/ |
12.3 关键文件说明
| 文件 | 说明 |
|---|---|
| manage.py | Django 管理脚本 |
| settings.py | 项目配置 |
| urls.py | URL 路由配置 |
| models.py | 数据模型定义 |
| views.py | 视图函数 |
| admin.py | Admin 后台配置 |
| forms.py | 表单定义 |
| tests.py | 单元测试 |
| templates/ | 模板文件目录 |
| static/ | 静态文件目录 |
12.4 常用命令速查
# 项目管理
django-admin startproject mysite
python manage.py startapp polls

# 数据库
python manage.py makemigrations
python manage.py migrate

# 管理员
python manage.py createsuperuser

# 测试
python manage.py test polls

# 运行
python manage.py runserver

# Django Shell
python manage.py shell
12.5 学习资源
- Django 官方文档:https://docs.djangoproject.com/zh-hans/6.0/
- Django 官方教程:https://docs.djangoproject.com/zh-hans/6.0/intro/
- SimpleUI:https://gitee.com/tompeppa/simpleui

AtomGit 是由开放原子开源基金会联合 CSDN 等生态伙伴共同推出的新一代开源与人工智能协作平台。平台坚持“开放、中立、公益”的理念,把代码托管、模型共享、数据集托管、智能体开发体验和算力服务整合在一起,为开发者提供从开发、训练到部署的一站式体验。
 9
9 0
0- 0


 已为社区贡献4条内容

所有评论(0)