【Django 实验三】个人主页开发实战
·
【Django 实验三】个人主页开发实战
作者:刘静怡 | 学号:F23016208 | 完成日期:2026年3月29日
目录
一、环境准备
1.1 环境要求
- Python: 3.10+
- Django: 5.2 LTS
- 数据库: MySQL 8.0
- Pillow: 图片处理库
- django-simpleui: Admin 后台美化
1.2 安装依赖
# 安装 Django 和相关依赖
pip install Django==5.2.*
pip install Pillow
pip install django-simpleui
pip install pymysql
1.3 数据库配置
使用 phpstudy_pro 配置 MySQL 数据库:
| 配置项 | 值 |
|---|---|
| 主机 | 127.0.0.1 |
| 端口 | 3306 |
| 用户名 | root |
| 密码 | root |
| 数据库名 | exp3_homepage |
创建数据库:
CREATE DATABASE exp3_homepage CHARACTER SET utf8mb4 COLLATE utf8mb4_unicode_ci;
二、项目创建
2.1 创建 Django 项目和应用
# 1. 创建 Django 项目
django-admin startproject mysite

# 2. 创建 profiles 应用
python manage.py startapp profiles
2.2 项目目录结构
exp3_homepage/
├── manage.py              # Django 管理脚本
├── mysite/                # 项目配置目录
│   ├── __init__.py        # pymysql 配置
│   ├── settings.py         # 项目配置
│   ├── urls.py            # 主 URL 配置
│   └── wsgi.py            # WSGI 配置
├── profiles/              # 个人主页应用
│   ├── __init__.py
│   ├── admin.py           # Admin 配置
│   ├── apps.py            # 应用配置
│   ├── models.py          # 数据模型
│   ├── views.py           # 视图函数
│   ├── urls.py            # URL 配置
│   └── migrations/        # 数据库迁移
├── templates/             # 模板目录
│   └── profiles/
│       └── index.html     # 个人主页模板
├── media/                 # 用户上传文件目录
│   └── avatars/           # 头像存储目录
└── static/                # 静态文件目录
2.3 settings.py 配置
import os

INSTALLED_APPS = [
    'django.contrib.admin',
    'django.contrib.auth',
    'django.contrib.contenttypes',
    'django.contrib.sessions',
    'django.contrib.messages',
    'django.contrib.staticfiles',
    'simpleui',
    'profiles',
]

DATABASES = {
    'default': {
        'ENGINE': 'django.db.backends.mysql',
        'NAME': 'exp3_homepage',
        'USER': 'root',
        'PASSWORD': 'root',
        'HOST': '127.0.0.1',
        'PORT': '3306',
        'OPTIONS': {
            'charset': 'utf8mb4',
        },
    }
}

LANGUAGE_CODE = 'zh-hans'
TIME_ZONE = 'Asia/Shanghai'
USE_TZ = True

MEDIA_URL = '/media/'
MEDIA_ROOT = os.path.join(BASE_DIR, 'media')

SIMPLEUI_HOME_TITLE = '刘静怡 - 个人主页管理'

三、数据模型设计
3.1 Profile 模型定义
在 profiles/models.py 中定义个人资料模型:
from django.db import models


class Profile(models.Model):
    """个人资料模型"""

    name = models.CharField('姓名', max_length=50, default='刘静怡')
    gender = models.CharField('性别', max_length=10, default='女')
    student_id = models.CharField('学号', max_length=20, default='F23016208')
    birth_date = models.DateField('出生日期', blank=True, null=True)
    hometown = models.CharField('籍贯', max_length=100, blank=True)
    email = models.EmailField('邮箱', blank=True)
    phone = models.CharField('电话', max_length=20, blank=True)
    avatar = models.ImageField('头像', upload_to='avatars/', blank=True, null=True)
    bio = models.TextField('个人简介', blank=True)
    research = models.TextField('研究方向', blank=True)
    projects = models.TextField('项目经验', blank=True)

    created_at = models.DateTimeField('创建时间', auto_now_add=True)
    updated_at = models.DateTimeField('更新时间', auto_now=True)

    class Meta:
        verbose_name = '个人资料'
        verbose_name_plural = '个人资料'
        ordering = ['-updated_at']

    def __str__(self):
        return self.name

3.2 模型字段说明
| 字段 | 类型 | 说明 | 默认值 |
|---|---|---|---|
| name | CharField(50) | 姓名 | 刘静怡 |
| gender | CharField(10) | 性别 | 女 |
| student_id | CharField(20) | 学号 | F23016208 |
| birth_date | DateField | 出生日期 | null |
| hometown | CharField(100) | 籍贯 | 空 |
| EmailField | 邮箱 | 空 | |
| phone | CharField(20) | 电话 | 空 |
| avatar | ImageField | 头像 | null |
| bio | TextField | 个人简介 | 空 |
| research | TextField | 研究方向 | 空 |
| projects | TextField | 项目经验 | 空 |
| created_at | DateTimeField | 创建时间 | 自动 |
| updated_at | DateTimeField | 更新时间 | 自动 |
3.3 字段类型详解
- CharField: 字符串字段,需要指定
max_length - TextField: 文本字段,无最大长度限制
- EmailField: 邮箱字段,带格式验证
- DateField: 日期字段
- ImageField: 图片字段,需要 Pillow 支持
- DateTimeField: 日期时间字段,
auto_now_add自动添加创建时间
3.4 执行数据库迁移
# 1. 创建迁移文件
python manage.py makemigrations

# 2. 执行迁移
python manage.py migrate
四、视图函数编写
4.1 个人主页视图
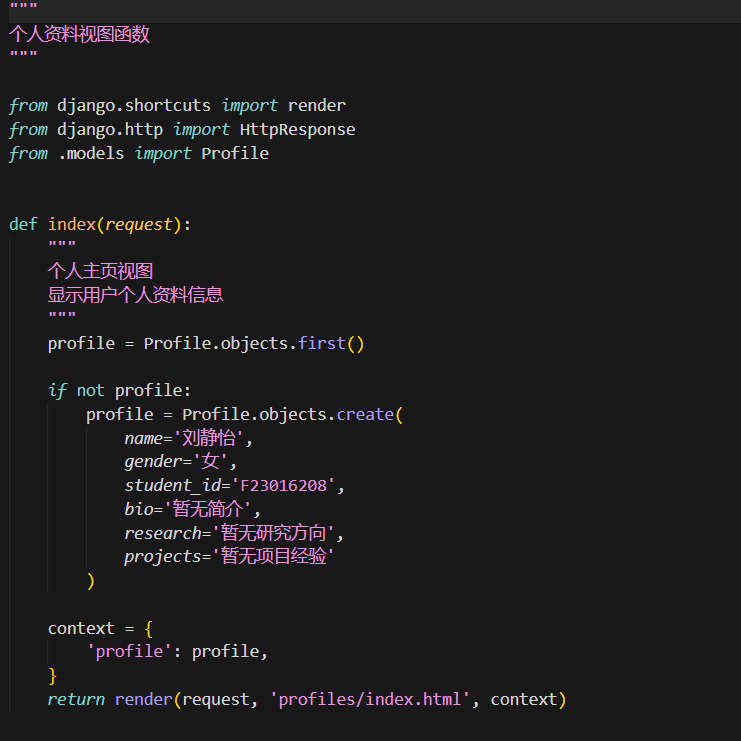
在 profiles/views.py 中编写视图函数:
from django.shortcuts import render
from .models import Profile


def index(request):
    """
    个人主页视图
    显示用户个人资料信息
    """
    profile = Profile.objects.first()

    if not profile:
        profile = Profile.objects.create(
            name='刘静怡',
            gender='女',
            student_id='F23016208',
            bio='暂无简介',
            research='暂无研究方向',
            projects='暂无项目经验'
        )

    context = {
        'profile': profile,
    }
    return render(request, 'profiles/index.html', context)
4.2 视图函数说明
def index(request):
    """
    个人主页视图函数

    参数:
        request: Django HttpRequest 对象

    返回:
        HttpResponse: 渲染后的 HTML 页面

    处理流程:
        1. 从数据库获取第一个 Profile 对象
        2. 如果不存在,自动创建一个默认 Profile
        3. 将 profile 对象传递给模板
        4. 渲染并返回 HTML 页面
    """
4.3 URL 路由配置
profiles/urls.py:
from django.urls import path
from . import views

app_name = 'profiles'

urlpatterns = [
    path('', views.index, name='index'),
]

mysite/urls.py:
from django.contrib import admin
from django.urls import path
from django.conf import settings
from django.conf.urls.static import static
from profiles import views

urlpatterns = [
    path('admin/', admin.site.urls),
    path('', views.index, name='home'),
]

if settings.DEBUG:
    urlpatterns += static(settings.MEDIA_URL, document_root=settings.MEDIA_ROOT)
五、模板系统
5.1 模板文件结构
templates/
└── profiles/
    └── index.html     # 个人主页模板
5.2 个人主页模板
templates/profiles/index.html:
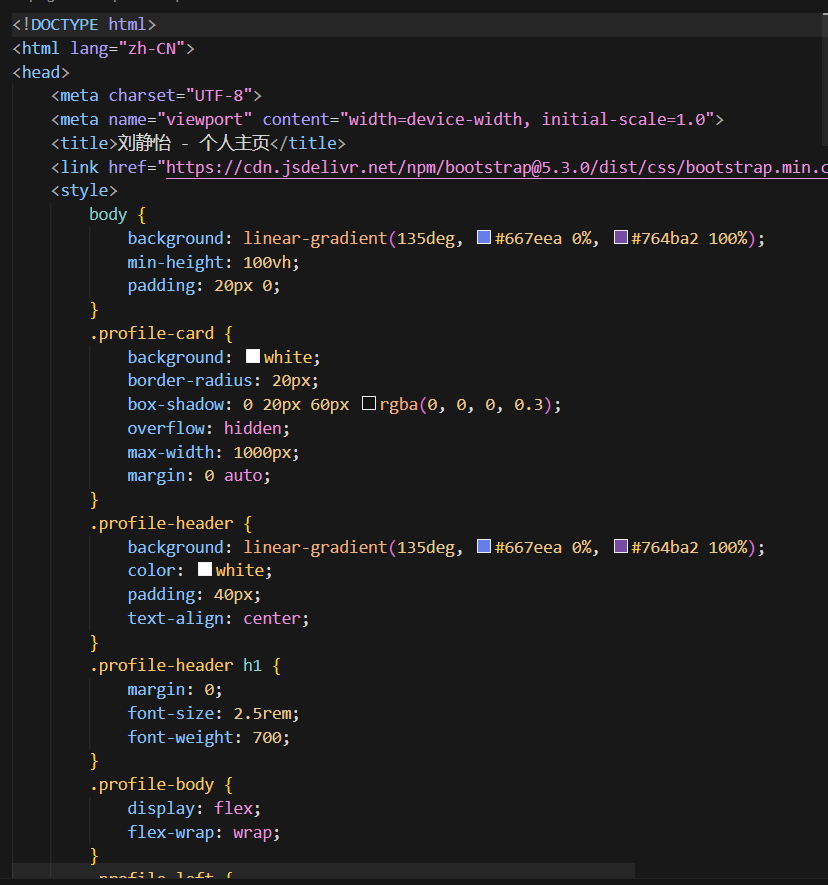
<!DOCTYPE html>
<html lang="zh-CN">
<head>
    <meta charset="UTF-8">
    <meta name="viewport" content="width=device-width, initial-scale=1.0">
    <title>刘静怡 - 个人主页</title>
    <link href="https://cdn.jsdelivr.net/npm/bootstrap@5.3.0/dist/css/bootstrap.min.css" rel="stylesheet">
    <style>
        body {
            background: linear-gradient(135deg, #667eea 0%, #764ba2 100%);
            min-height: 100vh;
            padding: 20px 0;
        }
        .profile-card {
            background: white;
            border-radius: 20px;
            box-shadow: 0 20px 60px rgba(0, 0, 0, 0.3);
            overflow: hidden;
            max-width: 1000px;
            margin: 0 auto;
        }
        /* 更多样式... */
    </style>
</head>
<body>
    <div class="container">
        <div class="profile-card">
            <div class="profile-header">
                <h1>个人主页</h1>
            </div>
            <div class="profile-body">
                <div class="profile-left">
                    {% if profile.avatar %}
                    <img src="{{ profile.avatar.url }}" alt="{{ profile.name }}" class="avatar">
                    {% else %}
                    <div class="avatar-placeholder">
                        {{ profile.name|slice:":1" }}
                    </div>
                    {% endif %}
                    <h2 class="mt-3">{{ profile.name }}</h2>
                    <p class="text-muted">{{ profile.gender }} | {{ profile.student_id }}</p>
                </div>
                <div class="profile-right">
                    <!-- 详细信息 -->
                </div>
            </div>
        </div>
    </div>
</body>
</html>
5.3 Django 模板语法
<!-- 变量渲染 -->
{{ profile.name }}

<!-- 条件判断 -->
{% if profile.avatar %}
    <img src="{{ profile.avatar.url }}">
{% else %}
    <div class="placeholder">无头像</div>
{% endif %}

<!-- 过滤器 -->
{{ profile.name|slice:":1" }}  <!-- 取第一个字符 -->

<!-- URL 反向解析 -->
<a href="{% url 'profile' %}">个人主页</a>
5.4 模板变量说明
| 变量 | 说明 |
|---|---|
| profile.name | 姓名 |
| profile.gender | 性别 |
| profile.student_id | 学号 |
| profile.birth_date | 出生日期 |
| profile.hometown | 籍贯 |
| profile.email | 邮箱 |
| profile.phone | 电话 |
| profile.avatar | 头像图片 |
| profile.avatar.url | 头像 URL |
| profile.bio | 个人简介 |
| profile.research | 研究方向 |
| profile.projects | 项目经验 |
六、Admin 后台配置
6.1 创建超级用户
python manage.py createsuperuser
# 用户名: admin
# 密码: admin123
6.2 Admin 配置
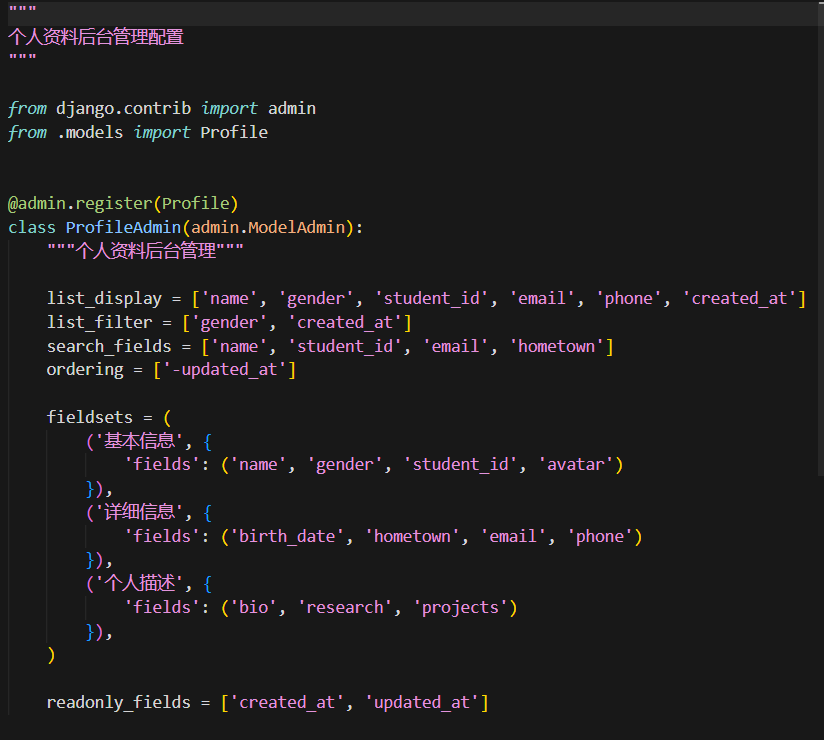
在 profiles/admin.py 中配置后台管理:
from django.contrib import admin
from .models import Profile


@admin.register(Profile)
class ProfileAdmin(admin.ModelAdmin):
    """个人资料后台管理"""

    # 列表页显示的列
    list_display = ['name', 'gender', 'student_id', 'email', 'phone', 'created_at']

    # 右侧过滤栏
    list_filter = ['gender', 'created_at']

    # 搜索框
    search_fields = ['name', 'student_id', 'email', 'hometown']

    # 默认排序
    ordering = ['-updated_at']

    # 表单字段分组
    fieldsets = (
        ('基本信息', {
            'fields': ('name', 'gender', 'student_id', 'avatar')
        }),
        ('详细信息', {
            'fields': ('birth_date', 'hometown', 'email', 'phone')
        }),
        ('个人描述', {
            'fields': ('bio', 'research', 'projects')
        }),
    )

    # 只读字段
    readonly_fields = ['created_at', 'updated_at']
6.3 Admin 配置选项详解
| 选项 | 说明 |
|---|---|
| list_display | 列表页显示的字段 |
| list_filter | 右侧过滤栏字段 |
| search_fields | 搜索框搜索字段 |
| ordering | 默认排序方式 |
| fieldsets | 表单字段分组 |
| readonly_fields | 只读字段 |
6.4 访问 Admin 后台
http://127.0.0.1:8000/admin/
七、页面美化
7.1 页面布局设计
采用左右分栏布局:
┌─────────────────────────────────────────────────────────┐
│                      个人主页                           │
├───────────────────────────┬─────────────────────────────┤
│                           │                             │
│      [头像占位符]          │      详细信息                │
│                           │                             │
│       刘静怡               │      出生日期 | 籍贯        │
│       女 | F23016208       │      邮箱 | 电话            │
│                           │                             │
│                           │      个人简介               │
│                           │      研究方向               │
│                           │      项目经验               │
│                           │                             │
└───────────────────────────┴─────────────────────────────┘
7.2 Bootstrap 5 使用
引入 Bootstrap 5 CDN:
<link href="https://cdn.jsdelivr.net/npm/bootstrap@5.3.0/dist/css/bootstrap.min.css" rel="stylesheet">
<script src="https://cdn.jsdelivr.net/npm/bootstrap@5.3.0/dist/js/bootstrap.bundle.min.js"></script>
7.3 响应式设计
@media (max-width: 768px) {
    .profile-body {
        flex-direction: column;
    }
    .profile-left {
        border-right: none;
        border-bottom: 1px solid #dee2e6;
    }
}
7.4 渐变背景
body {
    background: linear-gradient(135deg, #667eea 0%, #764ba2 100%);
    min-height: 100vh;
}
八、功能完善
8.1 自动创建默认资料
在视图函数中添加自动创建逻辑:
def index(request):
    profile = Profile.objects.first()

    if not profile:
        profile = Profile.objects.create(
            name='刘静怡',
            gender='女',
            student_id='F23016208',
            bio='暂无简介',
            research='暂无研究方向',
            projects='暂无项目经验'
        )

    context = {'profile': profile}
    return render(request, 'profiles/index.html', context)
8.2 头像上传功能
ImageField 配置:
avatar = models.ImageField('头像', upload_to='avatars/', blank=True, null=True)
模板中的头像显示:
{% if profile.avatar %}
    <img src="{{ profile.avatar.url }}" class="avatar">
{% else %}
    <div class="avatar-placeholder">
        {{ profile.name|slice:":1" }}
    </div>
{% endif %}
8.3 媒体文件配置
settings.py:
MEDIA_URL = '/media/'
MEDIA_ROOT = BASE_DIR / 'media'
urls.py:
from django.conf.urls.static import static

if settings.DEBUG:
    urlpatterns += static(settings.MEDIA_URL, document_root=settings.MEDIA_ROOT)
项目截图查看


参考资源:
- Django 官方文档:https://docs.djangoproject.com/zh-hans/
- Bootstrap 5 文档:https://getbootstrap.com/docs/5.3/
- SimpleUI 项目:https://gitee.com/tompeppa/simpleui

AtomGit 是由开放原子开源基金会联合 CSDN 等生态伙伴共同推出的新一代开源与人工智能协作平台。平台坚持“开放、中立、公益”的理念,把代码托管、模型共享、数据集托管、智能体开发体验和算力服务整合在一起,为开发者提供从开发、训练到部署的一站式体验。
更多推荐



 6
6 0
0- 0


 已为社区贡献4条内容

所有评论(0)