UE+Airsim(Win11)+gazebo+AP(WSL)配置——持续更新中
参考链接:
https://zhuanlan.zhihu.com/p/618440744
Win11安装WSL和VS
安装WSL
参考链接:
https://blog.csdn.net/2301_80003447/article/details/158887391?spm=1011.2415.3001.5331
# 查看可安装的版本
wsl.exe --list --online
# 安装特定版本的Ubuntu
wsl.exe --install -d Ubuntu-22.04
安装VS
https://visualstudio.microsoft.com/zh-hans/vs/
Win11安装UE
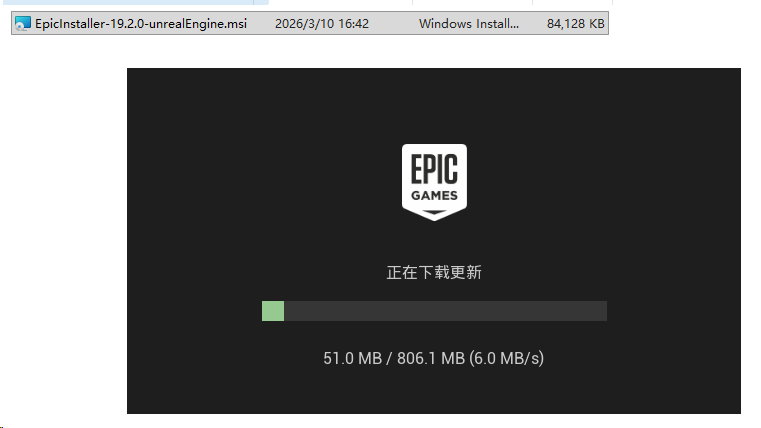
下载EpicInstaller
在官网选择社区版下载EpicInstaller-19.2.0-unrealEngine.msi,安装过程中需要epic账户,没有的话需要创建。
PorjectAirsim 暂时使用的还是Airsim
在 Win11 开始菜单中找到并打开 “Developer Command Prompt for VS 2022”
在英文目录下,使用 git clone https://github.com/iamaisim/ProjectAirSim.git下载代码
cd ProjectAirSim && build all
Airsim
在 Win11 开始菜单中找到并打开 “Developer Command Prompt for VS 2022”
在英文目录下,使用 git clone https://github.com/Microsoft/AirSim.git下载代码
cd AirSim
build.cmd
在build.cmd的时候出现过一个报错
F:\software\My_Airsim\Unreal\Environments\Blocks>powershell -command "& { (Get-ItemProperty 'Registry::HKEY_CLASSES_ROOT\Unreal.ProjectFile\shell\rungenproj' -Name 'Icon' ).'Icon' } > gen_temp.tmp"
Get-ItemProperty : 找不到路径“HKEY_CLASSES_ROOT\Unreal.ProjectFile\shell\rungenproj”,因为该路径不存在。
所在位置 行:1 字符: 6
+ & { (Get-ItemProperty 'Registry::HKEY_CLASSES_ROOT\Unreal.ProjectFile ...
+      ~~~~~~~~~~~~~~~~~~~~~~~~~~~~~~~~~~~~~~~~~~~~~~~~~~~~~~~~~~~~~~~~
    + CategoryInfo          : ObjectNotFound: (HKEY_CLASSES_RO...hell\rungenproj:String) [Get-ItemProperty], ItemNotFoundE
   xception
    + FullyQualifiedErrorId : PathNotFound,Microsoft.PowerShell.Commands.GetItemPropertyCommand
看到原因应该是注册表中没有Unreal.ProjectFile相关参数,查找链接获得解决方式。将epic安装目录(一般在C盘)中的UnrealVersionSelector.exe文件复制到UE引擎的安装目录(如UE_4.27\Engine\Binaries\Win64)下。之后双击运行UnrealVersionSelector.exe就可以在注册表中添加UE参数。
WSL和UE通信
这部分配置比较复杂,网上有英文资料,但也是多次尝试才算成功。
参考链接:
https://ardupilot.org/dev/docs/sitl-with-airsim.html#sitl-with-airsim-usage
https://discuss.ardupilot.org/t/gsoc-2019-airsim-simulator-support-for-ardupilot-sitl-part-ii/46395/5
https://github.com/mahmoudajawad/wsl-hacks/blob/master/wsl2-networking.md
- 找到
UE4Editor.exe
在安装的UE文件夹Engine/Binaries/Win64中找到UE4Editor.exe启动脚本 - 使用win按键
- 进入系统防火墙的高级设置
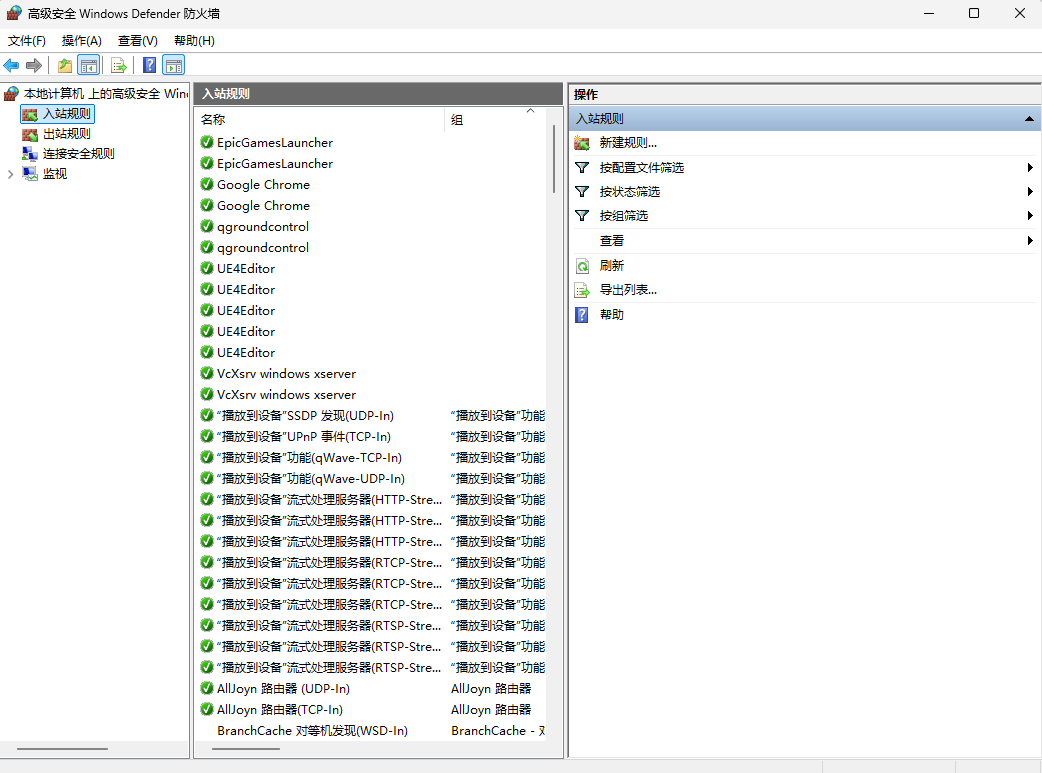
- 左侧点击入站规则,右侧选择
新建规则 - 选择
程序,在程序路径中选择第一步中找到的UE4Editor.exe文件 - 下一页选择允许连接,下一页勾选全部
域/专用和公用 - 下一页取一个辨识度的名字,点击完成
- 获取宿主机IP地址
参考链接建议使用
获取IP地址,但我这样操作提示错误ipconfig.exe | awk '/WSL/ {getline; getline; getline; getline; print substr($14, 1, length($14)-1)}'
应该是Ubuntu系统无法获取ipconfig.exe这样的windows执行文件,虽然也有资料显示Working across Windows and Linux file systems,但我没有成功。-bash: /mnt/c/WINDOWS/system32/ipconfig.exe: cannot execute binary file: Exec format error
我的理解是,这一步的作用就是获取宿主机的IP地址,因此可以使用指令ifconfig查找IP地址,并运行export WSL_HOST_IP=host_IP。
可以使用ping $WSL_HOST_IP测试。 - 将地址填入
/etc/hosts中
运行一下程序,将地址填入/etc/hosts中echo -e "\n$WSL_HOST_IP windows.local" | sudo tee -a /etc/hosts >/dev/null export DISPLAY=$WSL_HOST_IP:0- 可能需要安装
Xlaunch
比较简单,可以在网上找资料,xclock有输出表示正常
启动UE+AIRSIM
启动UE
在settings.json文件中内容都替换为
{
 "SettingsVersion": 1.2,
 "LogMessagesVisible": true,
 "SimMode": "Multirotor",
 "OriginGeopoint": {
   "Latitude": -35.363261,
   "Longitude": 149.165230,
   "Altitude": 583
 },
 "Vehicles": {
   "Copter": {
     "VehicleType": "ArduCopter",
     "UseSerial": false,
     "LocalHostIp": "127.0.0.1",
     "UdpIp": "127.0.0.1",
     "UdpPort": 9003,
     "ControlPort": 9002
   }
 }
}
启动UE窗口可能卡住,在启动SITL之后就正常了。
启动ardupilot
使用指令
sim_vehicle.py -v ArduCopter -f airsim-copter --map --console
启动AP的SITL
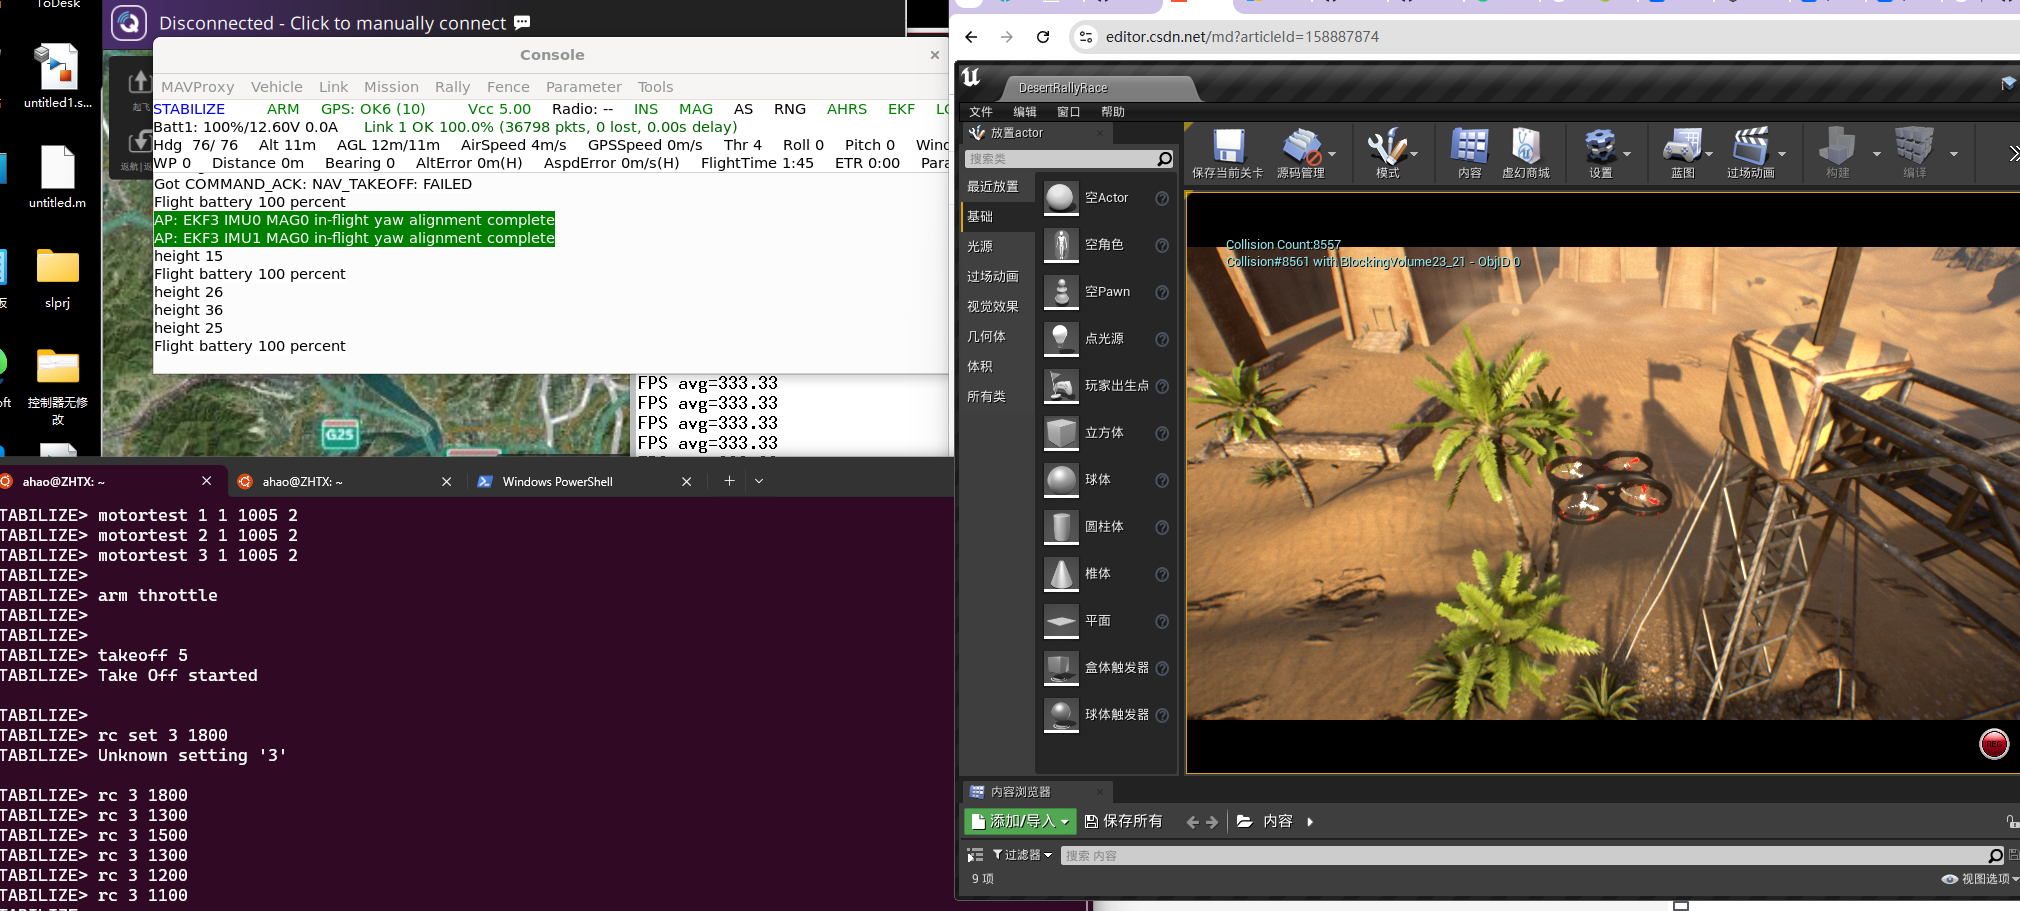
我的地面站暂时连接不上,可以使用以下指令测试电机功能
motortest 1 1 1005 2
motortest 2 1 1005 2
motortest 3 1 1005 2
motortest 4 1 1005 2
使用以下指令测试起飞
param set ARMING_SKIPCHK -1
rc 3 1800
添加端口发布
output add 127.0.0.1:5762
mavros建立连接
ros2 launch mavros apm.launch fcu_url:=tcp://127.0.0.1:5762
启动airsim的ros2节点,实现可见光图像,深度图像等的发布
ros2 launch airsim_ros_pkgs airsim_node.launch.py
使用mavros进行速度控制
python ap_vel_ENU_pub.py
使用Mavros的服务进行解锁上锁和模式切换
ros2 service call /mavros/cmd/arming mavros_msgs/srv/CommandBool "{value: true}"
ros2 service call /mavros/cmd/arming mavros_msgs/srv/CommandBool "{value: false}"
ros2 service call /mavros/set_mode mavros_msgs/srv/SetMode "{base_mode: 0, custom_mode: 'LOITER'}"
ros2 service call /mavros/set_mode mavros_msgs/srv/SetMode "{base_mode: 0, custom_mode: 'GUIDED'}"
ros2 service call /mavros/set_mode mavros_msgs/srv/SetMode "{base_mode: 0, custom_mode: 'LAND'}"
ros2 service call /mavros/cmd/takeoff mavros_msgs/srv/CommandTOL   "{min_pitch: 0.0, yaw: 0.0, latitude: 0.0, longitude: 0.0, altitude: 5.0}"
AIRSIM+ROS1
官方教程中有提供airsim+ros1的操作指南,可以直接按照步骤一步一步来做就好,可实现AIRSIM中可见光相机,激光雷达等传感器信息在ros话题中的发布。
参考链接:
https://microsoft.github.io/AirSim/airsim_ros_pkgs/
https://microsoft.github.io/AirSim/airsim_tutorial_pkgs/
注意:我使用的是WSL2,安装了ubuntu20.04系统和ROS1,官方中虽然有ROS2的文件,但支持好像还不是很好,编译的时候报错,资料也较少,所以还是使用了ROS1
在WSL的ubuntu20.04系统中下载AirSim代码并编译
git clone https://github.com/Microsoft/AirSim.git
cd AirSim
./setup.sh
./build.sh
cd ros
catkin build
为了实现WSL下的airsim节点与windows下的UE仿真可以连接,需要设置一下IP地址export DISPLAY=$(cat /etc/resolv.conf | grep nameserver | awk '{print $2}'):0
运行检查编译是否完成
source devel/setup.bash
roslaunch airsim_ros_pkgs airsim_node.launch output:=screen host:=$WSL_HOST_IP
roslaunch airsim_ros_pkgs rviz.launch
若以上没有问题,则可以正式连接UE,开始仿真。
front_stereo_and_center_mono.json
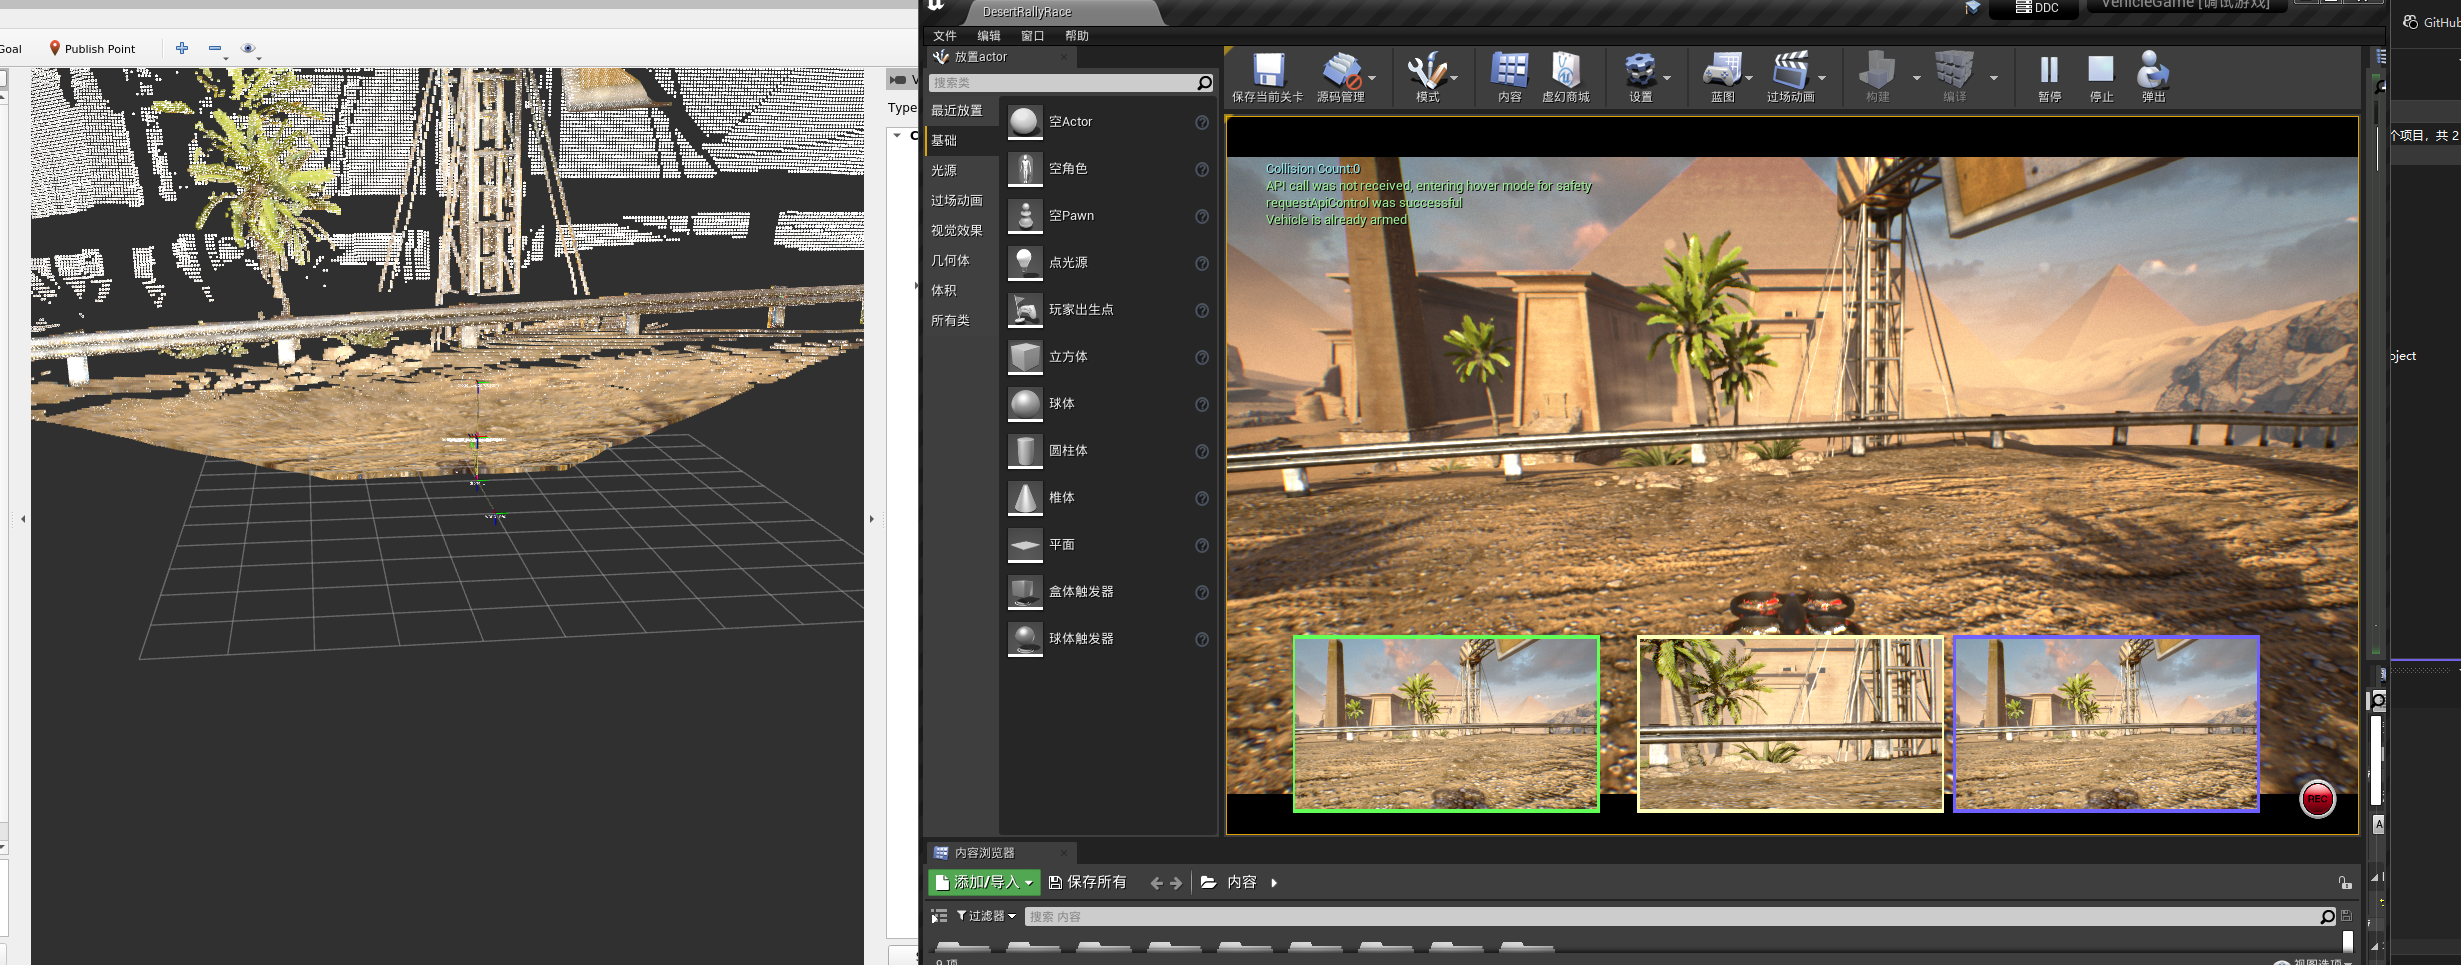
首先可以将以上链接中的json文件内容复制到windows的Documents/AirSim/settings.json中,随后启动UE仿真,加载多旋翼飞行器,可以看到激光雷达、可见光等传感器都顺利加载。
之后在两个wsl终端中分别运行
# pane / terminal 1
$ source PATH_TO/AirSim/ros/devel/setup.bash
$ roslaunch airsim_ros_pkgs airsim_node.launch;

# pane / terminal 2
$ source PATH_TO/AirSim/ros/devel/setup.bash
$ roslaunch airsim_tutorial_pkgs front_stereo_and_center_mono.launch
这样就会打开airsim中的控制节点,并且建立与UE(AIRSIM)的连接,可在新的终端中输入rosservice call /airsim_node/drone_1/takeoff "waitOnLastTask: true"和rosservice call /airsim_node/drone_1/land "waitOnLastTask: true"实现飞行器起飞和降落。

AtomGit 是由开放原子开源基金会联合 CSDN 等生态伙伴共同推出的新一代开源与人工智能协作平台。平台坚持“开放、中立、公益”的理念,把代码托管、模型共享、数据集托管、智能体开发体验和算力服务整合在一起,为开发者提供从开发、训练到部署的一站式体验。
更多推荐



 7
7 0
0- 0


 已为社区贡献2条内容

所有评论(0)