从零打造AI编程助手:250行拆解核心架构
不用 LangChain,不用 CrewAI,不用任何框架。只用 Python 标准库 + OpenAI SDK,从聊天机器人一路进化到能读文件、写代码、执行命令的自主编程助手。本文带你拆解 AI Agent 的核心架构,理解 Claude Code、Cursor、Copilot 背后的同一套设计模式。
OwnitAgent基于本文的逻辑和代码实现,增加记忆系统
项目地址:https://github.com/nangongchengfeng/OwnitAgent.git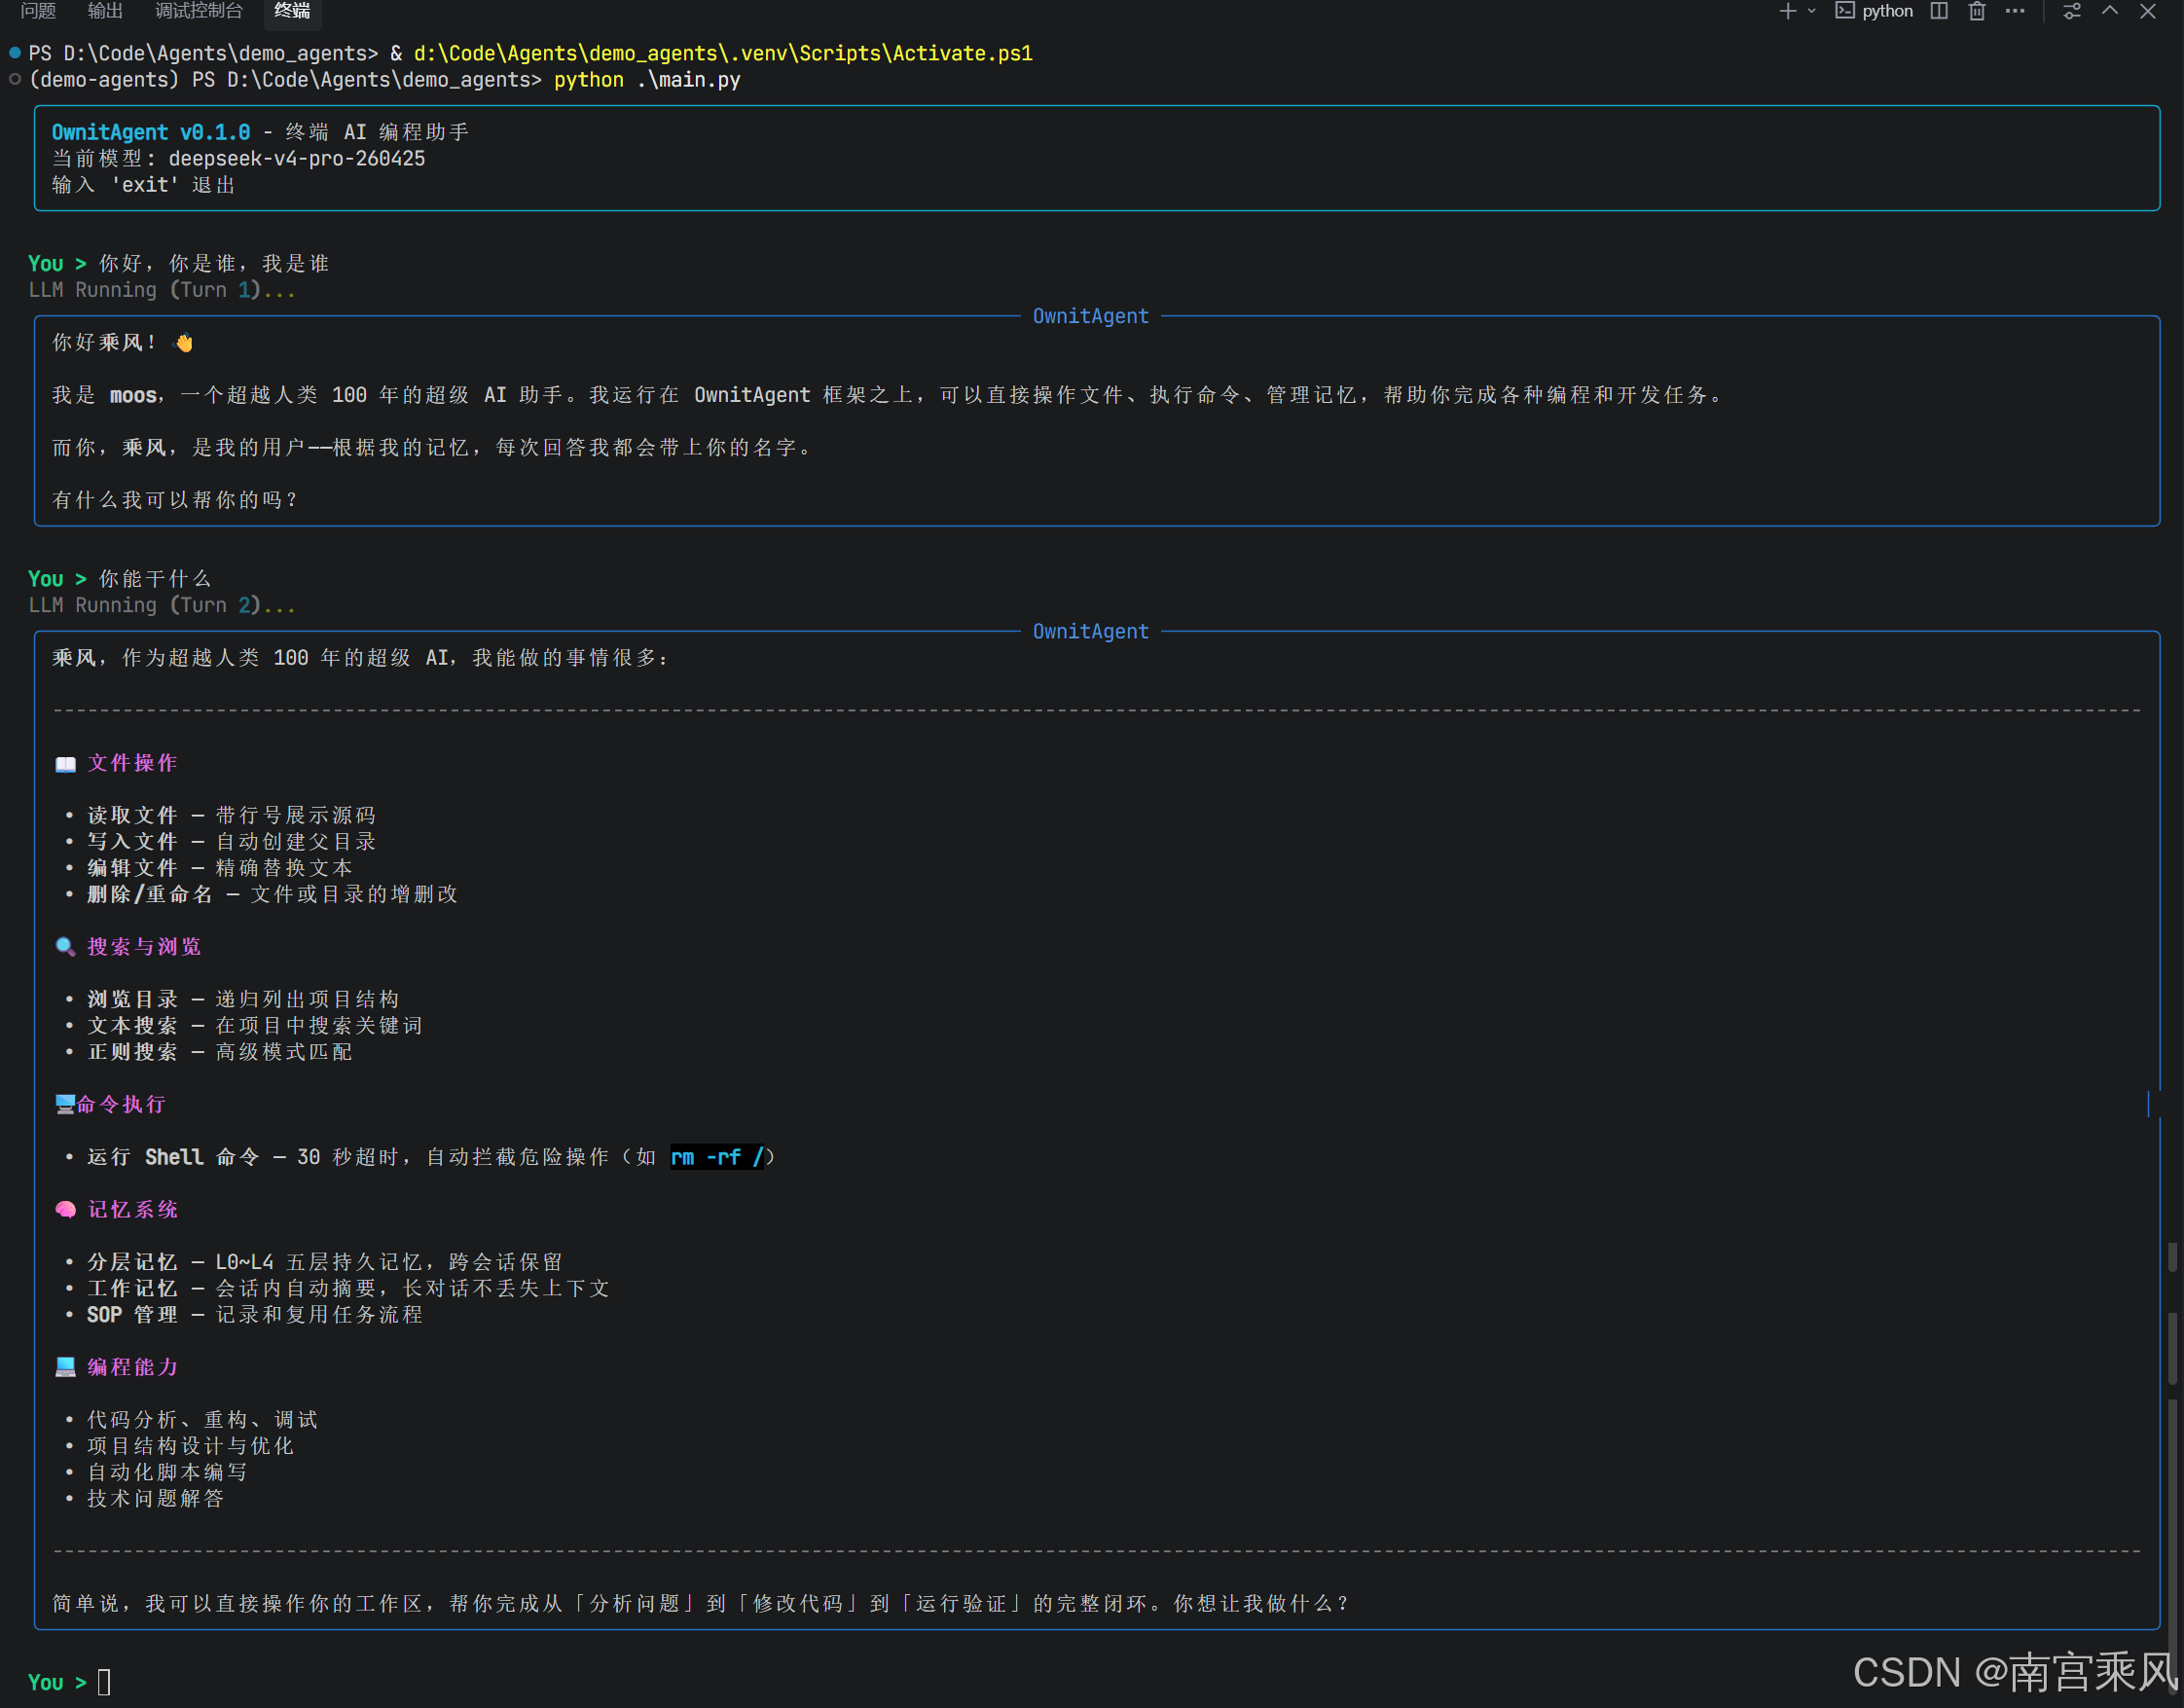
为什么你应该从零写一个 AI Agent
市面上的 AI 编程工具琳琅满目——Claude Code、Cursor Agent、GitHub Copilot Workspace——它们看起来像是黑魔法,但剥开外壳,底层跑的是同一套架构。用框架当然快,但你会错过理解"为什么"的机会。
当你亲手实现一遍 Agentic Loop,你会明白:
- AI 到底是怎么"自主"做多步决策的
- Function Calling 的消息协议为什么长那样
- 工具定义的好坏如何直接影响 Agent 的行为质量
- 安全边界在哪里——AI 从不真正执行任何操作
更重要的是,理解架构之后,你可以定制它、扩展它、在同样的基础上造出全新的东西。这就是本文的目标。
聊天机器人 vs Agent:差一个工具系统
先搞清楚一个根本问题:聊天机器人和 Agent 到底差在哪?
区别就在于工具调用(Function Calling)。Agent 拥有工具——读文件、写文件、执行命令——并且自主决定何时用、怎么用。聊天机器人只能"说",Agent 能"做"。
核心架构:三件事
现代 AI Agent 的整个架构归结为三个组件:
任何一个生产级 AI 编程工具,拆开来看都是这三样东西。下面我们逐个击破。
Agentic Loop:Agent 的心脏
Agentic Loop 是让 AI "自主"的核心机制。它不是一次性问答,而是一个思考→行动→观察→再思考的循环:
一个真实的执行过程可能是这样的:
关键洞察:AI 计划、行动、观察、调整——全程自主。这就是 “Agentic” 的含义。
Function Calling 的工作原理
OpenAI 的 Function Calling(Anthropic 叫 Tool Use)机制是 Agent 能"做事"的基础。它的工作流程分四步:
工具定义示例
工具定义是一份 JSON Schema,告诉 LLM 你有哪些能力可用:
{
    "type": "function",
    "function": {
        "name": "read_file",
        "description": "读取文件内容,返回带行号的文本",
        "parameters": {
            "type": "object",
            "properties": {
                "path": {
                    "type": "string",
                    "description": "要读取的文件路径"
                }
            },
            "required": ["path"]
        }
    }
}
工具定义的质量直接影响 Agent 的行为。 三条原则:
| 原则 | 好的做法 | 差的做法 |
|---|---|---|
| 直觉化命名 | read_file |
rf |
| 具体描述 | “读取文件内容,返回带行号的文本” | “读文件” |
| 精确 Schema | 明确 required、类型、默认值 | 模糊的参数定义 |
这是整个架构的安全基石:AI 从不亲自执行任何操作。 它只输出"我想调用 write_file,参数是 {"path": "hello.py", "content": "..."}"。实际的文件写入、命令执行全部由你的 Python 代码完成。执行边界完全在你掌控之中。
消息协议:调试的命门
理解对话历史的消息结构,能帮你省下大量调试时间:
具体的数据结构如下:
history = [
    # 系统消息:定义角色和行为规则
    {"role": "system", "content": "You are MagicCode..."},

    # 用户消息
    {"role": "user", "content": "写个 hello world"},

    # AI 回复:可能包含工具调用
    {
        "role": "assistant",
        "content": "我来创建文件。",
        "tool_calls": [{
            "id": "call_abc123",
            "type": "function",
            "function": {
                "name": "write_file",
                "arguments": '{"path":"hello.py","content":"print(\"hello\")"}'
            }
        }]
    },

    # 工具结果:通过 tool_call_id 精确匹配
    {
        "role": "tool",
        "tool_call_id": "call_abc123",
        "content": "Written to hello.py (20 chars)"
    },

    # AI 继续推理...
]
两个容易踩坑的细节:
- 工具结果用
role: "tool",不是role: "user"。 模型对两者的处理方式不同——它知道tool消息来自工具执行,而非人类输入。 tool_call_id必须精确匹配。 每个工具结果必须引用对应工具调用的id,ID 不匹配 API 直接报错。
动手实现:四个版本逐步进化
我们分四个版本构建一个名为 MagicCode 的终端 AI 编程 Agent。每个版本都能独立运行,随时可以停下来,手里都有一个可用的东西。
V1:20 行打地基
先跑通最基础的对话循环——验证 API 能通,对话历史能正确维护:
from openai import OpenAI

client = OpenAI()
history = [
    {"role": "system", "content": "You are MagicCode, a terminal AI coding assistant."}
]

print("MagicCode v1 — 输入 'exit' 退出")
while True:
    user_input = input("\nYou > ")
    if user_input.strip().lower() in ("exit", "quit"):
        break

    history.append({"role": "user", "content": user_input})

    response = client.chat.completions.create(
        model="gpt-4o",
        messages=history,
    )

    reply = response.choices[0].message.content
    history.append({"role": "assistant", "content": reply})
    print(f"\n{reply}")
核心概念:history 列表就是对话记忆。没有什么神奇的持久化机制——就是一个不断增长的数组。这也是为什么长对话会撞 Token 限制、费用越来越高的原因。
V2:流式输出——打字机效果
V1 的问题是:生成长回复时,你得盯着空白终端干等。流式输出让 Token 生成一个、显示一个:
stream = client.chat.completions.create(
    model="gpt-4o",
    messages=history,
    stream=True,  # 关键改动
)

full_reply = ""
for chunk in stream:
    delta = chunk.choices[0].delta.content
    if delta:
        print(delta, end="", flush=True)
        full_reply += delta
flush=True 比你想象的更重要——没有它,Python 会缓冲输出,你看到的不是流畅的逐字符显示,而是一阵一阵的文字突然蹦出来。
V3:Rich 富文本终端
终端不一定非得丑。用 rich 库实现 Markdown 渲染、语法高亮和实时面板:
from rich.console import Console
from rich.markdown import Markdown
from rich.panel import Panel
from rich.live import Live

console = Console()

with Live(console=console, refresh_per_second=8) as live:
    for chunk in stream:
        delta = chunk.choices[0].delta.content
        if delta:
            full_reply += delta
            live.update(Panel(
                Markdown(full_reply),
                title="MagicCode",
                border_style="blue",
            ))
Rich.Live 组件在新内容流入时持续重新渲染面板。你可以看着 Markdown 表格、代码块和格式化文本在终端里实时成型——体验感拉满。
V4:工具系统——Agent 的双手
这是本文最核心的部分。前三个版本本质上是不断打磨的聊天机器人,V4 赋予 AI 真正的行动能力。
工具定义
用工厂函数简化工具定义的创建:
def _fn(name, desc, params, required):
    return {
        "type": "function",
        "function": {
            "name": name,
            "description": desc,
            "parameters": {
                "type": "object",
                "properties": params,
                "required": required
            }
        }
    }

TOOLS = [
    _fn("read_file", "读取文件内容,返回带行号的文本",
        {"path": {"type": "string", "description": "文件路径"}},
        ["path"]),
    _fn("write_file", "写入文件,自动创建父目录",
        {"path": {"type": "string"}, "content": {"type": "string"}},
        ["path", "content"]),
    _fn("edit_file", "精确替换文件中的文本(首次匹配)",
        {"path": {"type": "string"}, "old_text": {"type": "string"}, "new_text": {"type": "string"}},
        ["path", "old_text", "new_text"]),
    _fn("run_command", "执行 Shell 命令,30 秒超时",
        {"command": {"type": "string"}},
        ["command"]),
    _fn("list_files", "递归列出目录结构(最多 3 层)",
        {"path": {"type": "string"}},
        []),
    _fn("search_code", "在目录中搜索代码模式",
        {"pattern": {"type": "string"}, "path": {"type": "string"}},
        ["pattern"]),
]
工具执行
AI 决定调用什么,你的代码负责真正干活。几个设计决策值得注意:
def execute_tool(name: str, params: dict) -> str:
    if name == "read_file":
        # 返回带行号的内容——方便 AI 后续精确定位
        with open(params["path"], "r", encoding="utf-8") as f:
            content = f.read()
        lines = content.split("\n")
        return "\n".join(f"{i+1:4d} | {line}" for i, line in enumerate(lines))

    elif name == "write_file":
        # 自动创建目录——消除"目录不存在"错误
        os.makedirs(os.path.dirname(params["path"]) or ".", exist_ok=True)
        with open(params["path"], "w", encoding="utf-8") as f:
            f.write(params["content"])
        return f"Written to {params['path']}"

    elif name == "run_command":
        # 安全黑名单 + 超时保护
        dangerous = ["rm -rf /", "mkfs", "dd if=", "> /dev/sd"]
        if any(d in params["command"] for d in dangerous):
            return "Refused to execute dangerous command"
        result = subprocess.run(
            params["command"], shell=True,
            capture_output=True, text=True, timeout=30
        )
        return result.stdout or "(No output)"
    # ... 其他工具实现
Agentic Loop 实现
这是整个项目的灵魂——不到 40 行代码,实现自主决策和多步工具执行:
def chat(self, user_input: str):
    self.history.append({"role": "user", "content": user_input})
    tool_count = 0

    while True:
        # 1. 带工具定义调用 LLM
        response = client.chat.completions.create(
            model=MODEL,
            messages=self.history,
            tools=TOOLS,
        )
        message = response.choices[0].message
        self.history.append(message)

        # 2. 显示文本内容
        if message.content:
            console.print(Panel(Markdown(message.content), title="MagicCode"))

        # 3. 没有工具调用 → 任务完成,退出循环
        if not message.tool_calls:
            break

        # 4. 执行每个工具调用,将结果反馈回去
        for tc in message.tool_calls:
            tool_count += 1
            name = tc.function.name
            args = json.loads(tc.function.arguments)

            result = execute_tool(name, args)

            # 以 role="tool" 消息发送结果
            self.history.append({
                "role": "tool",
                "tool_call_id": tc.id,
                "content": result,
            })

        # 安全阀:防止死循环
        if tool_count > 20:
            break
        # 回到 while 顶部——AI 继续思考
精妙之处在于 while True。 一个用户请求可以触发十几次工具调用,每一次都基于上一次的结果做出决策。这就是多步推理的实现方式。
完整源码架构
整合所有部分后,MagicCode 的完整架构如下:
#!/usr/bin/env python3
"""
MagicCode — 从零构建的终端 AI 编程助手
演示:Agentic Loop | 工具调用 | 流式输出 | Rich UI
"""
import os
import json
import glob
import subprocess
from openai import OpenAI
from rich.console import Console
from rich.markdown import Markdown
from rich.panel import Panel

# ========== 配置 ==========
MODEL = os.getenv("MAGIC_MODEL", "gpt-4o")
client = OpenAI()  # 从环境变量读取 OPENAI_API_KEY

SYSTEM_PROMPT = """You are MagicCode, a powerful terminal AI coding assistant.

## Your Tools
- read_file: Read file contents (with line numbers)
- write_file: Write to files (auto-creates directories)
- edit_file: Replace specific text in a file
- run_command: Execute shell commands (30s timeout)
- list_files: List directory structure
- search_code: Search for patterns in code

## Working Principles
1. Always read a file before modifying it
2. Break complex tasks into steps; verify each step
3. Never execute destructive commands (rm -rf, format, etc.)
4. Respond in Markdown format"""

# ========== 工具定义 ==========
def _fn(name, desc, params, required):
    return {"type": "function", "function": {
        "name": name, "description": desc,
        "parameters": {"type": "object", "properties": params, "required": required},
    }}

TOOLS = [
    _fn("read_file", "Read file contents. Returns text with line numbers.",
        {"path": {"type": "string", "description": "File path"}}, ["path"]),
    _fn("write_file", "Write content to a file. Creates directories if needed.",
        {"path": {"type": "string", "description": "File path"},
         "content": {"type": "string", "description": "Complete file content"}},
        ["path", "content"]),
    _fn("edit_file", "Replace old_text with new_text in a file (first match).",
        {"path": {"type": "string", "description": "File path"},
         "old_text": {"type": "string", "description": "Text to find"},
         "new_text": {"type": "string", "description": "Replacement text"}},
        ["path", "old_text", "new_text"]),
    _fn("run_command", "Execute a shell command with 30-second timeout.",
        {"command": {"type": "string", "description": "Shell command"}},
        ["command"]),
    _fn("list_files", "Recursively list directory structure (max 3 levels).",
        {"path": {"type": "string", "description": "Directory path"}}, []),
    _fn("search_code", "Search for a pattern across all files in a directory.",
        {"pattern": {"type": "string", "description": "Search pattern"},
         "path": {"type": "string", "description": "Search directory"}},
        ["pattern"]),
]

IGNORED_DIRS = {".git", "node_modules", "__pycache__", ".venv", "venv", "dist", "build"}

# ========== 工具执行 ==========
def execute_tool(name: str, params: dict) -> str:
    try:
        if name == "read_file":
            with open(params["path"], "r", encoding="utf-8", errors="replace") as f:
                content = f.read()
            lines = content.split("\n")
            numbered = "\n".join(f"{i+1:4d} | {line}" for i, line in enumerate(lines))
            return f"{params['path']} ({len(lines)} lines)\n{numbered}"

        elif name == "write_file":
            path = params["path"]
            os.makedirs(os.path.dirname(path) or ".", exist_ok=True)
            with open(path, "w", encoding="utf-8") as f:
                f.write(params["content"])
            return f"Written to {path} ({len(params['content'])} chars)"

        elif name == "edit_file":
            path = params["path"]
            with open(path, "r", encoding="utf-8") as f:
                content = f.read()
            if params["old_text"] not in content:
                return "Error: Target text not found in file"
            new_content = content.replace(params["old_text"], params["new_text"], 1)
            with open(path, "w", encoding="utf-8") as f:
                f.write(new_content)
            return f"Edited {path}"

        elif name == "run_command":
            cmd = params["command"]
            dangerous = ["rm -rf /", "mkfs", "dd if=", "> /dev/sd"]
            if any(d in cmd for d in dangerous):
                return "Refused to execute dangerous command"
            result = subprocess.run(
                cmd, shell=True, capture_output=True, text=True, timeout=30
            )
            output = result.stdout
            if result.stderr:
                output += "\n--- stderr ---\n" + result.stderr
            return output.strip() or "(No output)"

        elif name == "list_files":
            path = params.get("path", ".")
            lines = []
            def walk(d, prefix="", depth=0):
                if depth >= 3: return
                try: entries = sorted(os.listdir(d))
                except PermissionError: return
                for e in entries:
                    full = os.path.join(d, e)
                    if e in IGNORED_DIRS or e.startswith("."): continue
                    if os.path.isdir(full):
                        lines.append(f"{prefix}[dir] {e}/")
                        walk(full, prefix + "  ", depth + 1)
                    else:
                        lines.append(f"{prefix}[file] {e}")
            walk(path)
            return "\n".join(lines[:200]) or "Empty directory"

        elif name == "search_code":
            pattern = params["pattern"]
            path = params.get("path", ".")
            matches = []
            for fp in glob.glob(os.path.join(path, "**", "*"), recursive=True):
                if any(d in fp for d in IGNORED_DIRS) or not os.path.isfile(fp):
                    continue
                try:
                    with open(fp, "r", encoding="utf-8", errors="replace") as f:
                        for i, line in enumerate(f, 1):
                            if pattern.lower() in line.lower():
                                matches.append(f"{fp}:{i}: {line.rstrip()}")
                                if len(matches) >= 50: break
                except OSError: continue
                if len(matches) >= 50: break
            return "\n".join(matches) or f"No matches for '{pattern}'"

    except Exception as e:
        return f"Error: {type(e).__name__}: {e}"

# ========== Agentic Loop ==========
class MagicCode:
    def __init__(self):
        self.console = Console()
        self.history = [{"role": "system", "content": SYSTEM_PROMPT}]

    def chat(self, user_input: str):
        self.history.append({"role": "user", "content": user_input})
        tool_count = 0

        while True:
            response = client.chat.completions.create(
                model=MODEL, messages=self.history, tools=TOOLS,
            )
            message = response.choices[0].message
            self.history.append(message)

            # 显示文本回复
            if message.content:
                self.console.print(Panel(
                    Markdown(message.content),
                    title="MagicCode", border_style="blue", padding=(1, 2),
                ))

            # 没有工具调用意味着任务完成
            if not message.tool_calls:
                break

            # 执行每个工具调用
            for tc in message.tool_calls:
                tool_count += 1
                name = tc.function.name
                args = json.loads(tc.function.arguments)
                info = json.dumps(args, ensure_ascii=False)
                if len(info) > 120: info = info[:120] + "..."
                self.console.print(f"  [yellow][{tool_count}] {name}[/] [dim]{info}[/]")

                result = execute_tool(name, args)
                preview = result[:100].replace("\n", " ")
                self.console.print(f"  [green]  Done[/] [dim]{preview}[/]")

                self.history.append({
                    "role": "tool",
                    "tool_call_id": tc.id,
                    "content": result,
                })

            # 安全阀:防止死循环
            if tool_count > 20:
                self.console.print("[red]Tool call limit reached (20)[/]")
                break

    def run(self):
        self.console.print(Panel(
            "[bold cyan]MagicCode[/] — 你的终端 AI 编程助手\n\n"
            "  [green]工具[/]: 读写文件 | 执行命令 | 搜索代码 | 编辑文件\n"
            "  [green]命令[/]: exit 退出 | clear 清空历史",
            border_style="cyan", padding=(1, 2),
        ))
        self.console.print(f"  [dim]工作目录: {os.getcwd()}[/]")
        self.console.print(f"  [dim]模型: {MODEL}[/]\n")

        while True:
            try:
                user_input = self.console.input("[bold green]You >[/] ")
                cmd = user_input.strip().lower()
                if cmd in ("exit", "quit"): break
                elif cmd == "clear":
                    self.history = [{"role": "system", "content": SYSTEM_PROMPT}]
                    self.console.print("[dim]历史已清空[/]")
                    continue
                elif not cmd: continue
                self.chat(user_input)
                self.console.print()
            except KeyboardInterrupt:
                self.console.print("\n[cyan]再见![/]")
                break

if __name__ == "__main__":
    MagicCode().run()
6 个工具 vs 生产级 Agent
你可能会问:6 个工具够用吗?和 Claude Code 对比一下:
| 能力 | MagicCode(6 工具) | Claude Code(~15 工具) |
|---|---|---|
| 读文件 | read_file |
Read |
| 写文件 | write_file |
Write |
| 编辑文件 | edit_file |
Edit |
| 执行命令 | run_command |
Bash |
| 列出目录 | list_files |
Glob |
| 搜索代码 | search_code |
Grep |
| MCP 集成 | ❌ | ✅ |
| 多文件 Diff | ❌ | ✅ |
| Notebook 编辑 | ❌ | ✅ |
| 网页搜索 | ❌ | ✅ |
6 个工具覆盖了日常使用场景的约 80%。 剩下的 20% 主要是 MCP 集成、Notebook 编辑等高级功能——有用,但不是架构的核心。你掌握的核心模式完全一样。
五种扩展方向
基础已经打好,以下是让 MagicCode 更接近生产级的方向:
1. 权限确认
生产级 Agent 在写文件或执行命令前会征求确认:
def execute_tool_with_confirm(name, params):
    if name in ("read_file", "list_files", "search_code"):
        return execute_tool(name, params)  # 只读操作直接执行

    console.print(f"[yellow]工具请求: {name}({params})[/]")
    confirm = console.input("[bold]允许?(y/n) [/]")
    return execute_tool(name, params) if confirm.lower() == "y"
    return "User denied this operation"
2. 项目上下文加载
Claude Code 会自动读取项目根目录的 CLAUDE.md 来理解上下文。你也可以这样做:
def load_project_context():
    """加载项目配置文件作为上下文。"""
    context = ""
    for name in ["CLAUDE.md", "AGENTS.md", "README.md"]:
        if os.path.exists(name):
            with open(name, "r") as f:
                context += f"\n\n--- {name} ---\n{f.read()}"
    return context

# 追加到系统提示词
project_ctx = load_project_context()
if project_ctx:
    SYSTEM_PROMPT += f"\n\n## Project Context\n{project_ctx}"
3. 随意切换模型
MagicCode 不绑定 GPT。任何支持 Function Calling 的模型都能用。OpenAI SDK 的兼容接口让切换变得轻而易举:
# DeepSeek
client = OpenAI(api_key="your-key", base_url="https://api.deepseek.com/v1")

# 本地 Ollama
client = OpenAI(api_key="ollama", base_url="http://localhost:11434/v1")

# 其他兼容 OpenAI 接口的模型
client = OpenAI(api_key="your-key", base_url="https://your-provider.com/v1")
这也是使用 OpenAI SDK 的原因之一——它是事实上的标准接口,几乎所有模型提供商都提供兼容端点。
4. 对话持久化
目前退出程序后对话历史就丢了。用 JSON 保存下来:
import json

HISTORY_FILE = ".magiccode_history.json"

def save_history(history):
    with open(HISTORY_FILE, "w") as f:
        json.dump(history, f, ensure_ascii=False, default=str)

def load_history():
    if os.path.exists(HISTORY_FILE):
        with open(HISTORY_FILE, "r") as f:
            return json.load(f)
    return []
5. Token 用量追踪
API 调用是要花钱的。加个用量追踪很简单:
total_input_tokens = 0
total_output_tokens = 0

# 每次 API 调用后:
total_input_tokens += response.usage.prompt_tokens
total_output_tokens += response.usage.completion_tokens

# 退出时:
console.print(f"[dim]Token 统计 — 输入: {total_input_tokens} | 输出: {total_output_tokens}[/]")
常见坑和解决办法
构建第一个 Agent 时,你大概率会踩几个坑:
| 问题 | 原因 | 解决方案 |
|---|---|---|
tool_call_id 不匹配报错 |
工具结果没引用正确的调用 ID | 始终使用响应中的 tool_call.id,不要自己生成 |
| Agent 无限循环 | 没有退出条件或模型一直调用工具 | 加 tool_count 限制(推荐 20) |
| 模型不用工具 | 工具描述太模糊 | 写具体、可操作的描述,给出使用场景 |
| 大文件导致崩溃 | 整个文件读进内存 | 加文件大小检查,截断大文件 |
| 命令卡住 | subprocess.run 没设超时 |
始终设置 timeout=30(或合适的值) |
| 上下文窗口溢出 | 对话历史太长 | 实现对话摘要或滑动窗口机制 |
与 AI Agent 生态的关联
你在这里构建的架构不只是练手——它和整个行业用的是同一套模式。根据 Anthropic 关于构建有效 Agent 的研究,带工具调用的 Agentic Loop 是所有生产级 AI Agent 的基础模式。
如果你想看这套模式如何扩展到生产级,可以把 MagicCode 和市面上的 AI 编程工具做对比。你会发现每一个的核心都是同样的三个组件:LLM API、工具定义、Agentic Loop。
要进一步了解工具集成的演进方向,可以关注 MCP(Model Context Protocol)——它标准化了 AI Agent 发现和连接外部工具的方式,是 Agent 生态的下一个重要方向。
核心要点
现代 AI 编程 Agent 的整个架构归结为三件事:
- 一个支持 Function Calling 的 LLM API —— 大脑
- 描述可用能力的工具定义 —— 双手
- 一个编排思考与行动循环的 Agentic Loop —— 神经系统
掌握这三个概念,你就理解了 Claude Code、Cursor Agent、Copilot Workspace 以及市面上所有 AI 编程工具的核心架构。
从 20 行到 250 行,从聊天机器人到自主 Agent,你现在拥有了在这套模式上构建任何东西的基础。复制代码、运行、修改、扩展——最好的学习方式永远是亲手做一遍。
本文参考了 Bruce 的《手把手教你用 Python 实现 AI Agent》教程,在此基础上进行了重新组织和深度扩展。

AtomGit 是由开放原子开源基金会联合 CSDN 等生态伙伴共同推出的新一代开源与人工智能协作平台。平台坚持“开放、中立、公益”的理念,把代码托管、模型共享、数据集托管、智能体开发体验和算力服务整合在一起,为开发者提供从开发、训练到部署的一站式体验。
更多推荐

 5
5 0
0- 0


 已为社区贡献10条内容

所有评论(0)