基于视觉大模型的UI截图到代码生成
基于视觉大模型的UI截图到代码生成
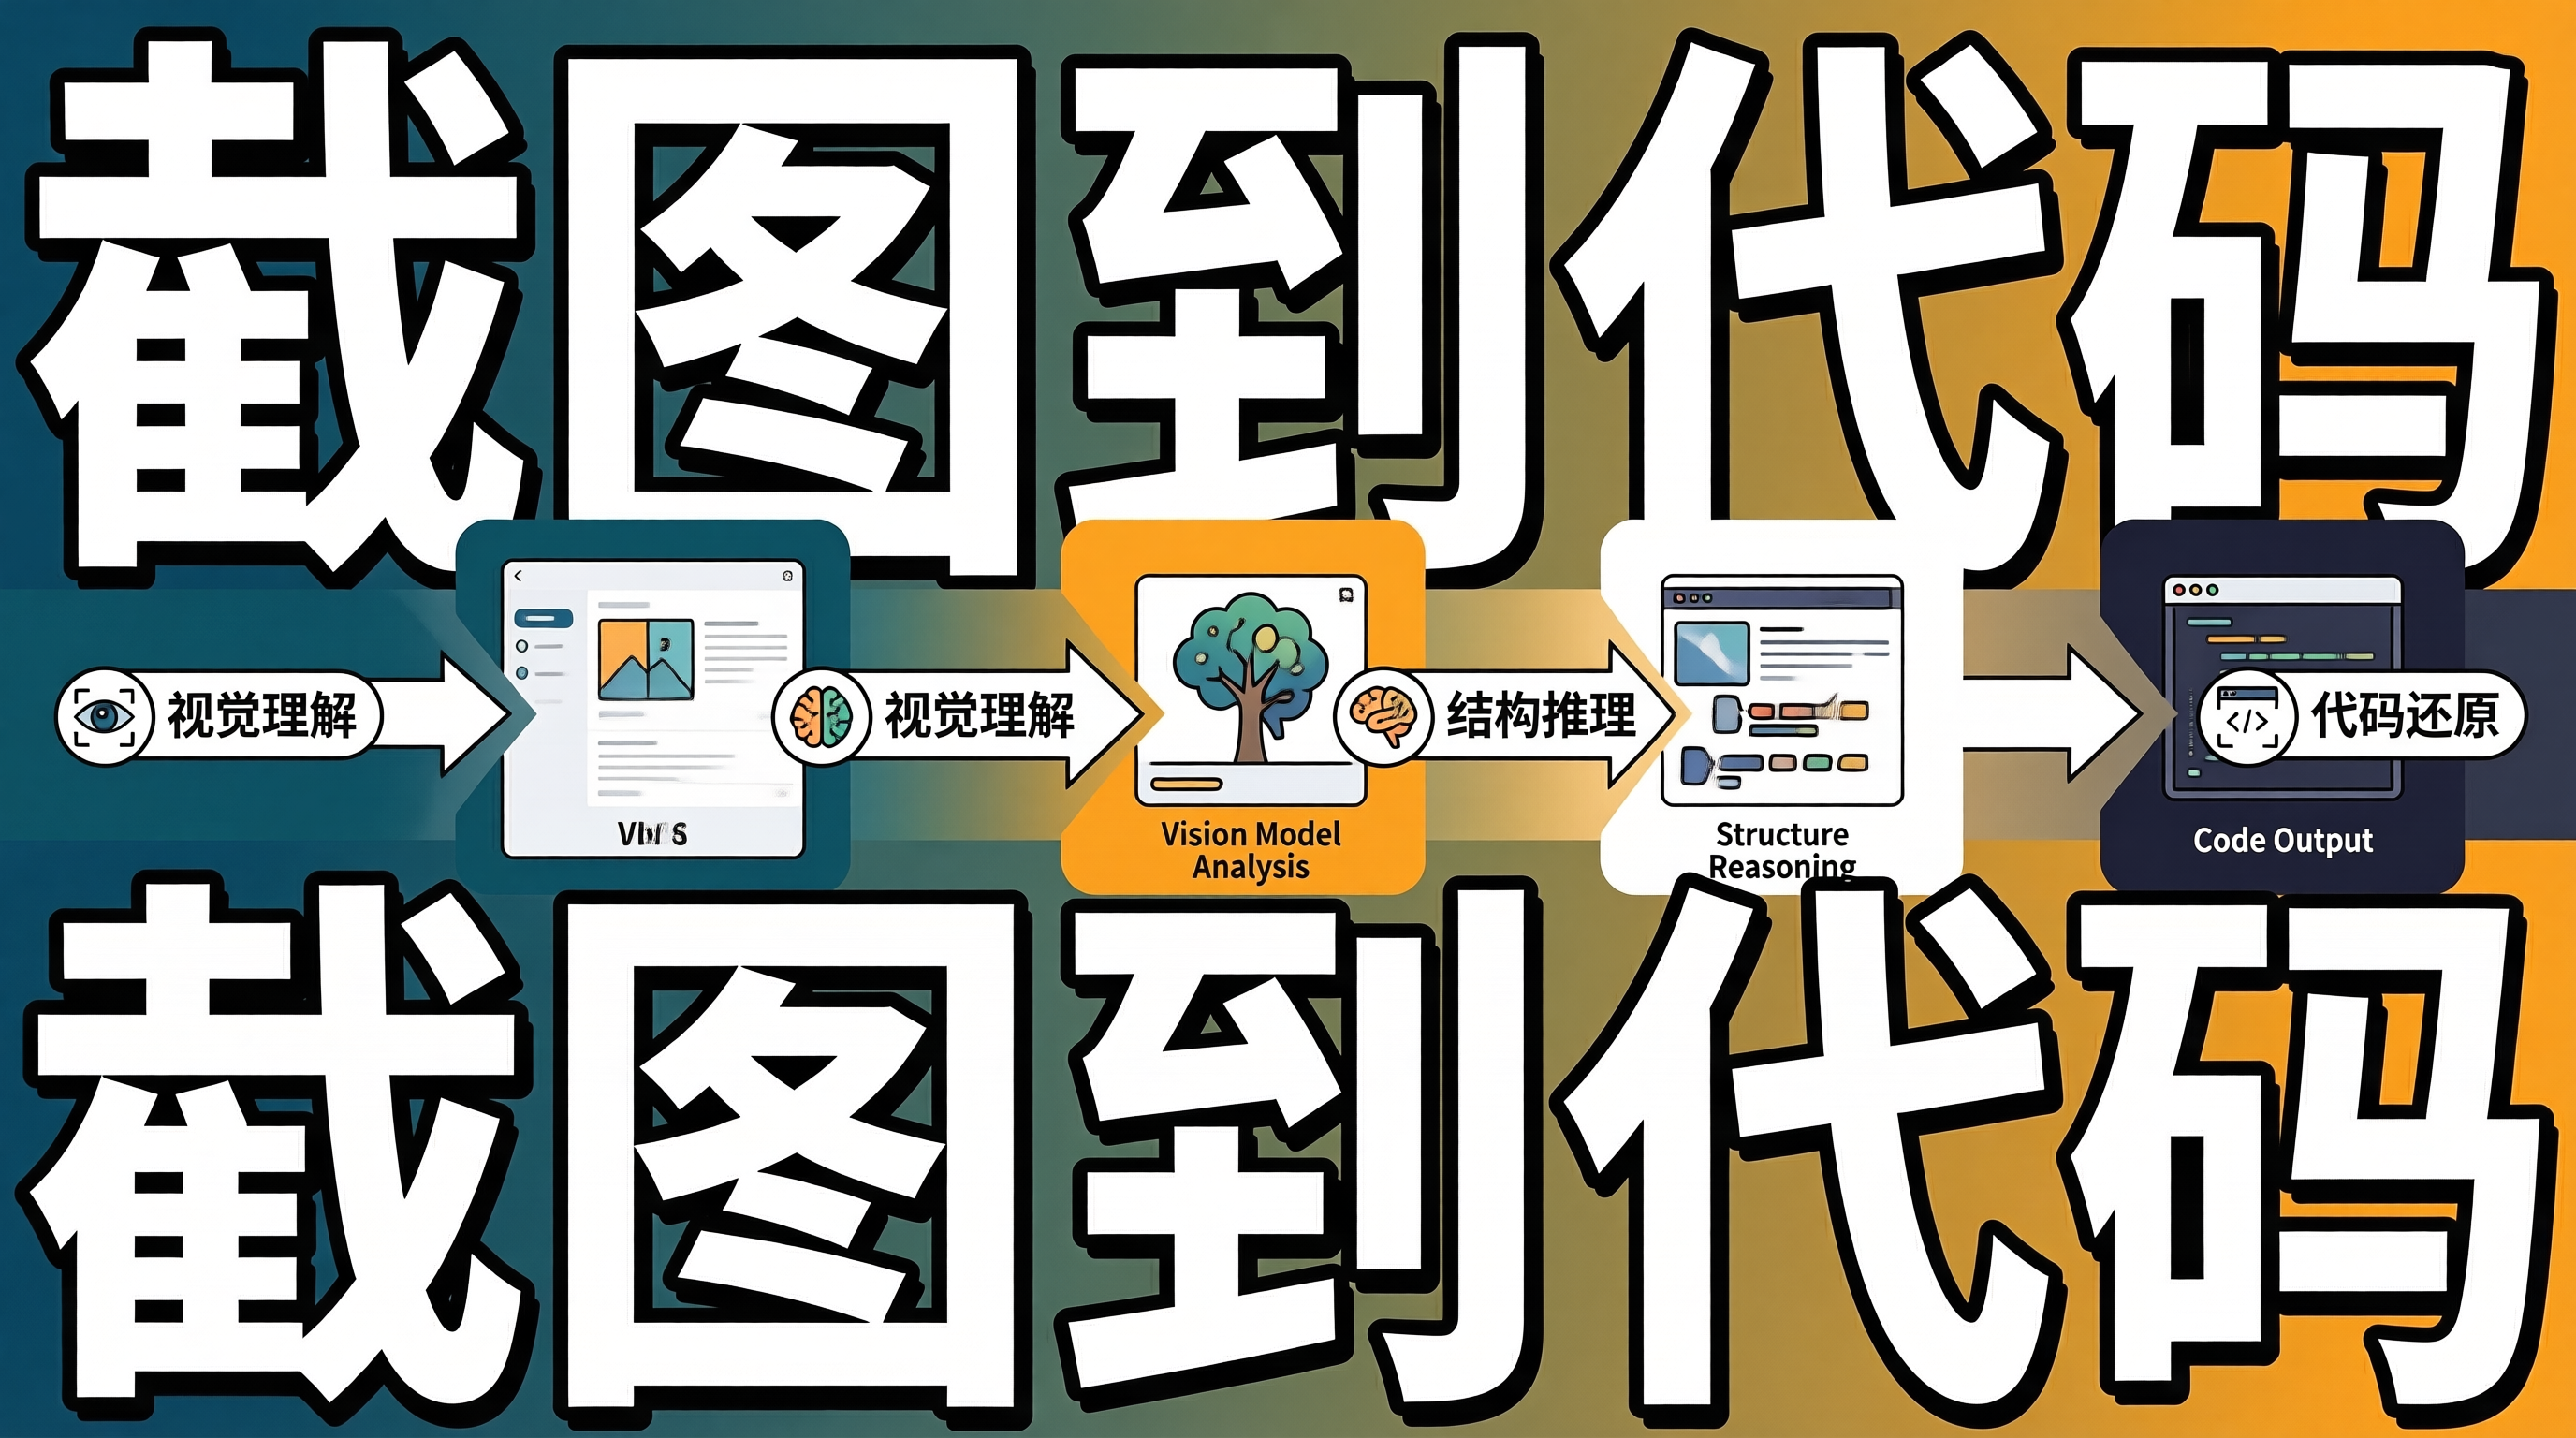
一、截图到代码的挑战:视觉理解与结构推理
将UI截图直接转换为前端代码是设计到代码领域的终极挑战。与Figma设计稿不同,截图没有图层结构、没有样式属性、没有语义标注——只有像素。从像素中理解UI的语义结构(哪些区域是导航栏、哪些是卡片、哪些是按钮),推断布局关系(flex、grid、absolute),还原样式属性(颜色、间距、圆角、阴影),是一个需要视觉理解和结构推理的复杂任务。
视觉大模型(如GPT-4V、Claude 3.5 Sonnet)具备强大的视觉理解能力,可以识别截图中的UI元素和布局结构。但直接将截图输入模型生成代码,效果往往不理想——模型可能遗漏元素、错误推断布局、生成不一致的样式值。需要设计专门的Pipeline来提升生成质量。
二、截图到代码生成Pipeline
2.1 多阶段处理流程
graph TB
    subgraph "视觉理解阶段"
        A[UI截图] --> B[元素检测]
        B --> C[布局推断]
        C --> D[样式提取]
    end

    subgraph "结构化描述阶段"
        D --> E[语义标注]
        E --> F[层级结构构建]
        F --> G[结构化描述生成]
    end

    subgraph "代码生成阶段"
        G --> H[LLM代码生成]
        H --> I[设计Token校验]
        I --> J[可访问性增强]
        J --> K[最终代码输出]
    end
2.2 视觉元素检测
interface DetectedElement {
  id: string;
  type: 'button' | 'input' | 'image' | 'text' | 'card' | 'nav' | 'icon';
  bbox: { x: number; y: number; width: number; height: number };
  confidence: number;
  textContent?: string;
  styleHints: {
    backgroundColor?: string;
    textColor?: string;
    borderRadius?: number;
    fontSize?: number;
    fontWeight?: number;
  };
}

class UIElementDetector {
  private visionModel: VisionModel;

  /**
   * 检测截图中的UI元素
   */
  async detect(screenshot: Buffer): Promise<DetectedElement[]> {
    const prompt = `分析这张UI截图,识别其中的所有交互元素和布局区域。

对于每个元素,提供:
1. 类型(button/input/image/text/card/nav/icon)
2. 位置(x, y, width, height,相对于截图尺寸的百分比)
3. 文本内容(如果有)
4. 样式提示(背景色、文字色、圆角、字号、字重)

以JSON数组格式输出。`;

    const response = await this.visionModel.analyze(screenshot, prompt);
    return JSON.parse(response);
  }
}
2.3 结构化描述生成
class StructuredDescriptionGenerator {
  /**
   * 将检测到的元素组织为层级结构
   */
  generate(elements: DetectedElement[],
           screenshotSize: { width: number; height: number }): string {
    // 1. 构建元素层级
    const hierarchy = this.buildHierarchy(elements);

    // 2. 生成结构化描述
    return this.describeHierarchy(hierarchy, 0);
  }

  private buildHierarchy(elements: DetectedElement[]): HierarchyNode {
    // 按面积排序,大元素可能是容器
    const sorted = [...elements].sort(
      (a, b) => this.area(b.bbox) - this.area(a.bbox)
    );

    const root: HierarchyNode = {
      element: {
        id: 'root', type: 'container',
        bbox: { x: 0, y: 0, width: 100, height: 100 },
        confidence: 1, styleHints: {}
      },
      children: []
    };

    for (const el of sorted) {
      const parent = this.findParent(root, el);
      if (parent) {
        parent.children.push({ element: el, children: [] });
      } else {
        root.children.push({ element: el, children: [] });
      }
    }

    return root;
  }

  private describeHierarchy(node: HierarchyNode, depth: number): string {
    const indent = '  '.repeat(depth);
    const el = node.element;

    let desc = `${indent}${el.type}`;
    if (el.textContent) {
      desc += ` "${el.textContent}"`;
    }
    if (el.styleHints.backgroundColor) {
      desc += ` bg:${el.styleHints.backgroundColor}`;
    }
    if (el.styleHints.borderRadius) {
      desc += ` radius:${el.styleHints.borderRadius}px`;
    }

    if (node.children.length > 0) {
      desc += ' {\n';
      for (const child of node.children) {
        desc += this.describeHierarchy(child, depth + 1);
      }
      desc += `${indent}}\n`;
    } else {
      desc += '\n';
    }

    return desc;
  }
}
2.4 LLM代码生成
class ScreenshotToCodeGenerator {
  /**
   * 从截图生成React组件代码
   */
  async generate(screenshot: Buffer,
                  designSystem?: DesignSystem): Promise<string> {
    // 阶段1:视觉元素检测
    const elements = await this.detector.detect(screenshot);

    // 阶段2:结构化描述
    const description = this.descriptionGenerator.generate(elements, {
      width: 1440, height: 900
    });

    // 阶段3:LLM代码生成
    const codePrompt = `根据以下UI结构描述,生成React + Tailwind CSS组件代码。

结构描述:
${description}

${designSystem ? `设计系统Token:\n${JSON.stringify(designSystem.tokens, null, 2)}` : ''}

要求:
1. 使用语义化的HTML标签(nav, main, section, article, button)
2. 使用Tailwind CSS类名,优先使用设计Token
3. 添加ARIA属性确保可访问性
4. 组件可复用,通过props控制内容
5. 响应式设计,至少支持移动端和桌面端`;

    const code = await this.llmClient.chat(codePrompt);

    // 阶段4:后处理
    return this.postProcess(code, designSystem);
  }

  private async postProcess(code: string,
                             designSystem?: DesignSystem): Promise<string> {
    // 设计Token校验:将硬编码值替换为Token引用
    if (designSystem) {
      code = this.tokenReplacer.replace(code, designSystem);
    }

    // 可访问性增强
    code = this.accessibilityEnhancer.enhance(code);

    return code;
  }
}
三、生成质量评估
3.1 视觉相似度评估
class VisualSimilarityEvaluator {
  /**
   * 评估生成代码的视觉还原度
   */
  async evaluate(originalScreenshot: Buffer,
                  generatedCode: string): Promise<SimilarityReport> {
    // 渲染生成代码并截图
    const renderedScreenshot = await this.renderAndCapture(generatedCode);

    // 计算结构相似度(SSIM)
    const ssimScore = this.computeSSIM(
      originalScreenshot, renderedScreenshot);

    // 计算颜色直方图相似度
    const colorSimilarity = this.computeColorSimilarity(
      originalScreenshot, renderedScreenshot);

    // 计算布局结构相似度
    const layoutSimilarity = this.computeLayoutSimilarity(
      originalScreenshot, renderedScreenshot);

    return {
      overallScore: 0.4 * ssimScore + 0.3 * colorSimilarity
        + 0.3 * layoutSimilarity,
      ssim: ssimScore,
      colorSimilarity,
      layoutSimilarity
    };
  }
}
四、架构权衡与边界分析
4.1 视觉理解精度与截图质量
截图的分辨率和清晰度直接影响元素检测的准确率。低分辨率截图中的小文字和细线条可能无法被识别。建议输入截图分辨率不低于1440px宽度,文字区域使用高分辨率裁剪。
4.2 生成代码的语义正确性
视觉大模型可能将装饰性元素误认为交互元素(如将装饰线条识别为分割线),或忽略不可见的交互状态(hover、focus、disabled)。建议对生成代码进行人工审查,特别是交互行为和状态管理。
4.3 设计系统的约束
没有设计系统约束时,模型会生成大量硬编码的样式值,代码可维护性差。引入设计系统后,Token替换可能因匹配不精确而产生视觉偏差。建议先建立完善的Design Token体系,再引入截图到代码的生成流程。
五、总结
基于视觉大模型的UI截图到代码生成通过多阶段Pipeline——视觉元素检测、结构化描述、LLM代码生成和后处理——将像素级截图转换为语义化的组件代码。视觉相似度评估量化生成质量,设计Token校验确保样式一致性。
落地建议:输入截图分辨率不低于1440px,确保元素检测准确率;生成代码必须经过人工审查,重点关注交互行为和可访问性;建立完善的Design Token体系后再引入截图到代码生成,避免大量硬编码样式值。

AtomGit 是由开放原子开源基金会联合 CSDN 等生态伙伴共同推出的新一代开源与人工智能协作平台。平台坚持“开放、中立、公益”的理念,把代码托管、模型共享、数据集托管、智能体开发体验和算力服务整合在一起,为开发者提供从开发、训练到部署的一站式体验。
更多推荐
 5
5 0
0- 0


 已为社区贡献47条内容

所有评论(0)