codex创建MCP
·
前言
MCP 全称是:Model Context Protocol,模型上下文协议 。任何外部工具只要按这个标准做成一个 MCP Server(服务器),就能被所有支持 MCP 的 AI 客户端(如 Codex)直接识别和使用。
一、手动创建MCP方式
1、通过百度地图创建查询天气python。
import httpx
from fastmcp import FastMCP

# 初始化 MCP 服务实例
mcp = FastMCP("BaiduWeatherService")

# 配置百度天气API地址和你的AK
BAIDU_WEATHER_API_URL = "https://api.map.baidu.com/weather/v1/"
BAIDU_MAP_AK = "xxxxxxxxxxxxxxxxxxxxxx"  #输入百度地图的key


@mcp.tool()
def get_city_weather(district_id: str) -> str:
    """
    输入指定的行政区划代码(例如广州市是 440100),返回该城市的实时及未来天气信息。
    注意:百度地图天气API推荐使用区县级行政代码进行查询。
    """
    params = {
        "ak": BAIDU_MAP_AK,
        "district_id": district_id,
        "data_type": "all",  # all表示返回实况+预报
        "coordtype": "bd09ll"
    }

    try:
        # 发起 GET 请求
        response = httpx.get(BAIDU_WEATHER_API_URL, params=params, timeout=10)
        data = response.json()

        # 百度API状态码为0表示成功
        if data.get("status") == 0 and data.get("result"):
            result = data["result"]
            location = result.get("location", {})
            now = result.get("now", {})
            forecasts = result.get("forecasts", [])

            city_name = f"{location.get('province', '')}{location.get('city', '')}"

            # 拼接实时天气
            weather_text = (
                f"📍 地区:{city_name}\n"
                f"🌤️ 实时天气:{now.get('text', '未知')},气温 {now.get('temp', '未知')}°C\n"
                f"💨 风向风力:{now.get('wind_dir', '')}{now.get('wind_class', '')}\n"
                f"💧 相对湿度:{now.get('rh', '未知')}%\n\n"
                f"📅 未来天气预报:\n"
            )

            # 拼接未来几天的预报
            for day in forecasts:
                weather_text += f"- {day.get('week', '')}({day.get('date', '')}):{day.get('text_day', '')},{day.get('low', '')}~{day.get('high', '')}°C\n"

            return weather_text
        else:
            error_msg = data.get("message", "未知错误")
            return f"❌ 查询失败:{error_msg}(请检查AK或行政区划代码是否正确)"

    except Exception as e:
        return f"⚠️ 请求百度天气接口时发生网络错误:{str(e)}"


if __name__ == "__main__":
    # 启动 MCP 服务
mcp.run()- 导入库:首先执行 from fastmcp import FastMCP,把 MCP 框架加载进来。
- 创建实例:接着执行 mcp = FastMCP("BaiduWeatherService"),在内存中创建一个名为 "BaiduWeatherService" 的服务对象。
- 注册能力(核心):当 Python 读到带有 @mcp.tool() 装饰器的函数时,它会立刻把这些函数“登记”到 mcp 这个服务对象里。此时,这些函数还没有被真正执行,只是被贴上了标签,告诉 MCP:“我是工具/资源/提示词,随时待命”。
- 启动监听:最后执行到 if __name__ == "__main__": mcp.run(),服务正式在本地 8000 端口启动,开始静静等待外部客户端/codex的连接。
2、运行MCP
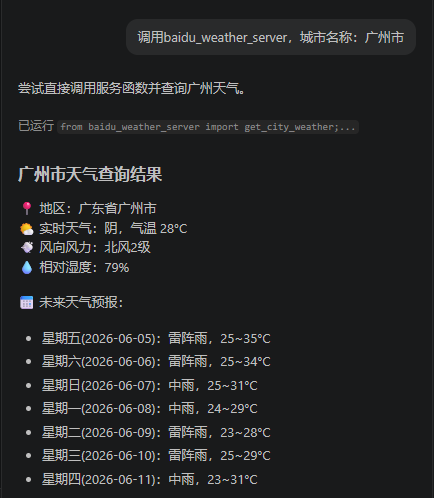
在终端,或者vscode的codex输入:调用baidu_weather_server,城市名称:广州市。
二、通过codex创建MCP
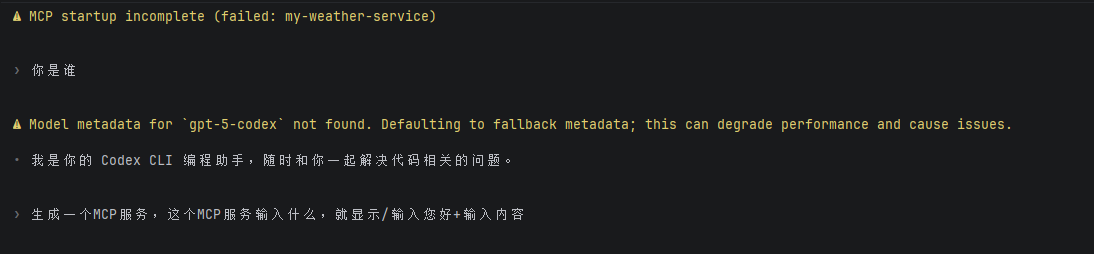
1.切换到某目录下、输入要实现的需求:
生成一个MCP服务,这个MCP服务输入什么,就显示/输入您好+输入内容
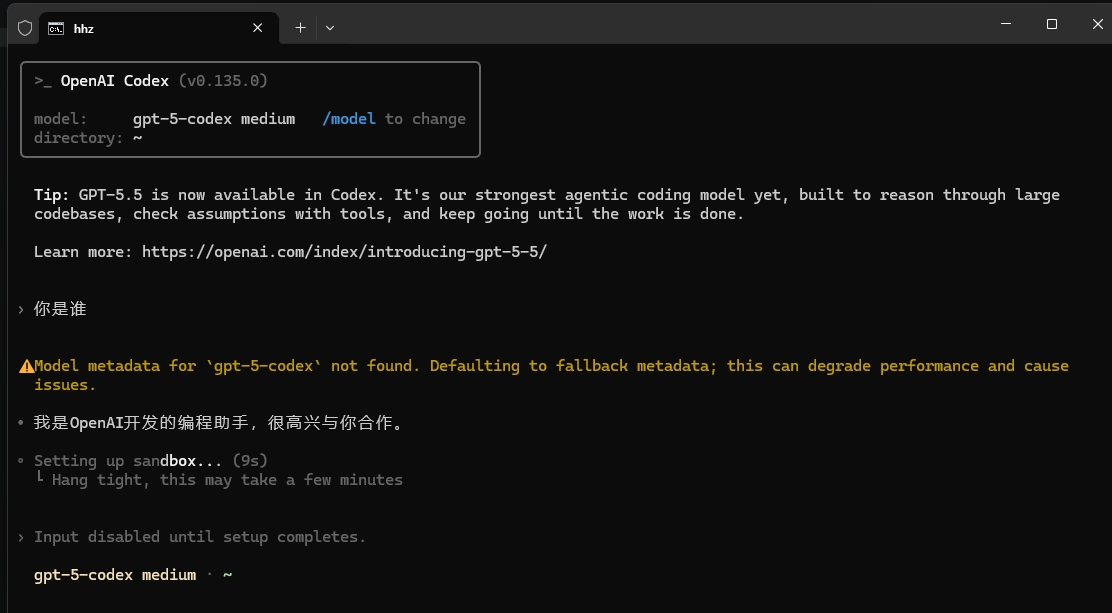
(1)我是通过idea某个java项目下创建MCP。第一次创建,需要经过几分钟的等待。如果是沙箱sandbox安全模式下,要注意屏幕,不时弹出需要确认操作。
(2)项目下自动创建一个mcp文件夹,自动创建两个文件
hello_server.py和README.md
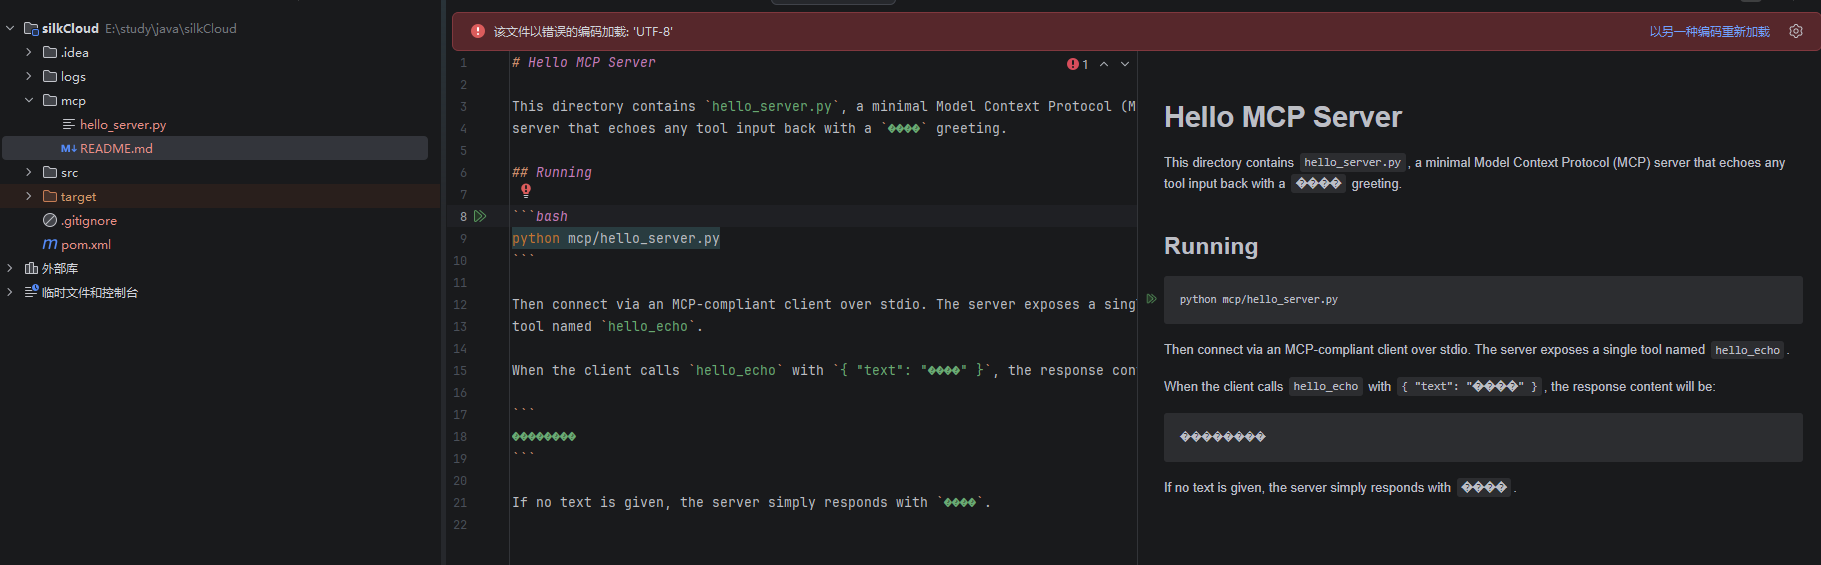
README.md
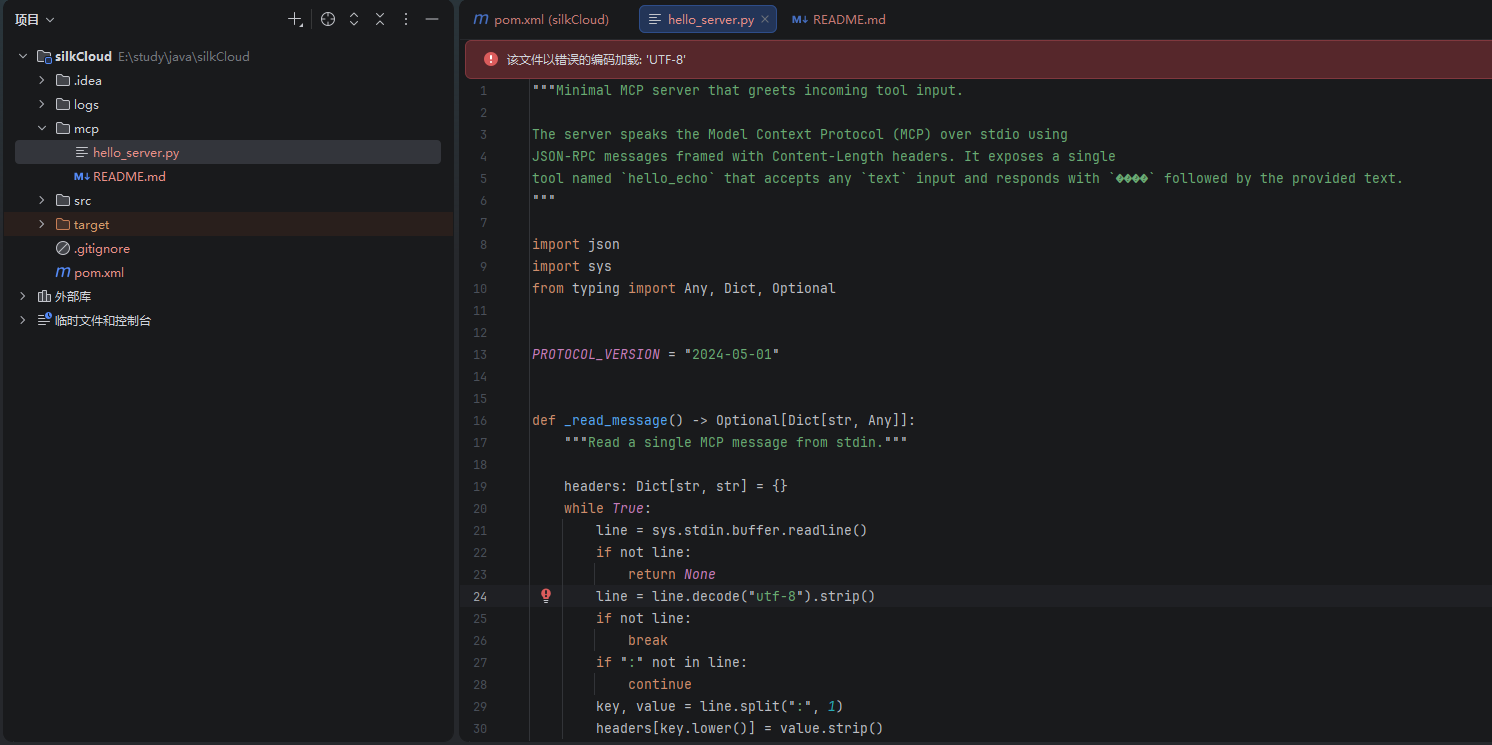
hello_server
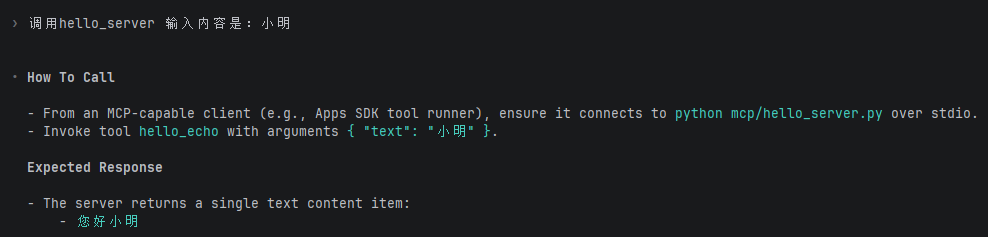
2.调用MCP:
输入命令:调用hello_server 输入内容是:小明

AtomGit 是由开放原子开源基金会联合 CSDN 等生态伙伴共同推出的新一代开源与人工智能协作平台。平台坚持“开放、中立、公益”的理念,把代码托管、模型共享、数据集托管、智能体开发体验和算力服务整合在一起,为开发者提供从开发、训练到部署的一站式体验。
更多推荐

 5
5 0
0- 0


 已为社区贡献3条内容

所有评论(0)