路径动画用鸿蒙PC用Electron框架实现流动效果技术详解
欢迎加入开源鸿蒙PC社区:
https://harmonypc.csdn.net/
atomgit仓库地址: https://atomgit.com/tizibanfan/lujingdonghua
一、概述
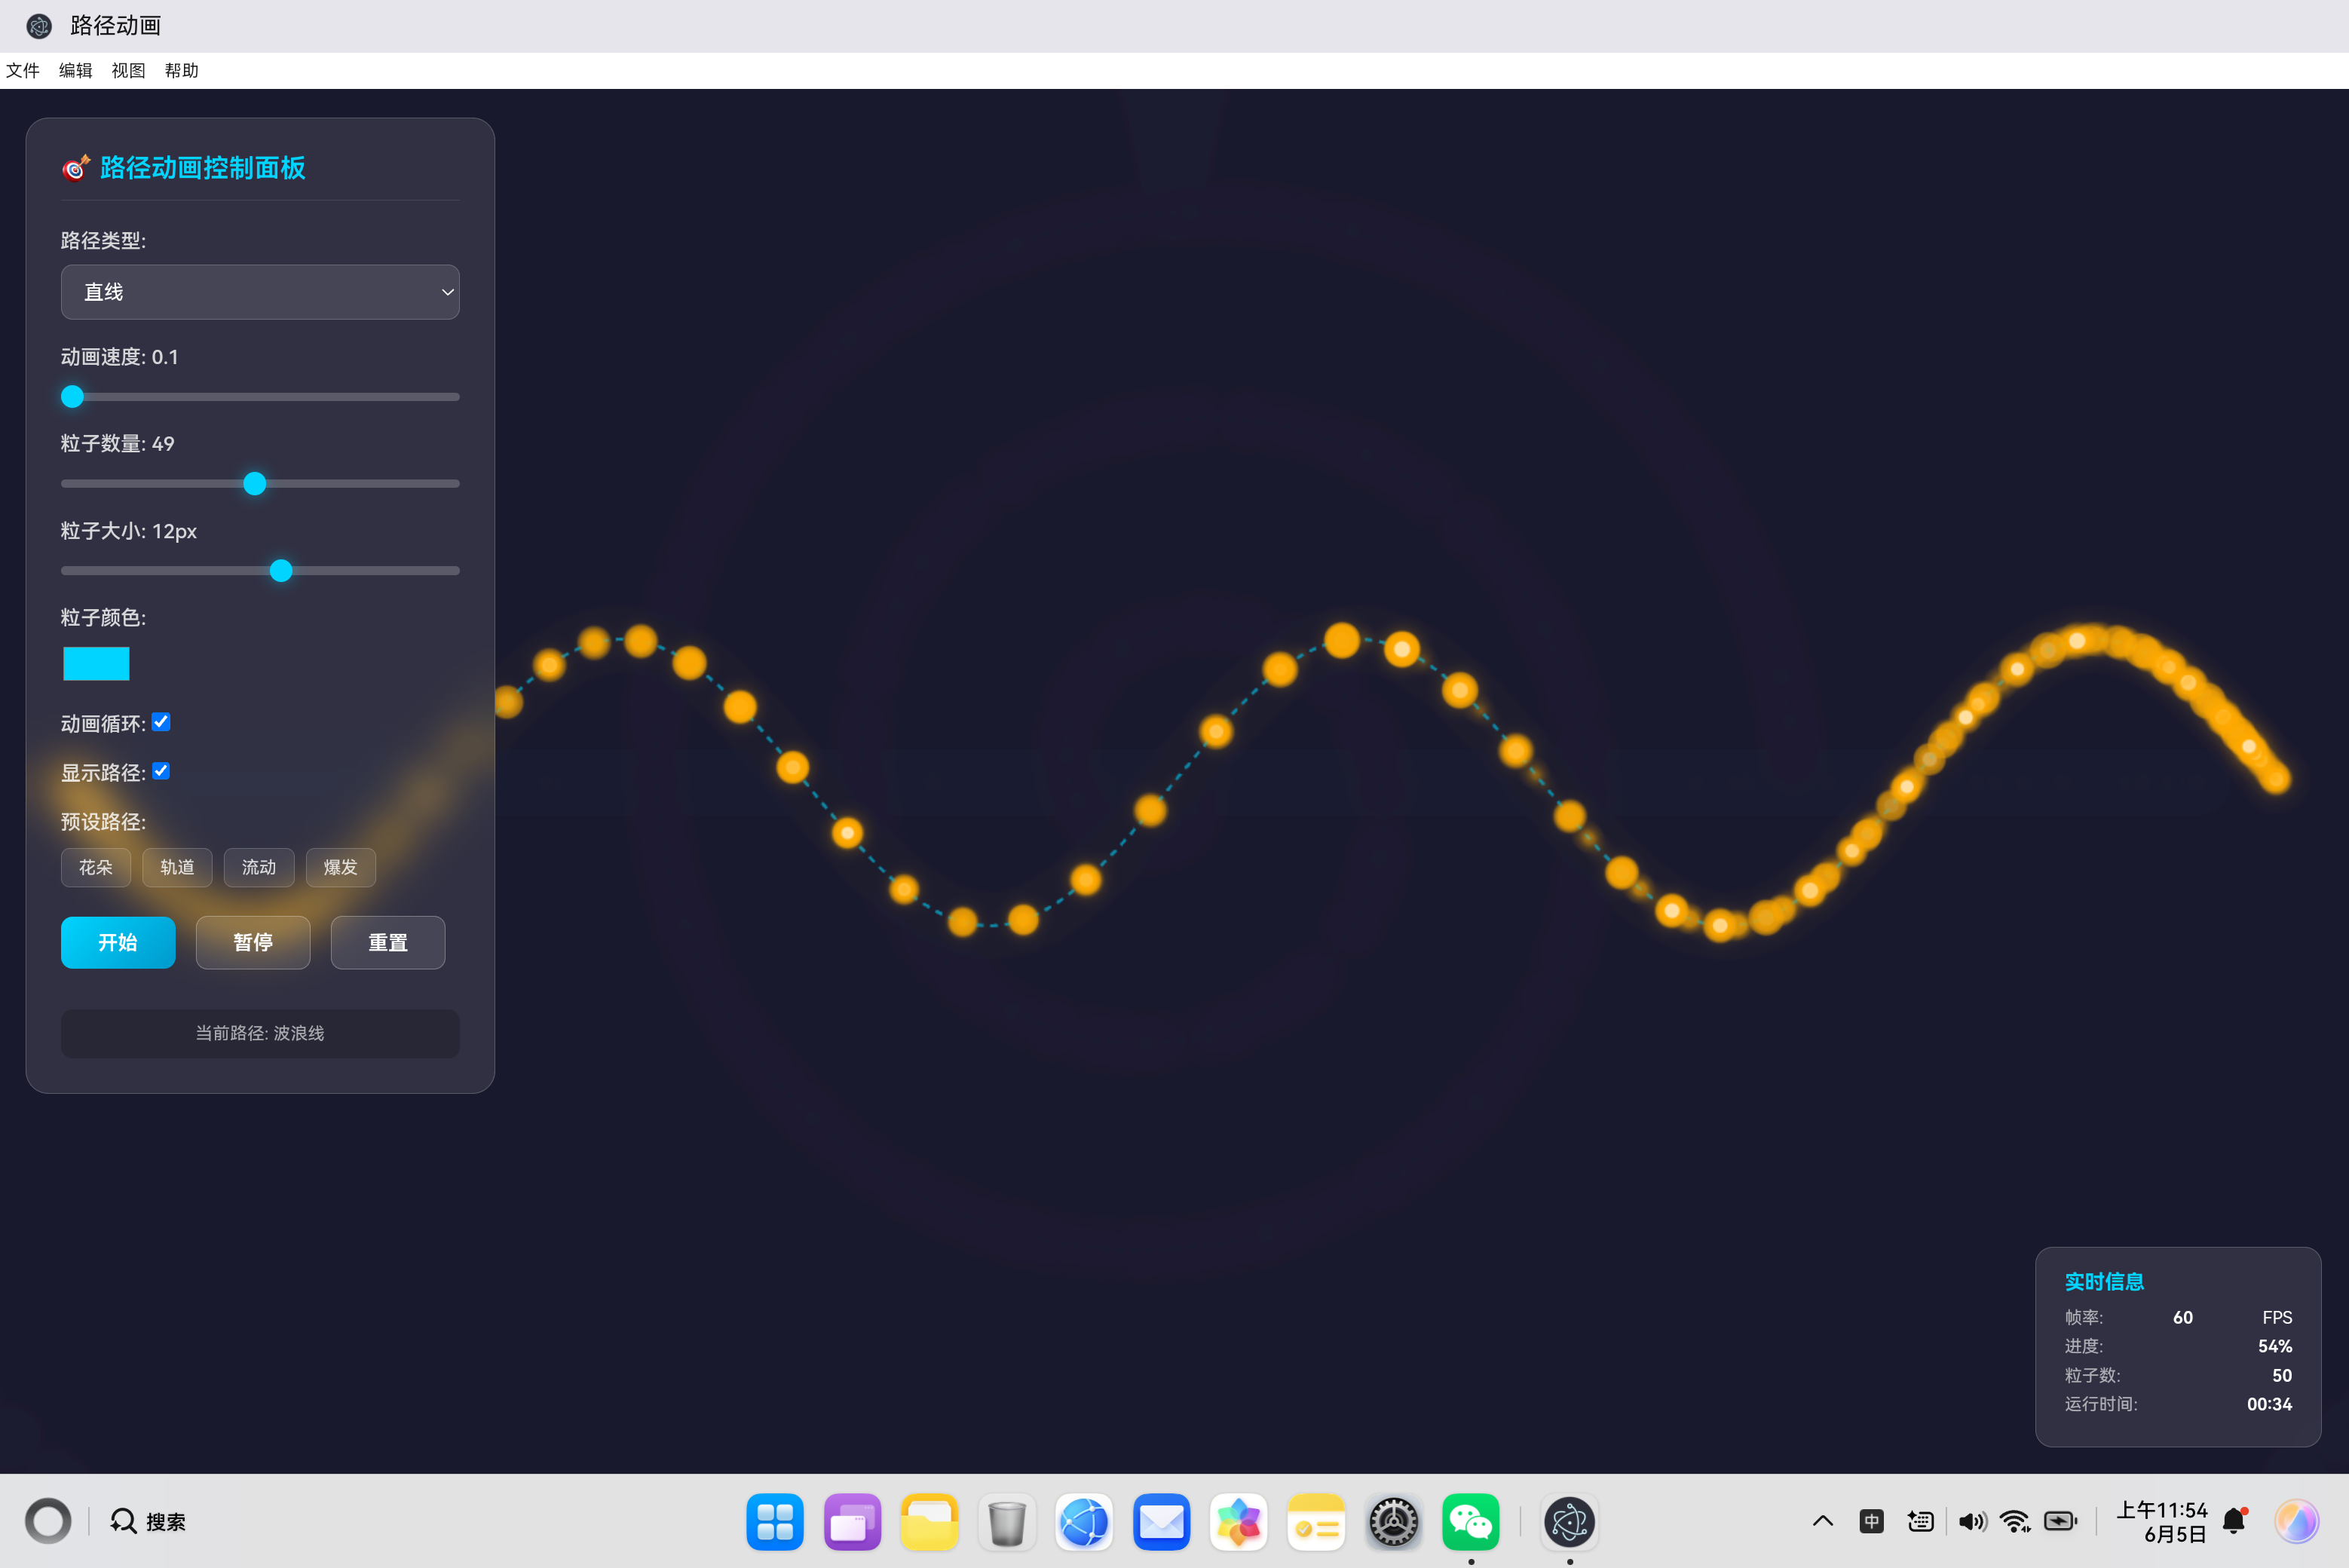
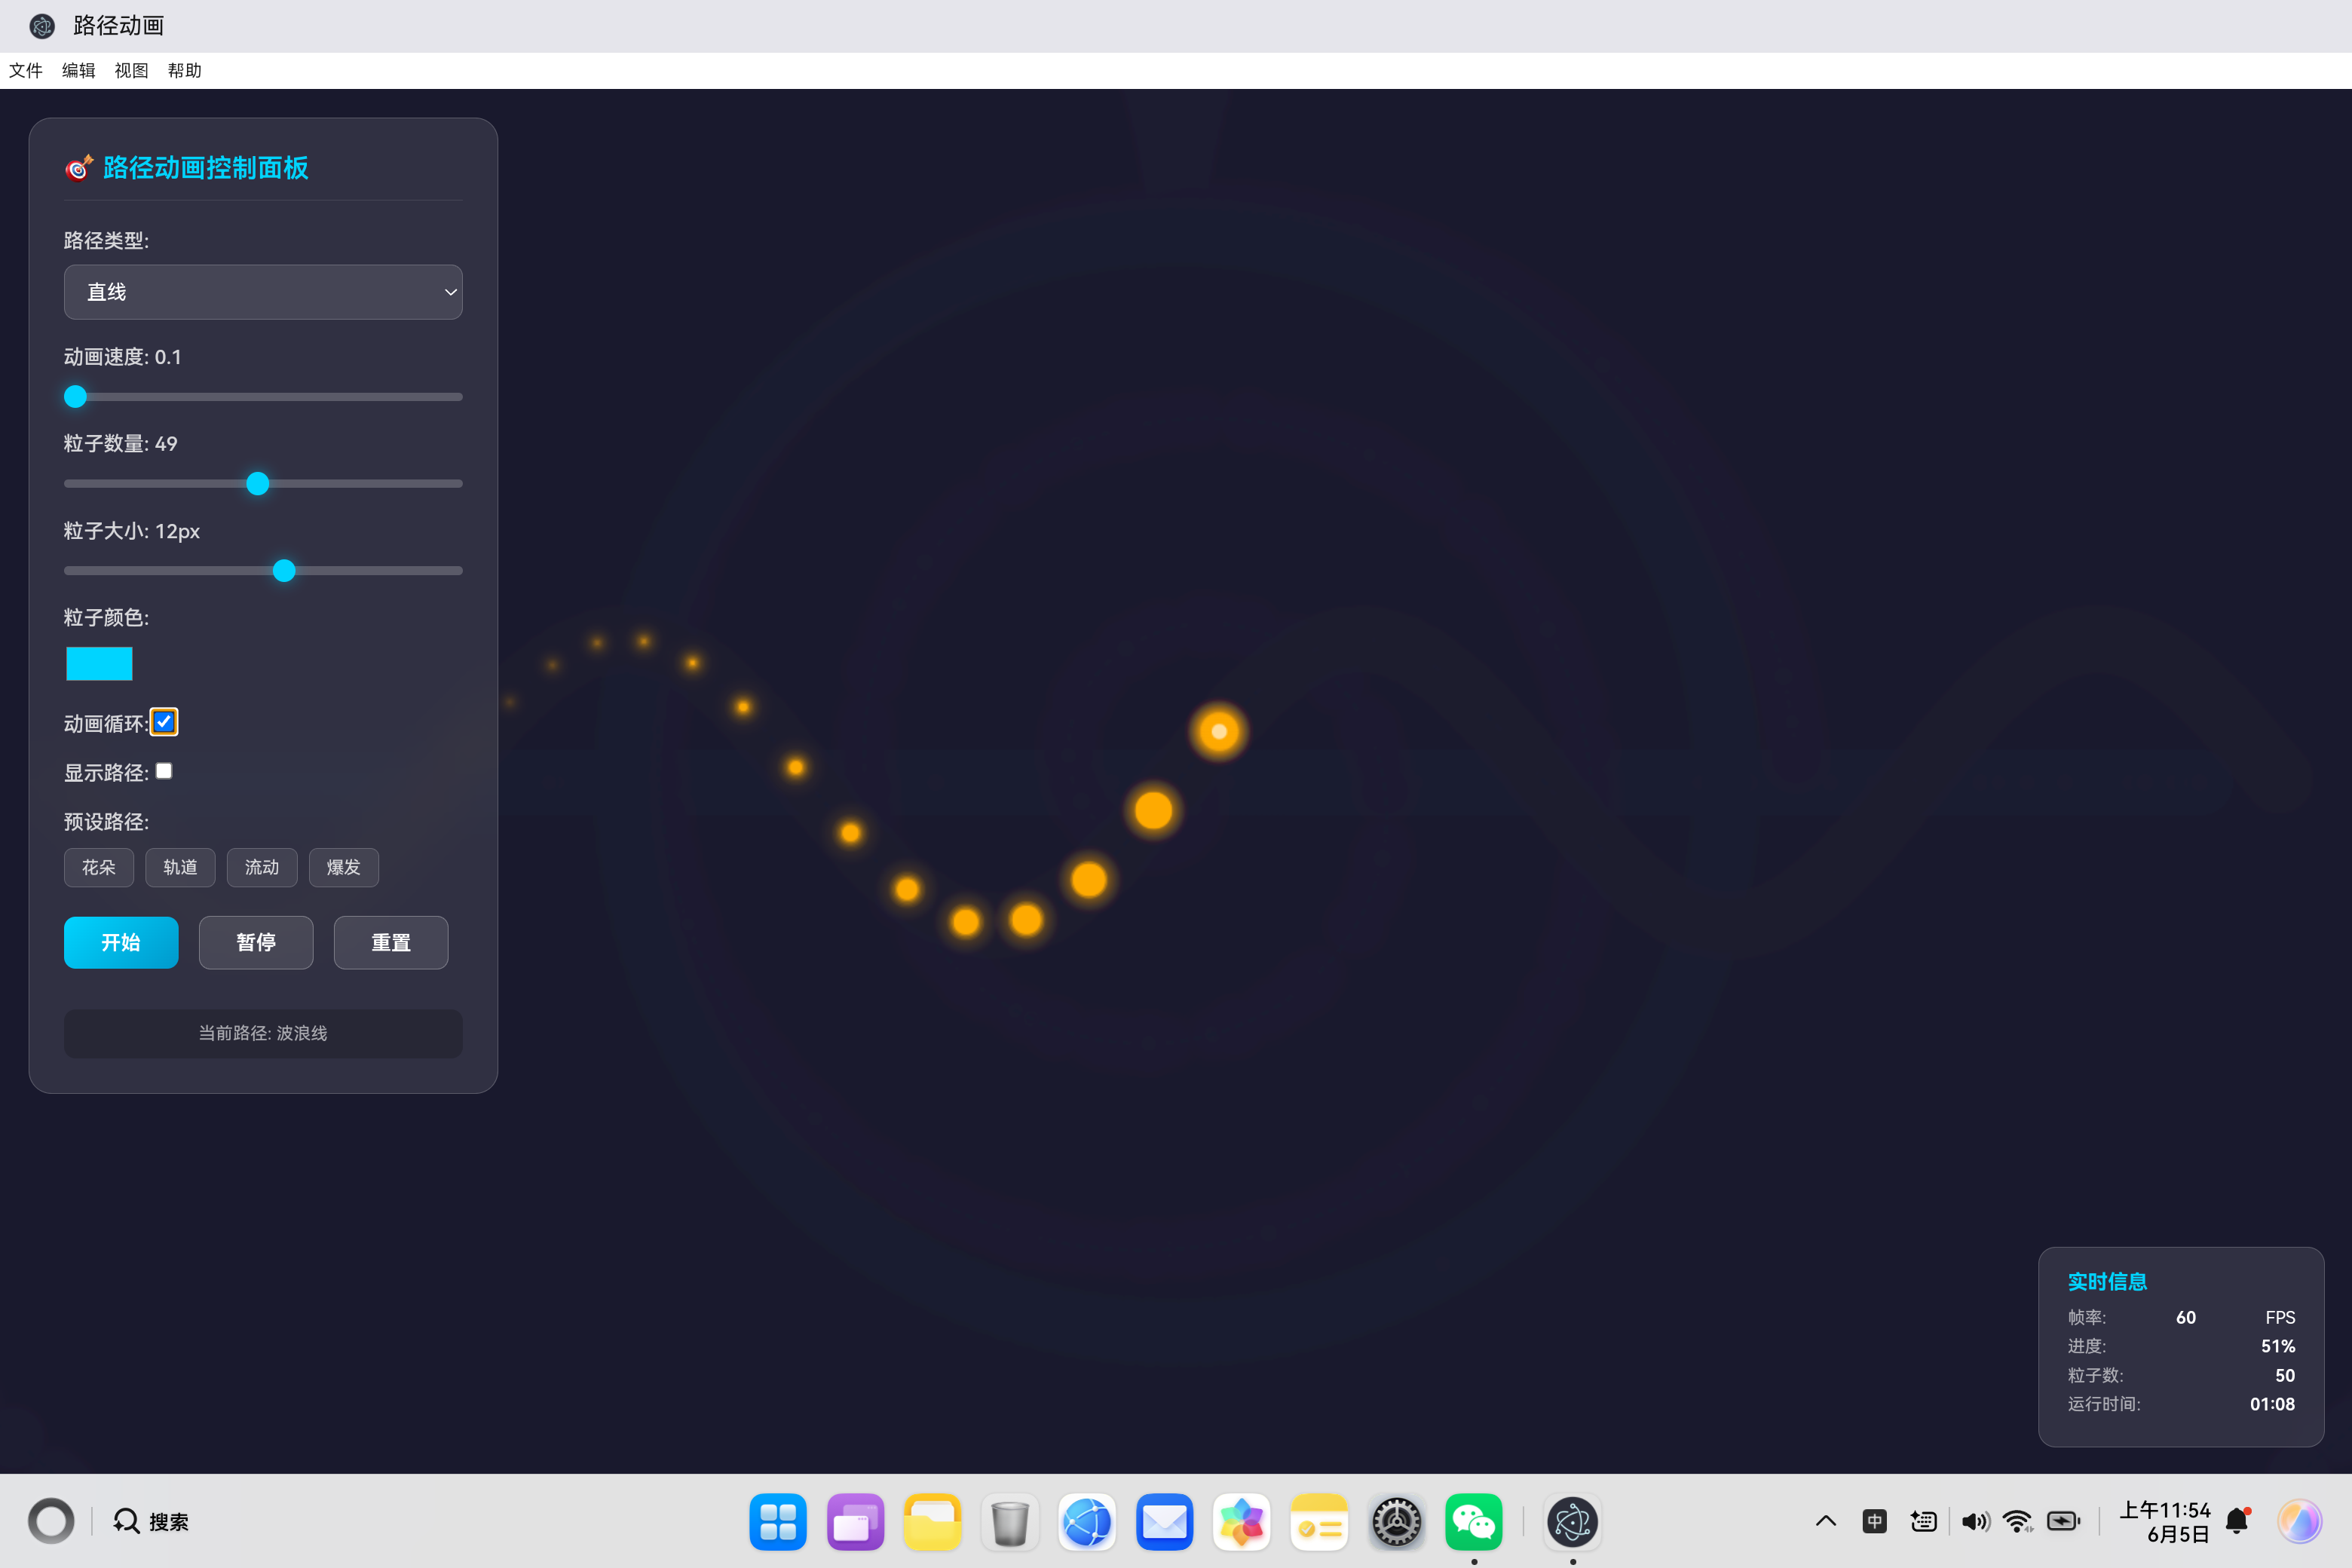
流动效果(Flow)是路径动画应用中的动态预设之一,模拟粒子沿波浪线流动的视觉效果。这种效果灵感来源于自然界中的水流、光波、声波等现象,通过正弦波动创造出流畅、自然的动画体验。本文深入剖析流动效果的实现原理、数学基础和优化策略。
二、流动效果设计理念
2.1 效果特点
流动效果模拟自然波动的美感:
- 波浪轨迹:粒子沿正弦曲线运动
- 流畅过渡:平滑的波峰波谷转换
- 视觉韵律:周期性运动产生节奏感
- 动态变化:粒子间距和速度略有差异
2.2 应用场景
| 场景 | 说明 |
|---|---|
| 数据流动 | 信息传输可视化 |
| 声波可视化 | 音频波形展示 |
| 水流模拟 | 河流、瀑布效果 |
| 光线效果 | 激光、能量流动 |
| 时间轴动画 | 进度条、时间线 |
三、波浪路径生成算法
3.1 数学原理
波浪路径的核心是正弦函数:
y = A ⋅ sin ( ω t + ϕ ) + y 0 y = A \cdot \sin(\omega t + \phi) + y_0 y=A⋅sin(ωt+ϕ)+y0
其中:
- A A A 是振幅(波峰到波谷的高度)
- ω \omega ω 是角频率(控制波浪密度)
- ϕ \phi ϕ 是相位(控制波浪偏移)
- y 0 y_0 y0 是基线位置
3.2 路径生成实现
generateWavePath() {
    const points = [];
    const amplitude = 100;
    const frequency = 3;
    const startX = 50;
    const endX = this.canvas.width - 50;
    const baseY = this.centerY;

    for (let t = 0; t <= 1; t += 0.003) {
        points.push({
            x: startX + (endX - startX) * t,
            y: baseY + Math.sin(t * Math.PI * 2 * frequency) * amplitude
        });
    }
    return points;
}
技术要点:
- 振幅控制:振幅100表示波峰波谷相差200像素
- 频率控制:频率3表示在路径长度内有3个完整周期
- 相位参数化:使用参数 t ∈ [ 0 , 1 ] t \in [0, 1] t∈[0,1] 映射到角度 [ 0 , 2 π × f r e q u e n c y ] [0, 2\pi \times frequency] [0,2π×frequency]
3.3 参数影响分析
| 参数 | 取值范围 | 视觉效果 |
|---|---|---|
| amplitude | 50-200 | 振幅越大,波浪越陡峭 |
| frequency | 1-10 | 频率越高,波浪越密集 |
| startX/endX | 边界值 | 控制波浪水平范围 |
| baseY | 垂直位置 | 波浪中心基线 |
四、粒子系统设计
4.1 粒子分布策略
initParticles() {
    this.particles = [];
    for (let i = 0; i < this.particleCount; i++) {
        const progress = i / this.particleCount;
        const pointIndex = Math.floor(progress * (this.pathPoints.length - 1));
        const point = this.pathPoints[pointIndex] || { x: 0, y: 0 };

        this.particles.push({
            progress: progress,
            x: point.x,
            y: point.y,
            size: this.particleSize + (Math.random() - 0.5) * 4,
            opacity: 0.6 + Math.random() * 0.4,
            rotation: Math.random() * Math.PI * 2,
            rotationSpeed: (Math.random() - 0.5) * 0.1,
            trail: []
        });
    }
}
均匀分布策略:
粒子沿波浪线均匀分布,初始进度为 progress = i / particleCount,确保粒子覆盖整个波形。
4.2 粒子属性设计
| 属性 | 范围 | 作用 |
|---|---|---|
| progress | [0, 1] | 粒子在路径上的位置 |
| size | [size-2, size+2] | 粒子大小变化 |
| opacity | [0.6, 1.0] | 透明度变化 |
| rotation | [0, 2π] | 初始旋转角度 |
| rotationSpeed | [-0.05, 0.05] | 旋转速度 |
| trail | [] | 轨迹点数组 |
五、运动控制与缓动
5.1 easeInOut 缓动函数
流动效果采用 easeInOut 缓动函数,实现平滑的加速减速:
this.easingFunctions = {
    easeInOut: t => t < 0.5 ? 2 * t * t : -1 + (4 - 2 * t) * t,
    // ... 其他缓动函数
};
分段函数解析:
f ( t ) = { 2 t 2 t < 0.5 − 1 + ( 4 − 2 t ) t t ≥ 0.5 f(t) = \begin{cases} 2t^2 & t < 0.5 \\ -1 + (4 - 2t)t & t \geq 0.5 \end{cases} f(t)={2t2−1+(4−2t)tt<0.5t≥0.5
- 前半段(t < 0.5):二次加速曲线
- 后半段(t ≥ 0.5):二次减速曲线
5.2 粒子位置更新
updateParticles() {
    const speedFactor = this.speed * 0.005;

    this.particles.forEach(particle => {
        particle.progress += speedFactor;

        if (particle.progress > 1) {
            if (this.loop) {
                particle.progress = 0;
            } else {
                particle.progress = 1;
            }
        }

        const easedProgress = this.easingFunctions.easeInOut(particle.progress);
        const point = this.getPointAtProgress(easedProgress);

        particle.trail.push({ x: particle.x, y: particle.y });
        if (particle.trail.length > 10) {
            particle.trail.shift();
        }

        particle.x = point.x;
        particle.y = point.y;
        particle.rotation += particle.rotationSpeed;
    });
}
关键流程:
- 更新进度:
progress += speedFactor - 应用缓动:
easedProgress = easeInOut(progress) - 计算位置:
point = getPointAtProgress(easedProgress) - 更新轨迹:
trail.push(currentPosition) - 更新位置和旋转
5.3 速度控制
流动效果速度设置为3,是轨道效果的3.75倍:
applyPreset('flow') {
    this.setPathType('wave');
    this.setParticleCount(50);
    this.setColor('#ffaa00');
    this.setSpeed(3);
}
速度选择原因:
- 波浪路径较长,需要更高速度才能产生流动感
- 高频波浪需要较快速度才能展现动态效果
六、视觉效果优化
6.1 多层渲染结构
drawParticles() {
    this.particles.forEach(particle => {
        // 绘制轨迹
        particle.trail.forEach((trailPoint, index) => {
            const trailOpacity = (index / particle.trail.length) * particle.opacity * 0.5;
            this.ctx.beginPath();
            this.ctx.arc(trailPoint.x, trailPoint.y,
                        particle.size * (index / particle.trail.length), 0, Math.PI * 2);
            this.ctx.fillStyle = this.hexToRgba(this.color, trailOpacity);
            this.ctx.fill();
        });

        // 绘制发光层
        this.ctx.shadowColor = this.color;
        this.ctx.shadowBlur = 15;
        this.ctx.beginPath();
        this.ctx.arc(particle.x, particle.y, particle.size * 0.6, 0, Math.PI * 2);
        this.ctx.fillStyle = this.hexToRgba(this.color, 0.3);
        this.ctx.fill();
        this.ctx.shadowBlur = 0;

        // 绘制主体渐变
        const gradient = this.ctx.createRadialGradient(
            particle.x, particle.y, 0,
            particle.x, particle.y, particle.size
        );
        gradient.addColorStop(0, this.color);
        gradient.addColorStop(0.5, this.hexToRgba(this.color, 0.7));
        gradient.addColorStop(1, this.hexToRgba(this.color, 0));

        this.ctx.beginPath();
        this.ctx.arc(particle.x, particle.y, particle.size, 0, Math.PI * 2);
        this.ctx.fillStyle = gradient;
        this.ctx.fill();

        // 绘制高光点
        this.ctx.beginPath();
        this.ctx.arc(particle.x, particle.y, particle.size * 0.4, 0, Math.PI * 2);
        this.ctx.fillStyle = '#fff';
        this.ctx.fill();
    });
}
渲染层次优化:
| 层级 | 绘制顺序 | 透明度 | 大小 |
|---|---|---|---|
| 轨迹层 | 1 | 递减 | 递减 |
| 发光层 | 2 | 0.3 | 0.6 × size |
| 主体层 | 3 | 渐变 | size |
| 高光层 | 4 | 1.0 | 0.4 × size |
6.2 颜色方案设计
流动效果使用橙色系配色 #ffaa00:
颜色选择原因:
- 橙色代表热情和活力
- 温暖的色调适合表现流动的能量
- 在深色背景上有良好的对比度
七、性能优化策略
7.1 路径预计算
generatePath() {
    this.pathPoints = [];
    const generator = this.pathGenerators[this.currentPathType];
    if (generator) {
        this.pathPoints = generator();
    }
}
路径点在初始化时一次性生成,避免运行时重复计算三角函数。
7.2 轨迹长度限制
if (particle.trail.length > 10) {
    particle.trail.shift();
}
限制轨迹长度为10,平衡视觉效果和性能。
7.3 requestAnimationFrame 优化
使用浏览器原生动画API,确保流畅的60fps动画。
八、波浪数学特性分析
8.1 正弦函数性质
| 特性 | 说明 | 公式 |
|---|---|---|
| 周期性 | 波形重复出现 | sin ( t + 2 π ) = sin ( t ) \sin(t + 2\pi) = \sin(t) sin(t+2π)=sin(t) |
| 对称性 | 关于原点对称 | sin ( − t ) = − sin ( t ) \sin(-t) = -\sin(t) sin(−t)=−sin(t) |
| 导数 | 余弦函数 | d d t sin ( t ) = cos ( t ) \frac{d}{dt}\sin(t) = \cos(t) dtdsin(t)=cos(t) |
| 积分 | 负余弦函数 | ∫ sin ( t ) d t = − cos ( t ) + C \int \sin(t)dt = -\cos(t) + C ∫sin(t)dt=−cos(t)+C |
8.2 波形参数影响
// 振幅变化
const amplitudes = [50, 100, 150, 200];
amplitudes.forEach(amp => {
    for (let t = 0; t <= 1; t += 0.01) {
        y = baseY + Math.sin(t * Math.PI * 2 * 3) * amp;
    }
});
振幅对比:
| 振幅 | 视觉效果 | 适用场景 |
|---|---|---|
| 50 | 平缓波浪 | 背景装饰 |
| 100 | 适中波浪 | 数据流动 |
| 150 | 明显波浪 | 强调效果 |
| 200 | 强烈波浪 | 震撼效果 |
8.3 频率变化效果
// 频率变化
const frequencies = [1, 2, 3, 5];
frequencies.forEach(freq => {
    for (let t = 0; t <= 1; t += 0.01) {
        y = baseY + Math.sin(t * Math.PI * 2 * freq) * 100;
    }
});
频率对比:
| 频率 | 周期数 | 视觉效果 |
|---|---|---|
| 1 | 1个周期 | 平缓流动 |
| 2 | 2个周期 | 中等波动 |
| 3 | 3个周期 | 密集波动 |
| 5 | 5个周期 | 快速振动 |
九、扩展应用
9.1 多波干涉效果
generateInterferencePath() {
    const points = [];
    const amplitude = 80;
    const startX = 50;
    const endX = this.canvas.width - 50;
    const baseY = this.centerY;

    for (let t = 0; t <= 1; t += 0.003) {
        const y1 = Math.sin(t * Math.PI * 2 * 3) * amplitude;
        const y2 = Math.sin(t * Math.PI * 2 * 4 + Math.PI/4) * (amplitude * 0.5);
        points.push({
            x: startX + (endX - startX) * t,
            y: baseY + y1 + y2
        });
    }
    return points;
}
通过叠加多个正弦波,创建干涉图案效果。
9.2 衰减波效果
generateDecayWavePath() {
    const points = [];
    const amplitude = 150;
    const startX = 50;
    const endX = this.canvas.width - 50;
    const baseY = this.centerY;

    for (let t = 0; t <= 1; t += 0.003) {
        const decay = Math.exp(-t * 3);
        points.push({
            x: startX + (endX - startX) * t,
            y: baseY + Math.sin(t * Math.PI * 2 * 2) * amplitude * decay
        });
    }
    return points;
}
模拟波的衰减效果,振幅随时间指数衰减。
十、总结
流动效果通过以下技术实现:
- 波浪路径生成:正弦函数参数化
- 粒子系统:均匀分布、属性随机化
- 缓动函数:easeInOut 平滑过渡
- 多层渲染:轨迹、发光、主体、高光
- 性能优化:路径预计算、轨迹限制
流动效果展现了数学之美与视觉艺术的完美结合,通过正弦波动创造出自然、流畅的动画体验,广泛应用于数据可视化、UI交互和艺术创作等领域。

AtomGit 是由开放原子开源基金会联合 CSDN 等生态伙伴共同推出的新一代开源与人工智能协作平台。平台坚持“开放、中立、公益”的理念,把代码托管、模型共享、数据集托管、智能体开发体验和算力服务整合在一起,为开发者提供从开发、训练到部署的一站式体验。
更多推荐

 2
2 0
0- 0


 已为社区贡献4条内容

所有评论(0)