从零搭建自己的网站 AI 助手:阿里云百炼 + 云服务器部署全教程
前言
你想拥有一个专属 网站AI 助手么?
感兴趣的话,可以阅读本篇文章。
从 API 申请到服务器部署,再到前端界面美化,一步一步终于跑通了。
今天就把完整流程分享出来,让你也能轻松拥有一个挂在自己域名下的 AI 工具。
一、准备工作
在开始之前,你需要准备以下内容:
- ✅ 一个阿里云账号(用于开通阿里云百炼)
- ✅ 一台云服务器(我用的是阿里云 ECS,Ubuntu 系统)
- ✅ 一个域名(可选,用于绑定到你的服务器)
这里,我强烈建议您阅读我的另外一篇博客:
https://blog.csdn.net/qq_33163046/article/details/160987186
二、在阿里云百炼创建 API Key
- 登录阿里云控制台,进入 【阿里云百炼】 服务。
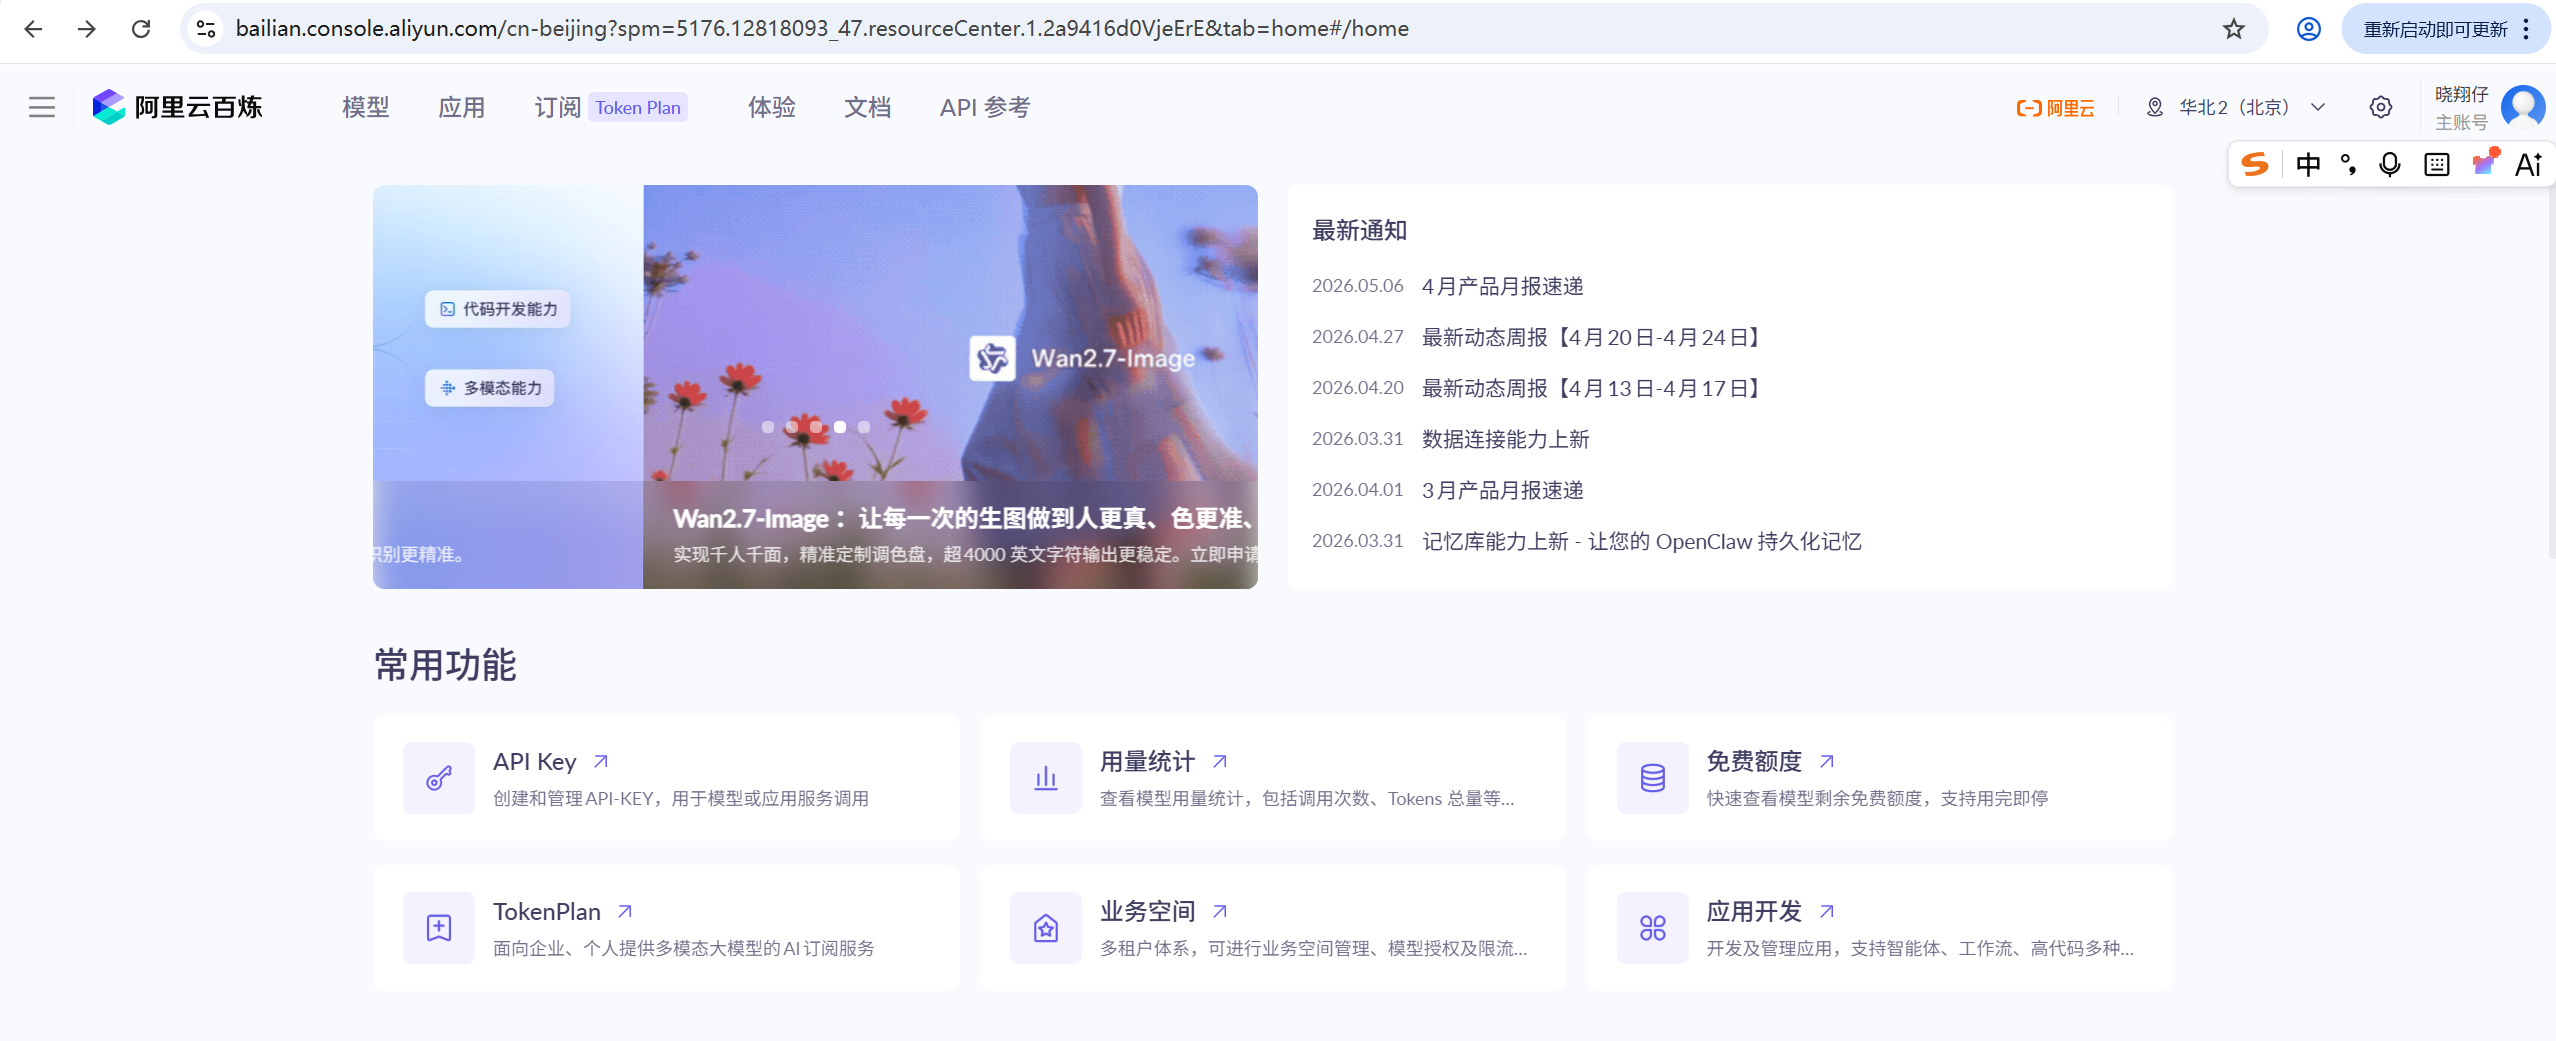
2.找到 【API Key】 管理,点击 【创建新的 API Key】。
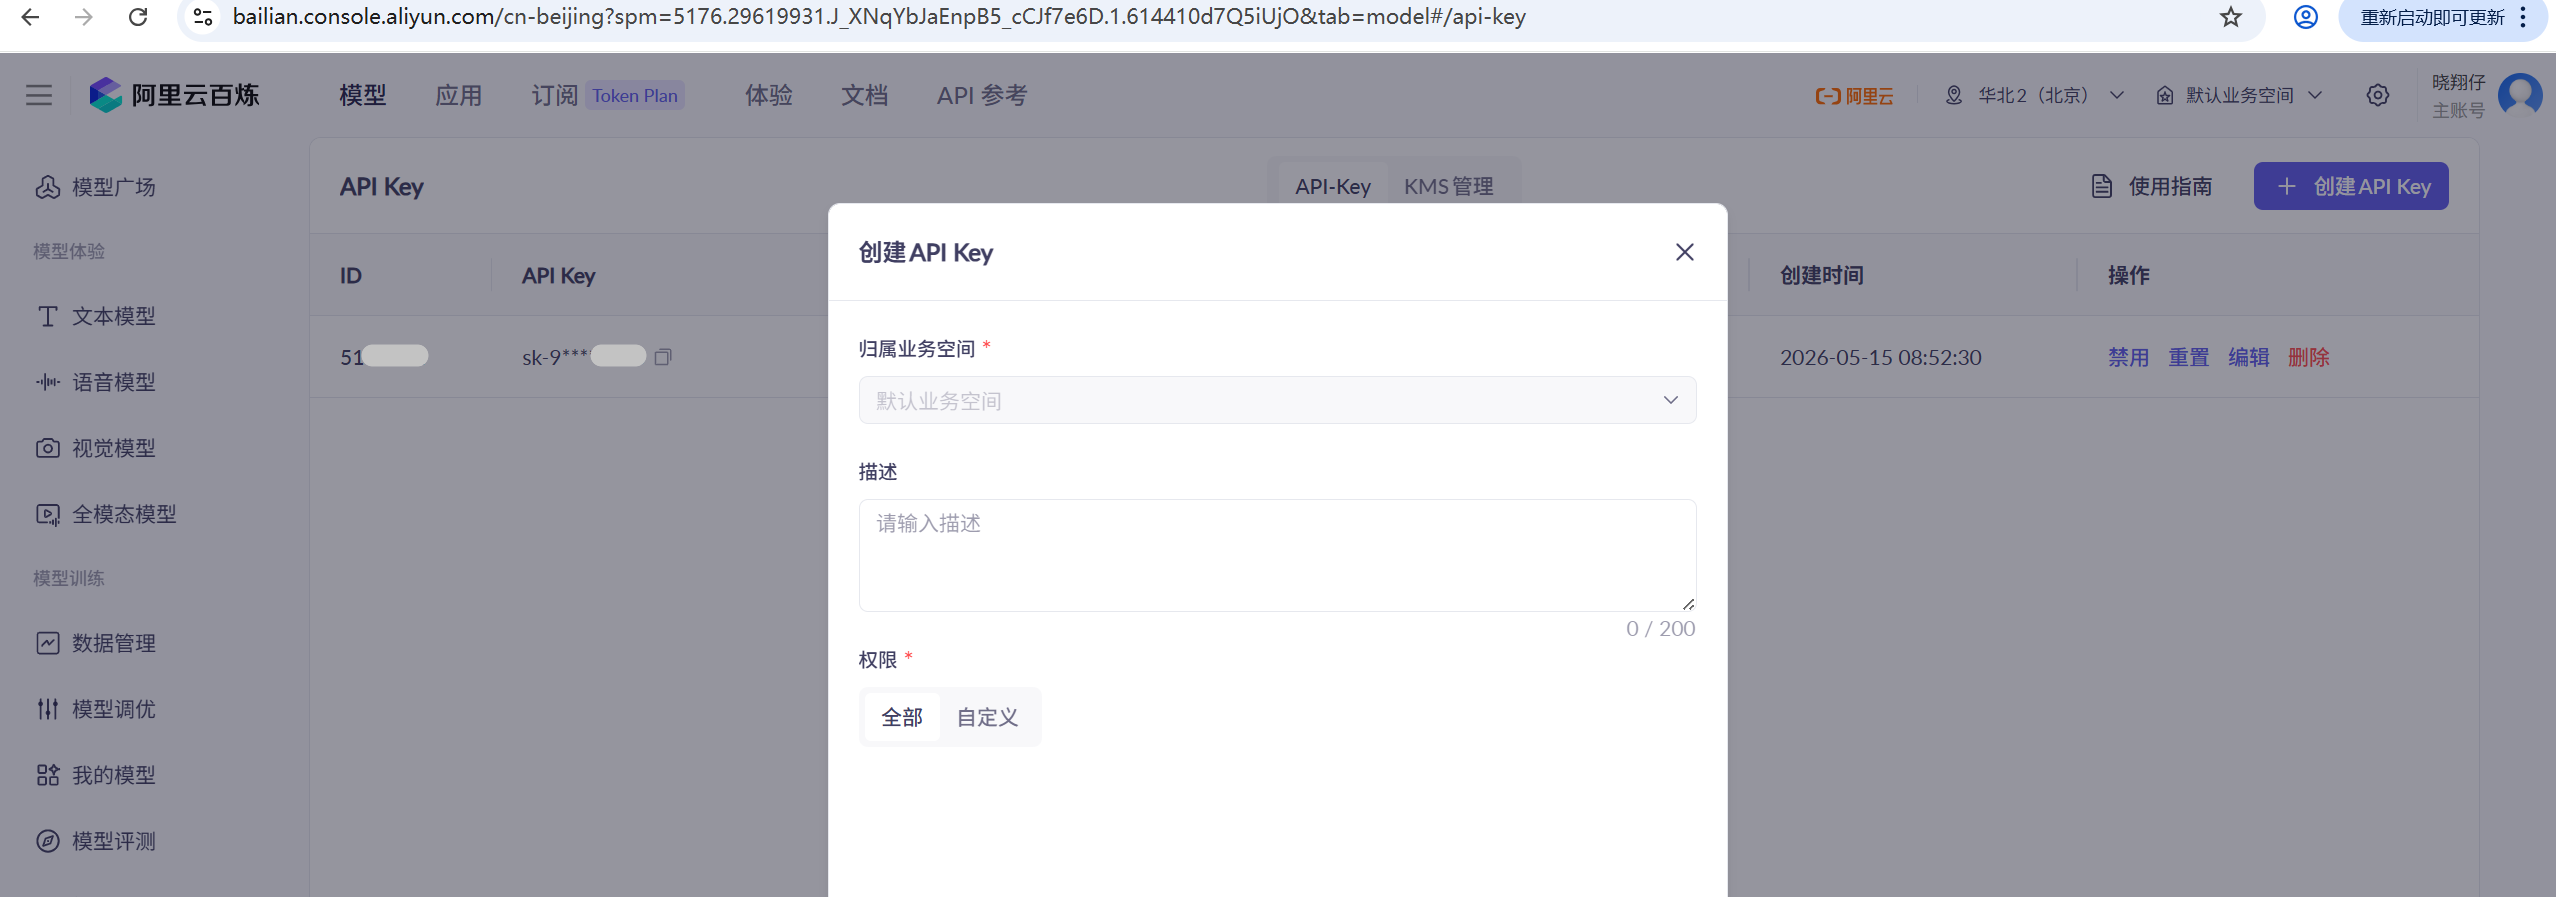
- 生成后,复制你的 API Key(格式为
sk-xxxxxx)
参考文档:
https://bailian.console.aliyun.com/cn-beijing?spm=5176.29619931.J_XNqYbJaEnpB5_cCJf7e6D.1.614410d7Q5iUjO&tab=api#/api
三、在云服务器上编写 Python 服务代码
这一步是核心,我们用 Python 自带的 http.server 模块,搭建一个轻量的 Web 服务,既不用安装复杂的框架,也能稳定对接阿里云百炼 API。
3.1 创建服务文件
登录你的云服务器,创建一个新文件 ai_server.py:
nano ai_server.py
3.2 编写完整代码
将下面的完整代码复制进去(注意替换你自己的 API Key):
#!/usr/bin/env python3
from http.server import BaseHTTPRequestHandler, HTTPServer
import json
import urllib.request

# 替换为你自己的阿里云百炼API Key和模型
API_KEY = "你的阿里云百炼API Key"
MODEL = "qwen-turbo"

class MyHandler(BaseHTTPRequestHandler):
    def do_GET(self):
        if self.path == "/":
            # 精美的聊天界面HTML
            html = """
<!DOCTYPE html>
<html lang="zh-CN">
<head>
    <meta charset="UTF-8">
    <meta name="viewport" content="width=device-width, initial-scale=1.0">
    <title>晓翔仔的AI助手</title>
    <style>
        * { margin: 0; padding: 0; box-sizing: border-box; }
        body { font-family: -apple-system, BlinkMacSystemFont, sans-serif; background: #f5f7fa; max-width: 900px; margin: 0 auto; padding: 20px; }
        .header { text-align: center; margin-bottom: 25px; color: #2d3748; }
        .header h2 { font-size: 26px; font-weight: 600; color: #1a202c; }
        .chat-container { background: white; border-radius: 16px; box-shadow: 0 4px 20px rgba(0,0,0,0.06); height: 650px; display: flex; flex-direction: column; overflow: hidden; }
        .messages { flex: 1; padding: 25px; overflow-y: auto; display: flex; flex-direction: column; gap: 16px; }
        .message { max-width: 78%; padding: 12px 16px; border-radius: 14px; font-size: 15px; }
        .user-message { align-self: flex-end; background: #3b82f6; color: white; border-bottom-right-radius: 4px; }
        .ai-message { align-self: flex-start; background: #e9f0ff; color: #1e293b; border-bottom-left-radius: 4px; }
        .input-bar { display: flex; padding: 16px; border-top: 1px solid #eee; gap: 10px; }
        #msg { flex: 1; padding: 14px 18px; border: 1px solid #e2e8f0; border-radius: 24px; font-size: 15px; outline: none; transition: 0.2s; }
        #msg:focus { border-color: #3b82f6; }
        button { padding: 14px 24px; background: #3b82f6; color: white; border: none; border-radius: 24px; font-size: 15px; font-weight: 500; cursor: pointer; transition: 0.2s; }
        button:hover { background: #2563eb; }
        .loading { font-style: italic; color: #64748b; padding: 8px 16px; }
    </style>
</head>
<body>
    <div class="header">
        <h2>🤖 晓翔仔的AI助手</h2>
    </div>
    <div class="chat-container">
        <div class="messages" id="messages"></div>
        <div class="input-bar">
            <input id="msg" placeholder="输入你的问题..." autocomplete="off">
            <button onclick="sendMessage()">发送</button>
        </div>
    </div>
    <script>
        async function sendMessage() {
            const input = document.getElementById('msg');
            const text = input.value.trim();
            if (!text) return;
            const messages = document.getElementById('messages');
            messages.innerHTML += `<div class='message user-message'>${text}</div>`;
            input.value = '';
            const loading = document.createElement('div');
            loading.className = 'loading';
            loading.textContent = 'AI 思考中...';
            messages.appendChild(loading);
            scrollToBottom();
            try {
                const res = await fetch(`/api?msg=${encodeURIComponent(text)}`);
                const data = await res.json();
                messages.removeChild(loading);
                messages.innerHTML += `<div class='message ai-message'>${data.answer}</div>`;
            } catch (e) {
                messages.removeChild(loading);
                messages.innerHTML += `<div class='message ai-message'>请求出错,请重试</div>`;
            }
            scrollToBottom();
        }
        function scrollToBottom() {
            const m = document.getElementById('messages');
            m.scrollTop = m.scrollHeight;
        }
        document.getElementById('msg').addEventListener('keypress', (e) => {
            if (e.key === 'Enter') sendMessage();
        });
    </script>
</body>
</html>
            """
            self.send_response(200)
            self.send_header("Content-type", "text/html; charset=utf-8")
            self.end_headers()
            self.wfile.write(html.encode("utf-8"))
        elif self.path.startswith("/api"):
            import urllib.parse
            query = urllib.parse.urlparse(self.path).query
            params = urllib.parse.parse_qs(query)
            msg = params.get("msg", [""])[0]
            if not msg:
                self.send_response(400)
                self.end_headers()
                self.wfile.write(json.dumps({"answer": "请输入问题"}).encode())
                return
            try:
                url = "https://dashscope.aliyuncs.com/api/v1/services/aigc/text-generation/generation"
                headers = {"Authorization": f"Bearer {API_KEY}", "Content-Type": "application/json"}
                data = json.dumps({
                    "model": MODEL,
                    "input": {"messages": [{"role": "user", "content": msg}]},
                    "parameters": {"result_format": "message"}
                }).encode("utf-8")
                req = urllib.request.Request(url, data=data, headers=headers, method="POST")
                with urllib.request.urlopen(req, timeout=20) as response:
                    result = json.loads(response.read().decode("utf-8"))
                    answer = result["output"]["choices"][0]["message"]["content"]
                self.send_response(200)
                self.send_header("Content-type", "application/json")
                self.end_headers()
                self.wfile.write(json.dumps({"answer": answer}).encode("utf-8"))
            except Exception as e:
                self.send_response(500)
                self.end_headers()
                self.wfile.write(json.dumps({"answer": f"服务异常:{str(e)}"}).encode("utf-8"))

if __name__ == "__main__":
    server_address = ("0.0.0.0", 18789)
    httpd = HTTPServer(server_address, MyHandler)
    print("✅ AI服务已启动:http://你的服务器IP:18789")
    httpd.serve_forever()
提示:记得将
API_KEY的值替换为你自己在阿里云百炼生成的 API Key。
3.3 保存并退出
在 nano 编辑器中,按 Ctrl + O 保存,回车确认,再按 Ctrl + X 退出。
四、启动服务并后台运行
为了让服务在你断开 SSH 连接后也能稳定运行,我们用 nohup 命令后台启动:
nohup python3 ai_server.py > ai.log 2>&1 &
各参数说明:
| 参数 | 作用 |
|---|---|
nohup | 让进程忽略挂起信号,后台运行 |
> ai.log 2>&1 | 将日志输出到 ai.log 文件,方便排查问题 |
& | 表示在后台运行 |
五、配置服务器防火墙与安全组
这一步非常关键,否则外网无法访问你的服务!
5.1 云服务器安全组
在阿里云控制台,进入你的 ECS 实例,在 【安全组】 中添加入方向规则:
- 放行端口:
18789 - 协议:
TCP - 来源:
0.0.0.0/0
5.2 服务器本地防火墙
如果开启了 ufw,还需要放行端口:
sudo ufw allow 18789/tcp
六、测试访问
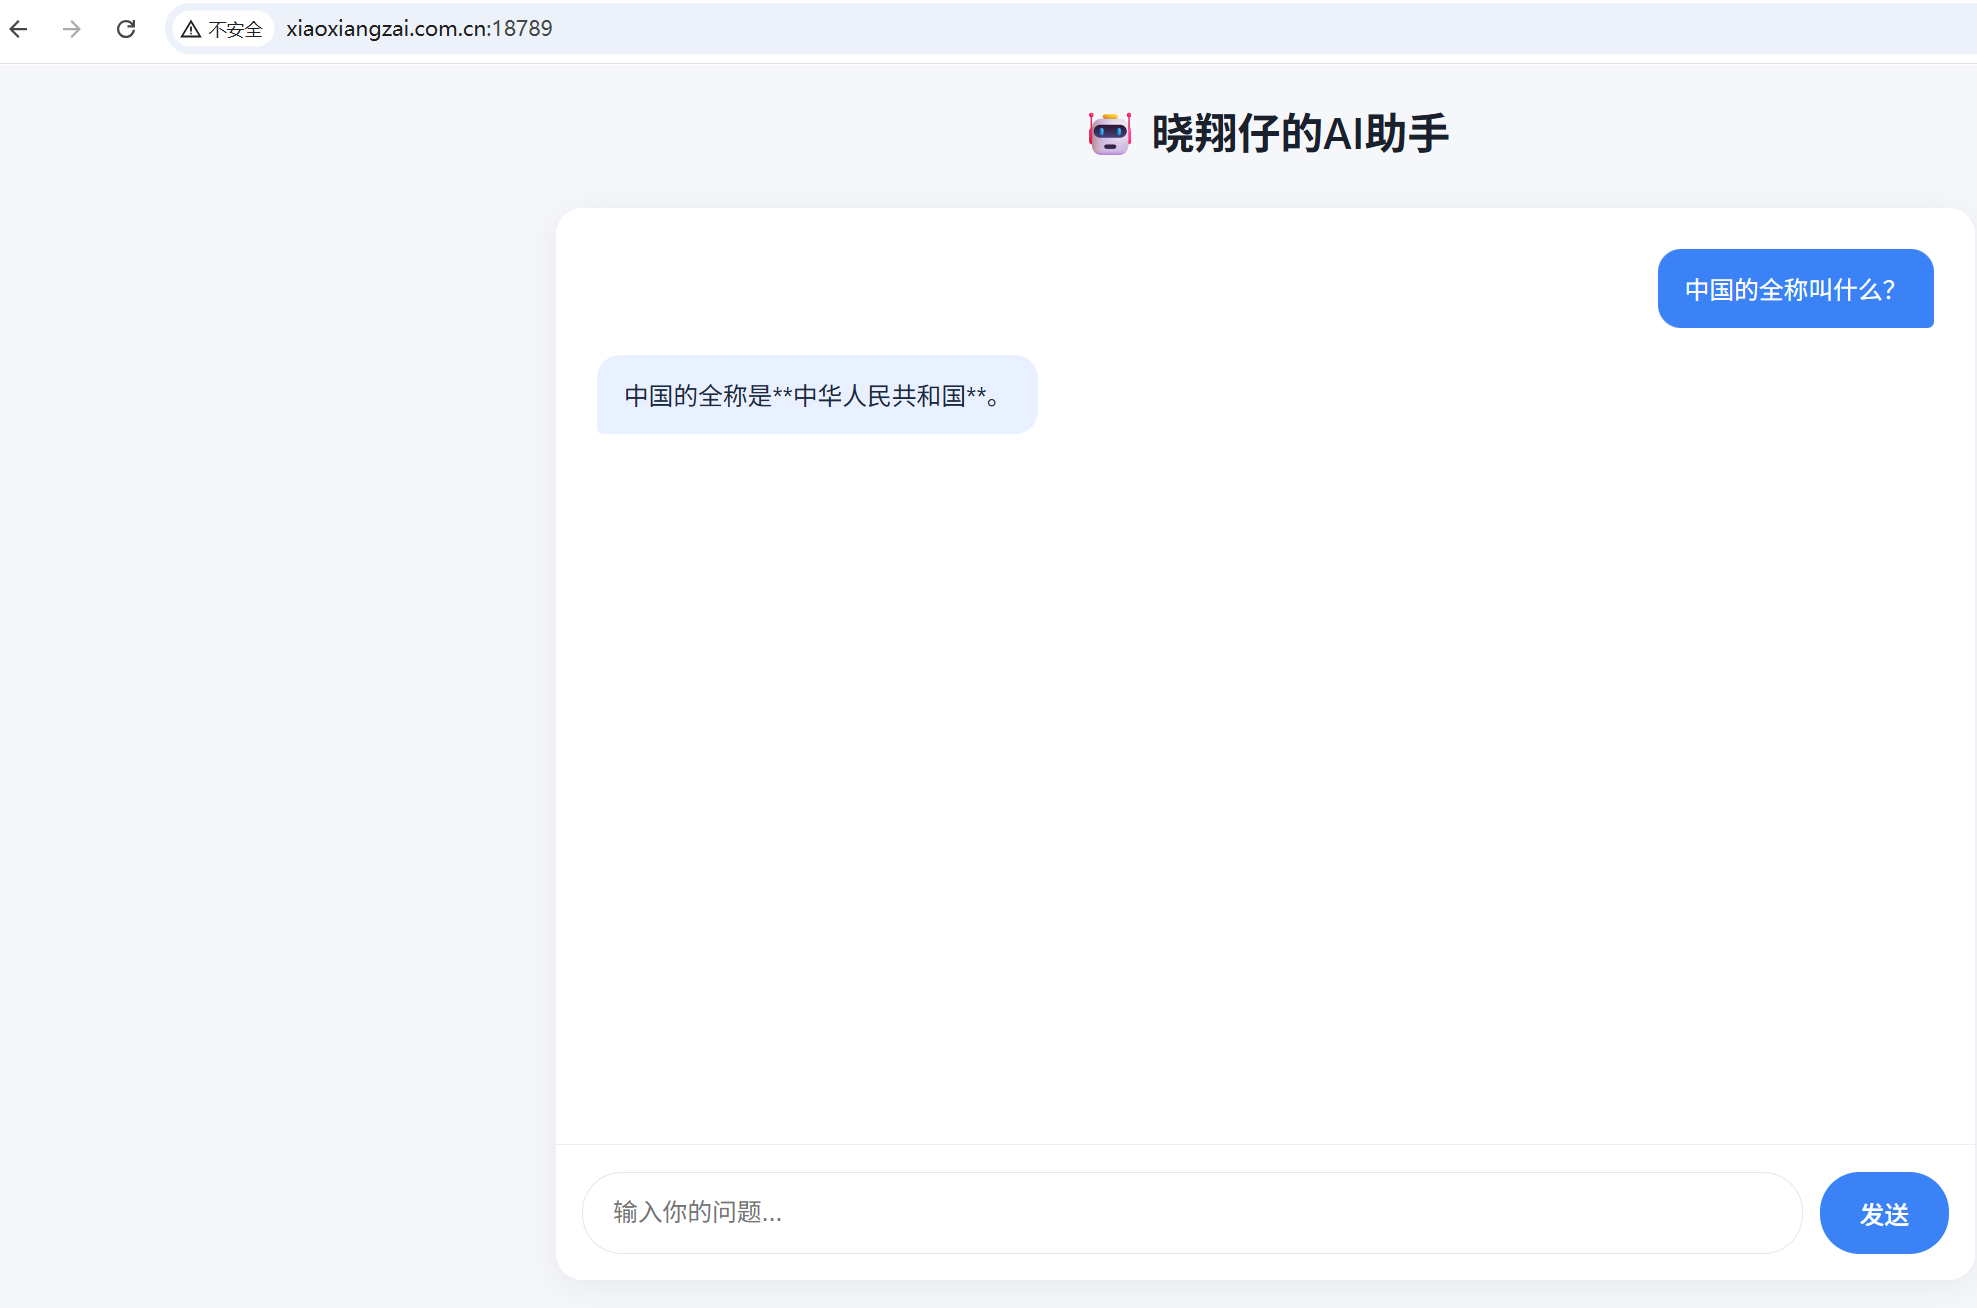
打开浏览器,输入你的服务器地址:
- 直接访问:
http://你的服务器IP:18789 - 域名访问:
http://xiaoxiangzai.com.cn:18789
你会看到一个精美的聊天界面,输入问题发送,AI 就能正常回复了!🎉
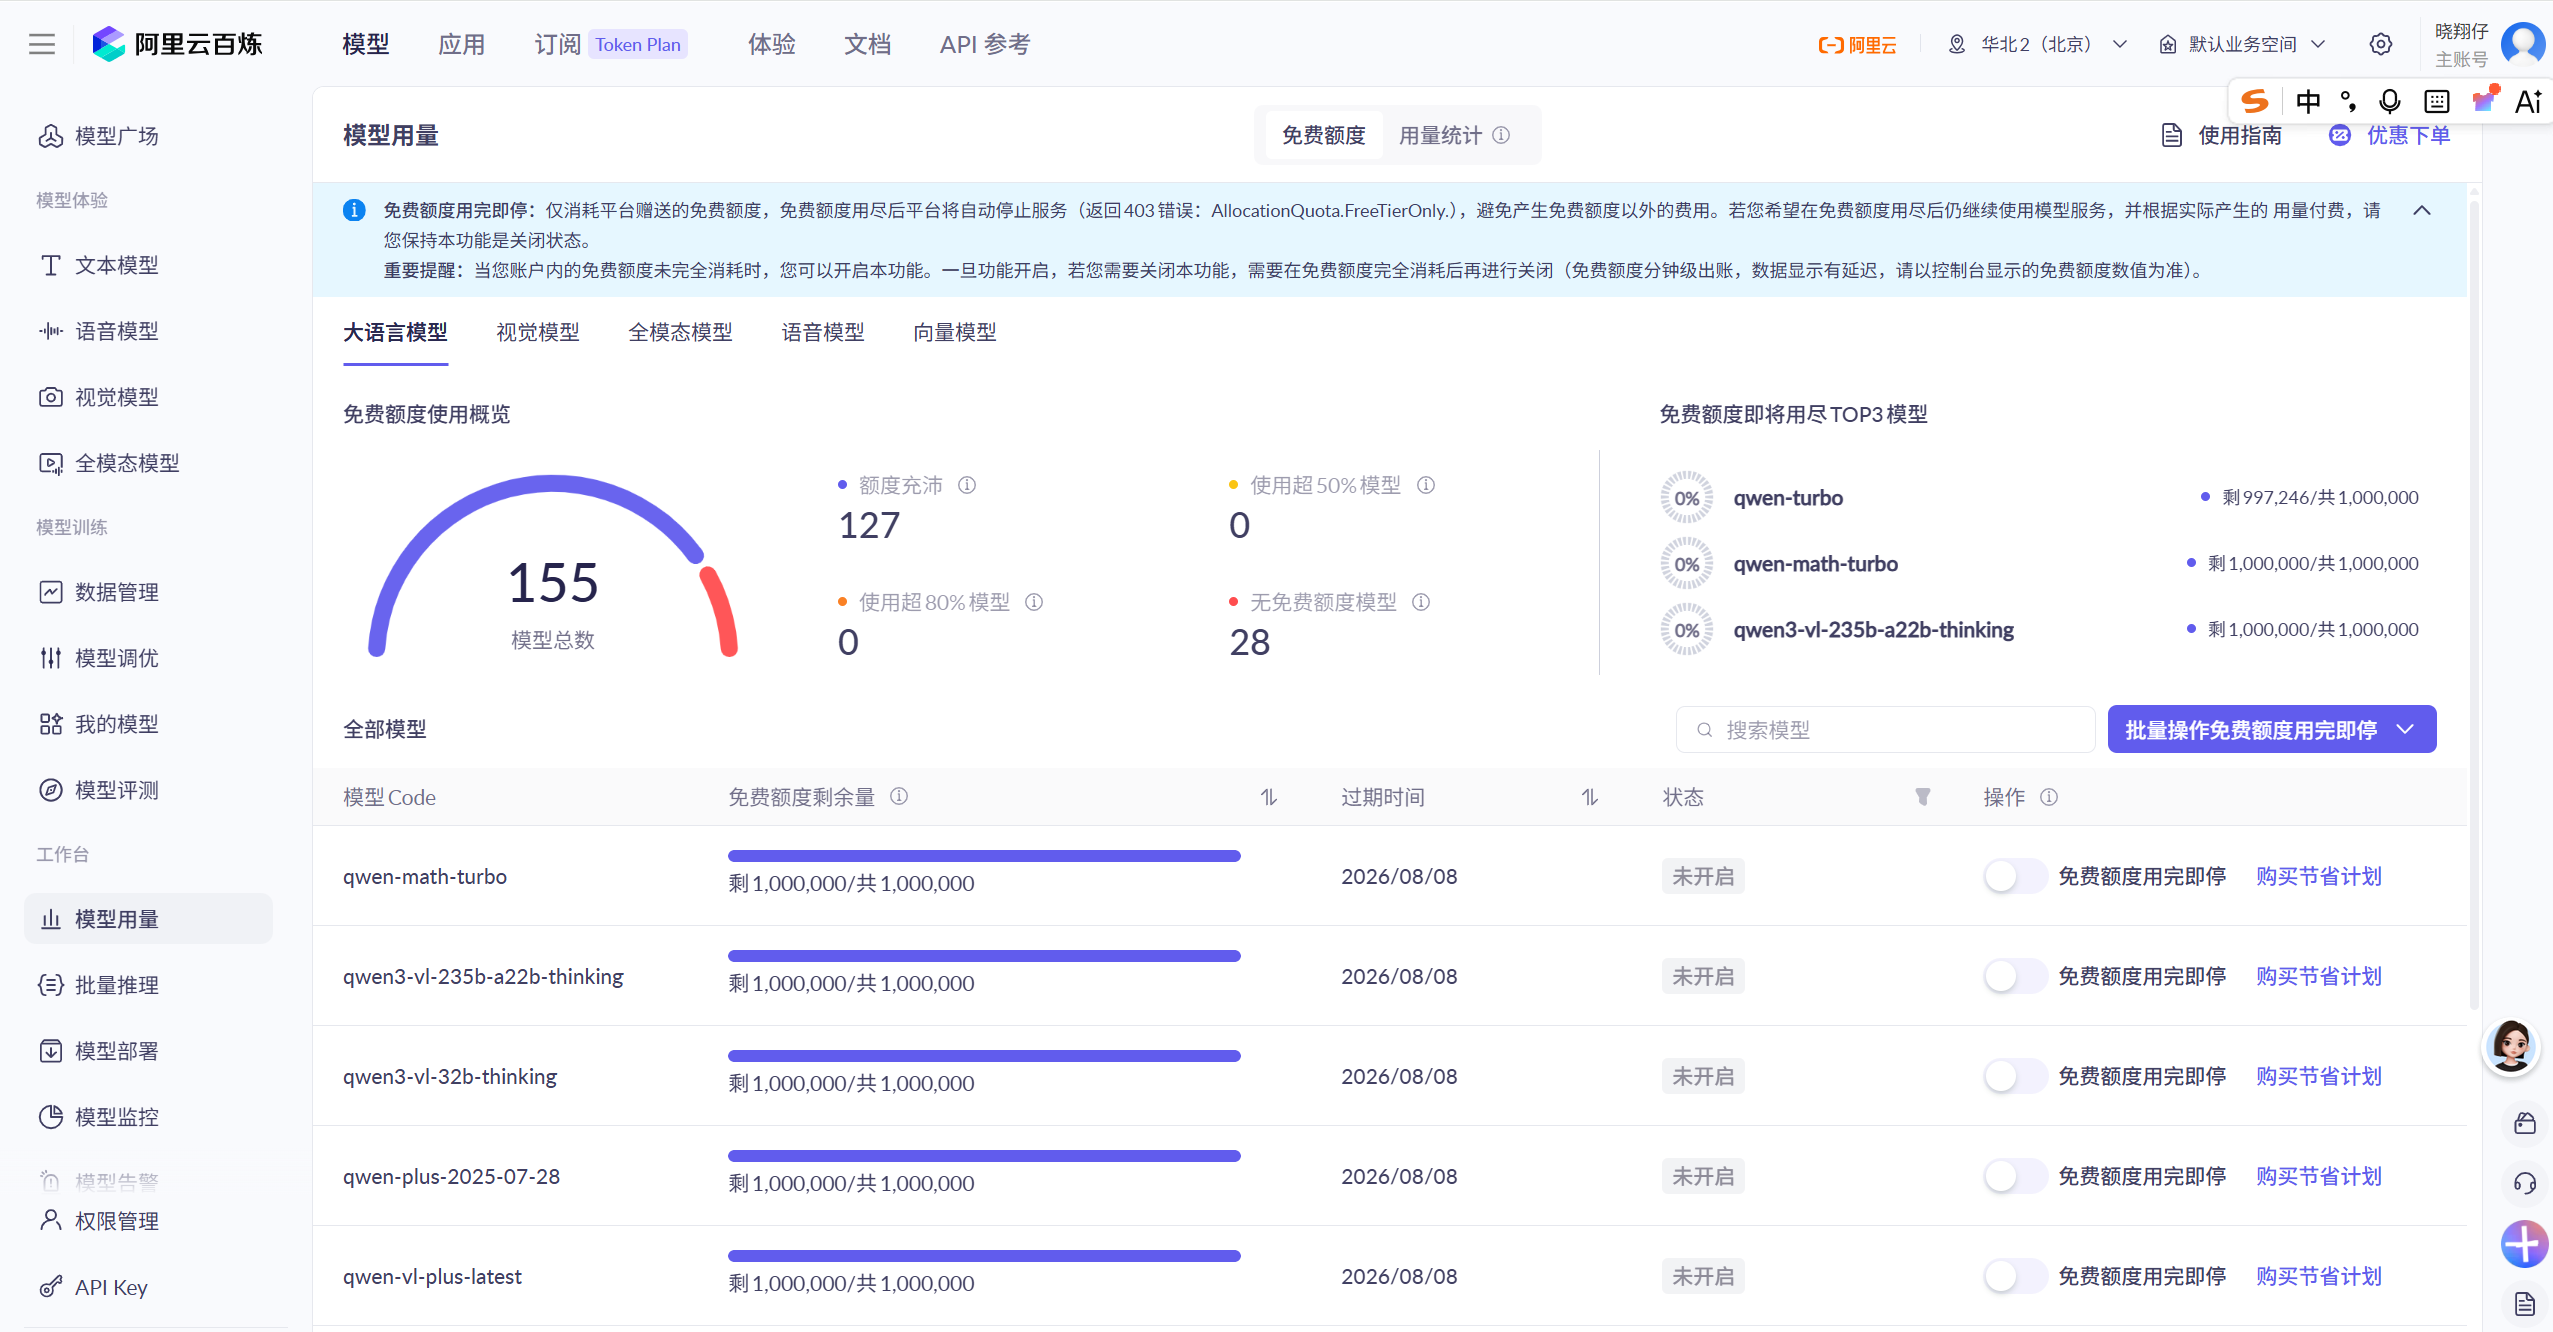
七、额度消耗
免费额度虽然很高,但是也是有限的,务必关注额度消耗
八、后续优化方向(可选)
如果你想进一步完善,可以考虑以下方向:
| 优化项 | 说明 |
|---|---|
| 🔗 绑定域名路径 | 通过 Nginx 反向代理,将 http://xiaoxiangzai.com.cn/ai 映射到 127.0.0.1:18789,实现无端口访问 |
| 🔒 开启 HTTPS | 为你的域名配置 SSL 证书,让访问更安全 |
| 🔄 持久化运行 | 将服务配置为 systemd 服务,实现开机自启和自动重启 |
结语
整个过程从 0 到 1,很快实现了一个稳定、美观、可直接嵌入网站的 AI 助手。如果你也想折腾一下,这个方案非常适合新手——不用复杂的框架,代码轻量又好理解。
💡 如果这篇文章对你有帮助,欢迎点赞收藏,有问题欢迎在评论区交流!

AtomGit 是由开放原子开源基金会联合 CSDN 等生态伙伴共同推出的新一代开源与人工智能协作平台。平台坚持“开放、中立、公益”的理念,把代码托管、模型共享、数据集托管、智能体开发体验和算力服务整合在一起,为开发者提供从开发、训练到部署的一站式体验。
更多推荐


 5
5 0
0- 0


 已为社区贡献1条内容

所有评论(0)