Spring AI:让大模型住进 Spring 生态(四)


个人主页:手握风云
目录
一、Spring AI Alibaba
1.1. 框架定位
Spring AI Alibaba是基于Spring AI构建的开源项目,作为阿里云通义系列模型及百炼大模型服务平台在Java AI应用开发领域的官方最佳实践,它专为习惯Spring开发范式的Java开发者设计,解决了LangChain、LlamaIndex等Python系AI开发框架对Java开发者不够友好的问题。该框架基于Spring Boot 3.x开发(要求JDK 17及以上),提供高层次的AI API抽象与云原生基础设施集成方案,支持聊天、文生图、音频转录、文生语音等多种模型服务对接,兼容同步与流式API、结构化输出、函数调用、对话记忆、RAG开发等核心能力,且完全兼容Spring AI原生的ChatClient等API,开发者可在保持应用层API不变的情况下灵活切换底层模型,实现与阿里云生态服务的天然整合,快速低成本构建企业级AI应用。
1.2. 快速上手
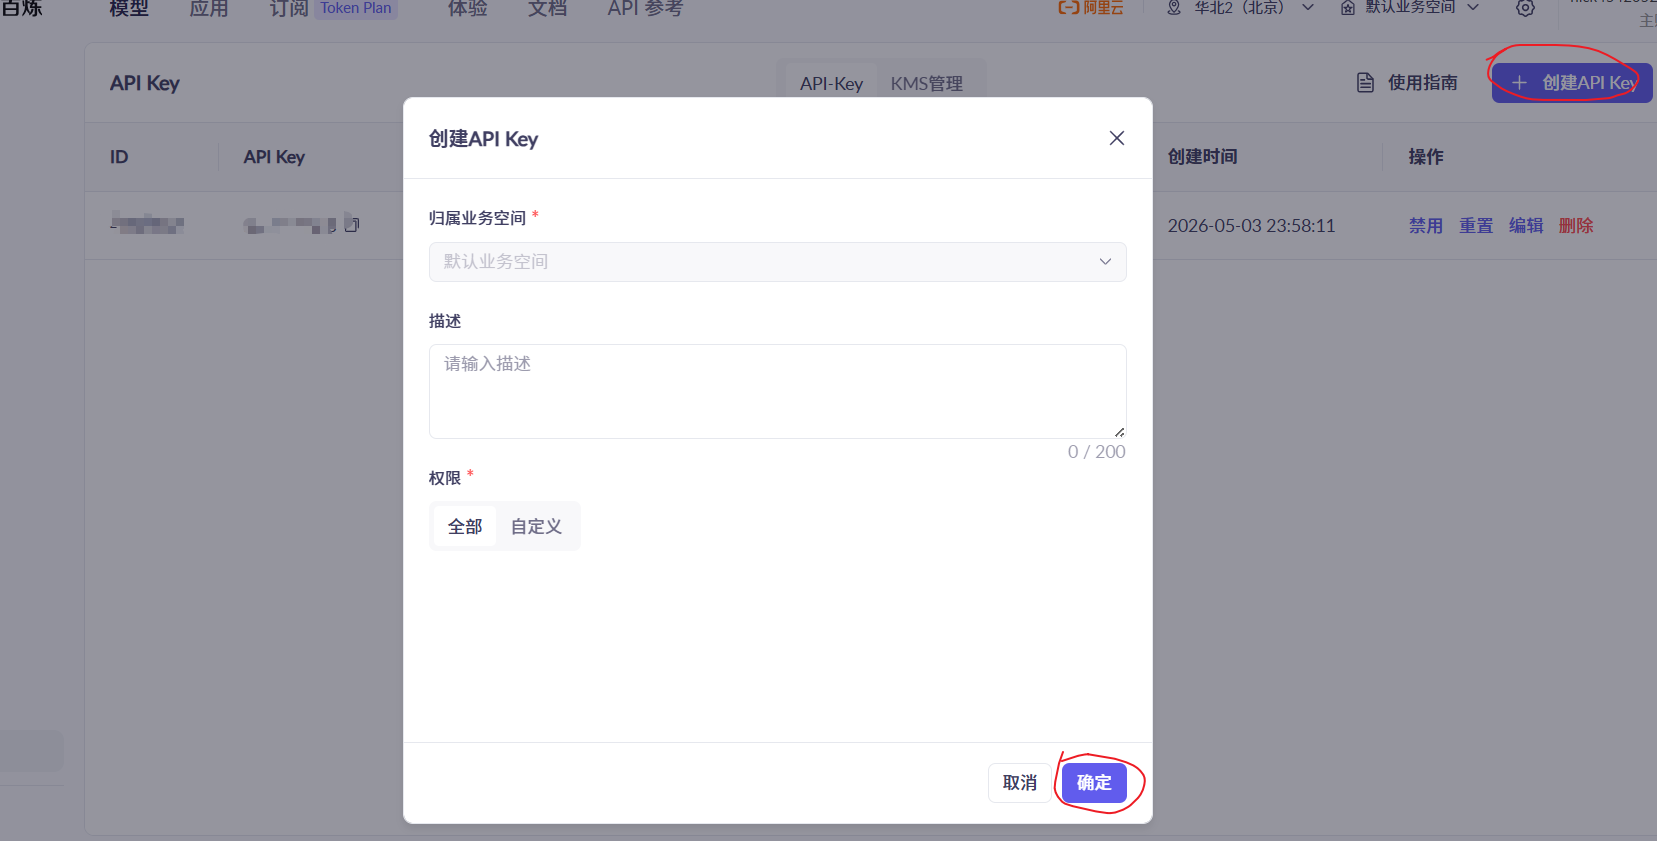
1. 申请 API-KEY
前往阿里云百炼平台:https://bailian.console.aliyun.com/cn-beijing?tab=model#/api-key。我们完成实名认证之后,可以免费领取额度。
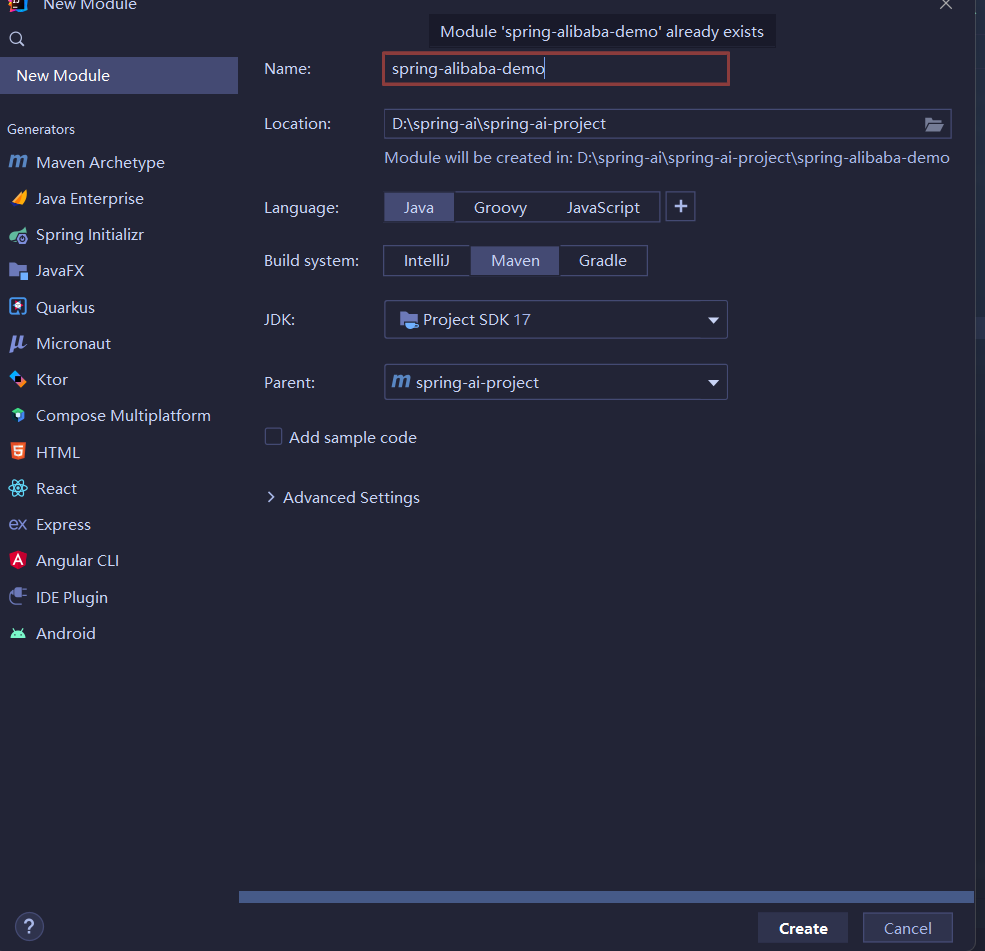
2. 搭建项目
基于 Spring Boot 3.x 新建 spring-alibaba-demo 模块。
- pom.xml
<dependencies>
	<dependency>
		<groupId>org.springframework.boot</groupId>
		<artifactId>spring-boot-starter-web</artifactId>
	</dependency>

	<dependency>
		<groupId>org.springframework.boot</groupId>
		<artifactId>spring-boot-starter-test</artifactId>
		<scope>test</scope>
	</dependency>
</dependencies>

<build>
	<plugins>
		<plugin>
			<groupId>org.springframework.boot</groupId>
			<artifactId>spring-boot-maven-plugin</artifactId>
			<version>3.5.7</version>
		</plugin>
	</plugins>
</build>- 启动类
package com.yang.alibaba;

import org.springframework.boot.SpringApplication;
import org.springframework.boot.autoconfigure.SpringBootApplication;

@SpringBootApplication
public class SpringAlibabaApplication {
    public static void main(String[] args) {
        SpringApplication.run(SpringAlibabaApplication.class, args);
    }
}
3. 引入依赖
接着在 pom.xml 文件中添加 Spring AI Alibaba 启动器。添加后,刷新 Maven 依赖,等待下载完成。
<dependency>
	<groupId>com.alibaba.cloud.ai</groupId>
	<artifactId>spring-ai-alibaba-starter</artifactId>
	<version>1.0.0-M5.1</version>
</dependency>
4. 配置 application.yml
server:
  port: 8082
spring:
  application:
    name: spring-alibaba-demo
  ai:
    dashscope:
      api-key: your API-KEY
logging:
  pattern:
    console: "%d{HH:mm:ss.SSS} [%thread] %-5level %logger{36} - %msg%n"
    file: "%d{HH:mm:ss.SSS} [%thread] %-5level %logger{36} - %msg%n"
5. 编写 AI 对话接口
创建一个 Controller 类,直接注入 Spring AI 提供的 ChatClient。
package com.yang.alibaba.controller;

import org.springframework.ai.chat.model.ChatModel;
import org.springframework.web.bind.annotation.RequestMapping;
import org.springframework.web.bind.annotation.RestController;

@RestController
@RequestMapping("/ali")
public class AliController {
    private final ChatModel chatModel;

    public AliController(ChatModel chatModel) {
        this.chatModel = chatModel;
    }

    @RequestMapping("/chat")
    public String chat(String message) {
        return chatModel.call(message);
    }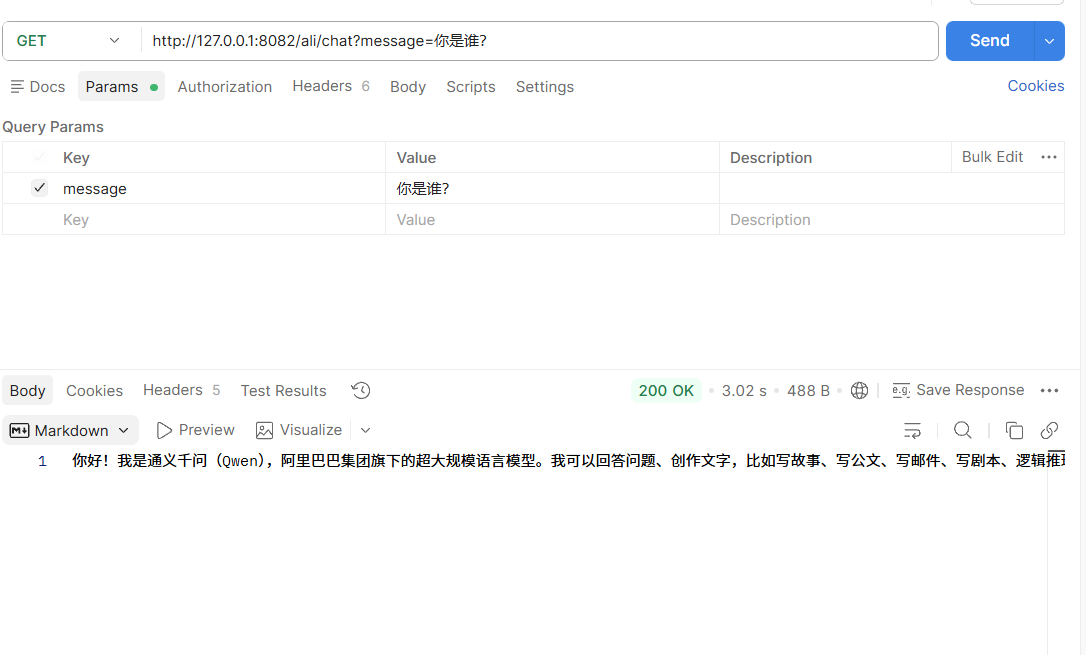
}测试接口:http://127.0.0.1:8082/ali/chat?message=你是谁?
1.3. ChatClient 用法
1. 创建 ChatClient
使用 ChatClient.Builder 对象创建 ChatClient 实例,您可以自动注入由Spring Boot 自动配置创建的默认 ChatClient.Builder 实例,您也可以通过编程方式自行创建一个 ChatClient.Builder 实例并用它来得到 ChatClient 实例。
package com.yang.alibaba.controller;

import org.springframework.ai.chat.client.ChatClient;
import org.springframework.web.bind.annotation.GetMapping;
import org.springframework.web.bind.annotation.RequestMapping;
import org.springframework.web.bind.annotation.RestController;

@RestController
@RequestMapping("/chat")
public class ChatController {
    private final ChatClient chatClient;

    public ChatController(ChatClient.Builder builder) {
        this.chatClient = builder.build();
    }

    @GetMapping("/call")
    public String call(String input) {
        return this.chatClient.prompt()
                .user(input)
                .call()
                .content();
    }
}测试接口:http://127.0.0.1:8082/chat/call?input=你是哪家公司的大模型?
2. 流式响应
@GetMapping(value = "/stream", produces = "text/html;charset=utf-8")
public Flux<String> stream(String input) {
    return this.chatClient.prompt()
            .user(input)
            .stream()
            .content();
}测试接口:http://127.0.0.1:8082/chat/stream?input=阿里巴巴收购过哪些公司?
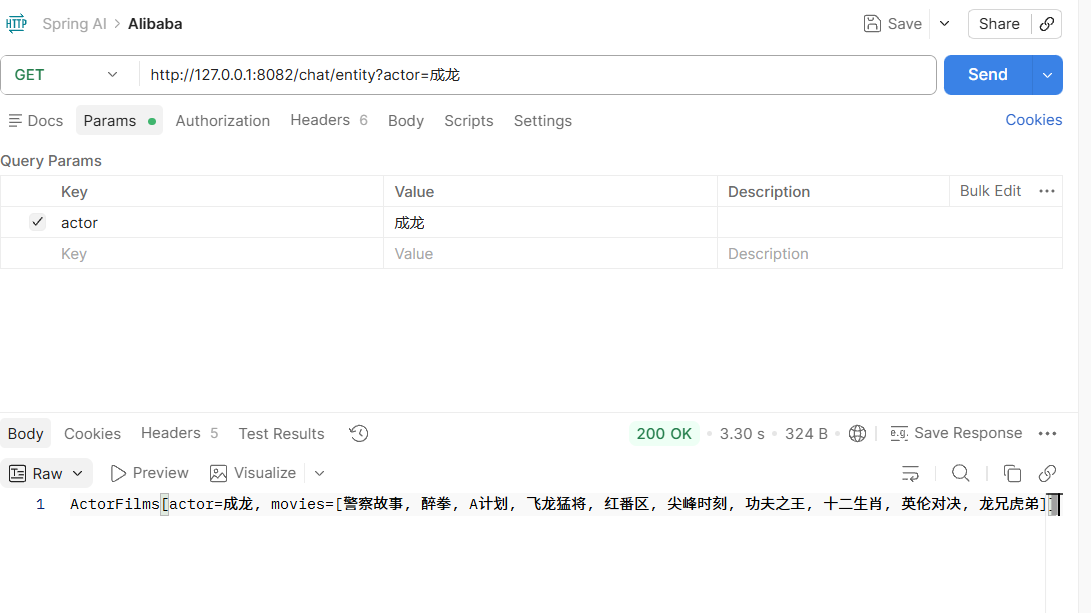
3. 结构化输出
record ActorFilms(String actor, List<String> movies) {
}

@GetMapping("/entity")
public String entity(String actor) {
    ActorFilms actorFilms = chatClient.prompt()
            .user(String.format("帮我生成演员%s的电影作品", actor))
            .call()
            .entity(ActorFilms.class);
    return actorFilms.toString();
}测试接口:http://127.0.0.1:8082/chat/entity?actor=成龙
4. 设置默认 System Message
我们为 ChatClient 设置了一个默认的 system message,这样,当 ChatClient 与模型交互时都会自动携带这条 system message,用户只需要指定 user message 即可。
package com.yang.alibaba.config;
import org.springframework.ai.chat.client.ChatClient;
import org.springframework.context.annotation.Bean;
import org.springframework.context.annotation.Configuration;
@Configuration
public class ChatClientConfig {
@Bean
ChatClient chatClient(ChatClient.Builder builder) {
return builder
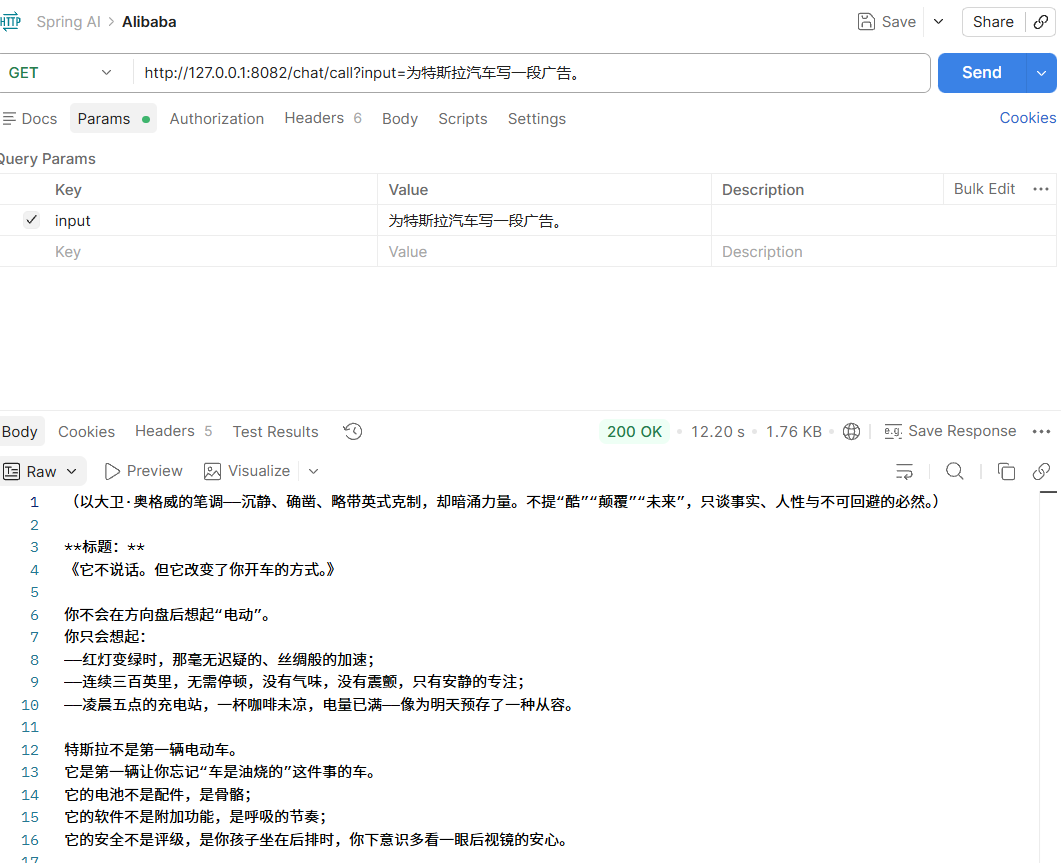
.defaultSystem("假设你是大卫奥格威,能够为很多品牌撰写广告")
.build();
}
}package com.yang.alibaba.controller;
import org.springframework.ai.chat.client.ChatClient;
import org.springframework.beans.factory.annotation.Autowired;
import org.springframework.web.bind.annotation.GetMapping;
import org.springframework.web.bind.annotation.RequestMapping;
import org.springframework.web.bind.annotation.RestController;
import reactor.core.publisher.Flux;
import java.util.List;
@RestController
@RequestMapping("/chat")
public class ChatController {
@Autowired
private ChatClient chatClient;
@GetMapping("/call")
public String call(String input) {
return this.chatClient.prompt()
.user(input)
.call()
.content();
}
}在上面 builder.defaultSystem() 创建 ChatClient 的时,我们还可以选择使用模板,类似 “You are a friendly chat bot that answers question in the voice of a {voice}“,这让我们有机会在每次调用前修改请求参数。
测试接口:http://127.0.0.1:8082/chat/call?input=为特斯拉汽车写一段广告。
@Bean
ChatClient chatClient(ChatClient.Builder builder) {
    return builder
            .defaultSystem("假设你是大卫奥格威,能够为很多品牌撰写广告,并且回答是,前面加上一个词: #{word}")
            .build();
}
@GetMapping("/word")
public String word(String input, String word) {
return chatClient.prompt()
.system(sp -> sp.param("word", word))
.user(input)
.call()
.content();
}1.4. 多模态支持
1. 多模态介绍
多模态指模型同时理解与处理文本、图像、音频等多源信息的能力,区别于传统 AI 仅支持单一模态(如仅文本、仅语音)交互,可融合多类信息完成跨模态任务(如图文问答、看图描述)。人类靠视觉、听觉等多种感官认知世界,多模态 AI 相当于让模型具备 “看、听、读” 等多种能力,实现更贴近人类的交互。Spring AI 通过Message API统一抽象多模态能力,UserMessage可携带Media媒体数据,搭配MimeType指定模态类型,适配多模态大模型输入。
2. 多模态实现
- 依赖引入
添加 spring-ai-alibaba-starter-dashscope 依赖包,由于之前添加了 spring-ai-alibaba-starter 的依赖包,可能会存在一些冲突,所以我们同时也要去掉 spring-ai-alibaba-starter 再刷新 Maven。
<dependency>
	<groupId>com.alibaba.cloud.ai</groupId>
	<artifactId>spring-ai-alibaba-starter-dashscope</artifactId>
	<version>1.1.2.0</version>
</dependency>- 配置文件
在 application.yml 配置 API-Key、多模态模型(如 qwen-vl-max-latest),并开启 multi-model: true。
spring:
  ai:
    dashscope:
      api-key: sk-22c4373f299c4618ac31a64e299afafb
      chat:
        options:
          model: qwen-vl-max-latest
multi-model: true- 代码实现
package com.yang.alibaba.controller;
import org.springframework.ai.chat.client.ChatClient;
import org.springframework.ai.chat.messages.UserMessage;
import org.springframework.ai.chat.prompt.Prompt;
import org.springframework.ai.content.Media;
import org.springframework.util.MimeTypeUtils;
import org.springframework.web.bind.annotation.GetMapping;
import org.springframework.web.bind.annotation.RequestMapping;
import org.springframework.web.bind.annotation.RestController;
import java.net.MalformedURLException;
import java.net.URI;
import java.net.URISyntaxException;
import java.util.List;
@RestController
@RequestMapping("/multi")
public class MultiModelController {
private final ChatClient chatClient;
public MultiModelController(ChatClient.Builder builder) {
this.chatClient = builder.build();
}
@GetMapping("/image")
public String image(String input) throws URISyntaxException, MalformedURLException {
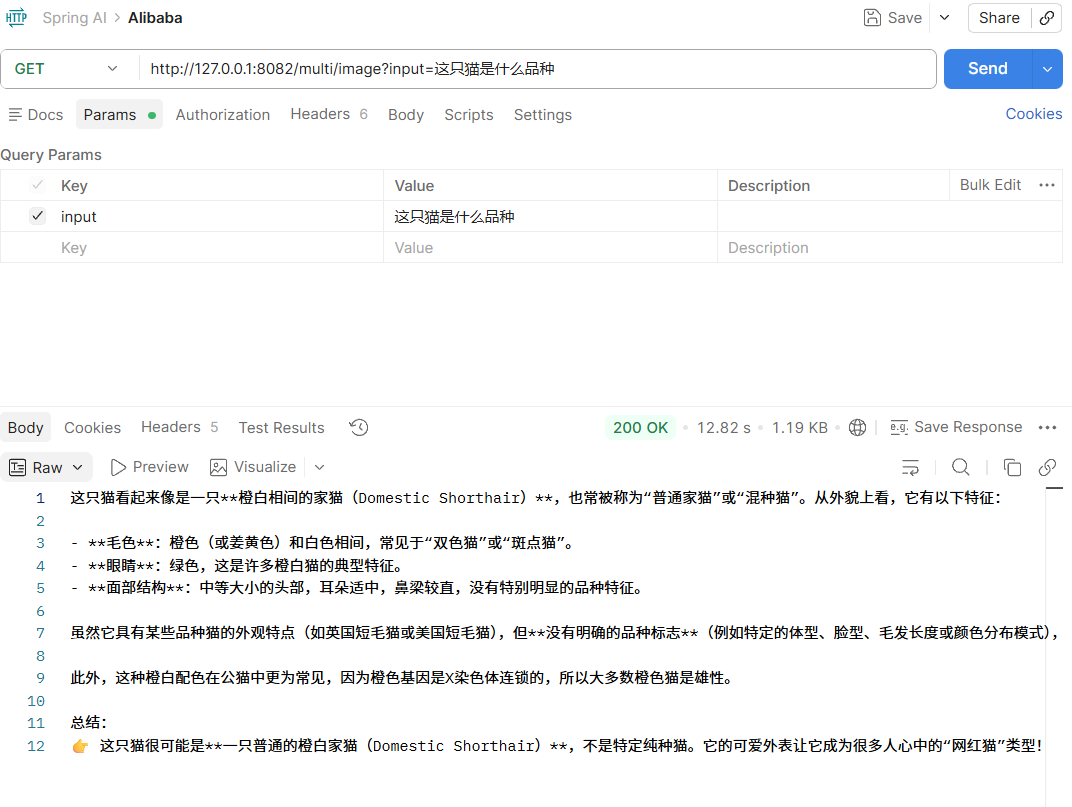
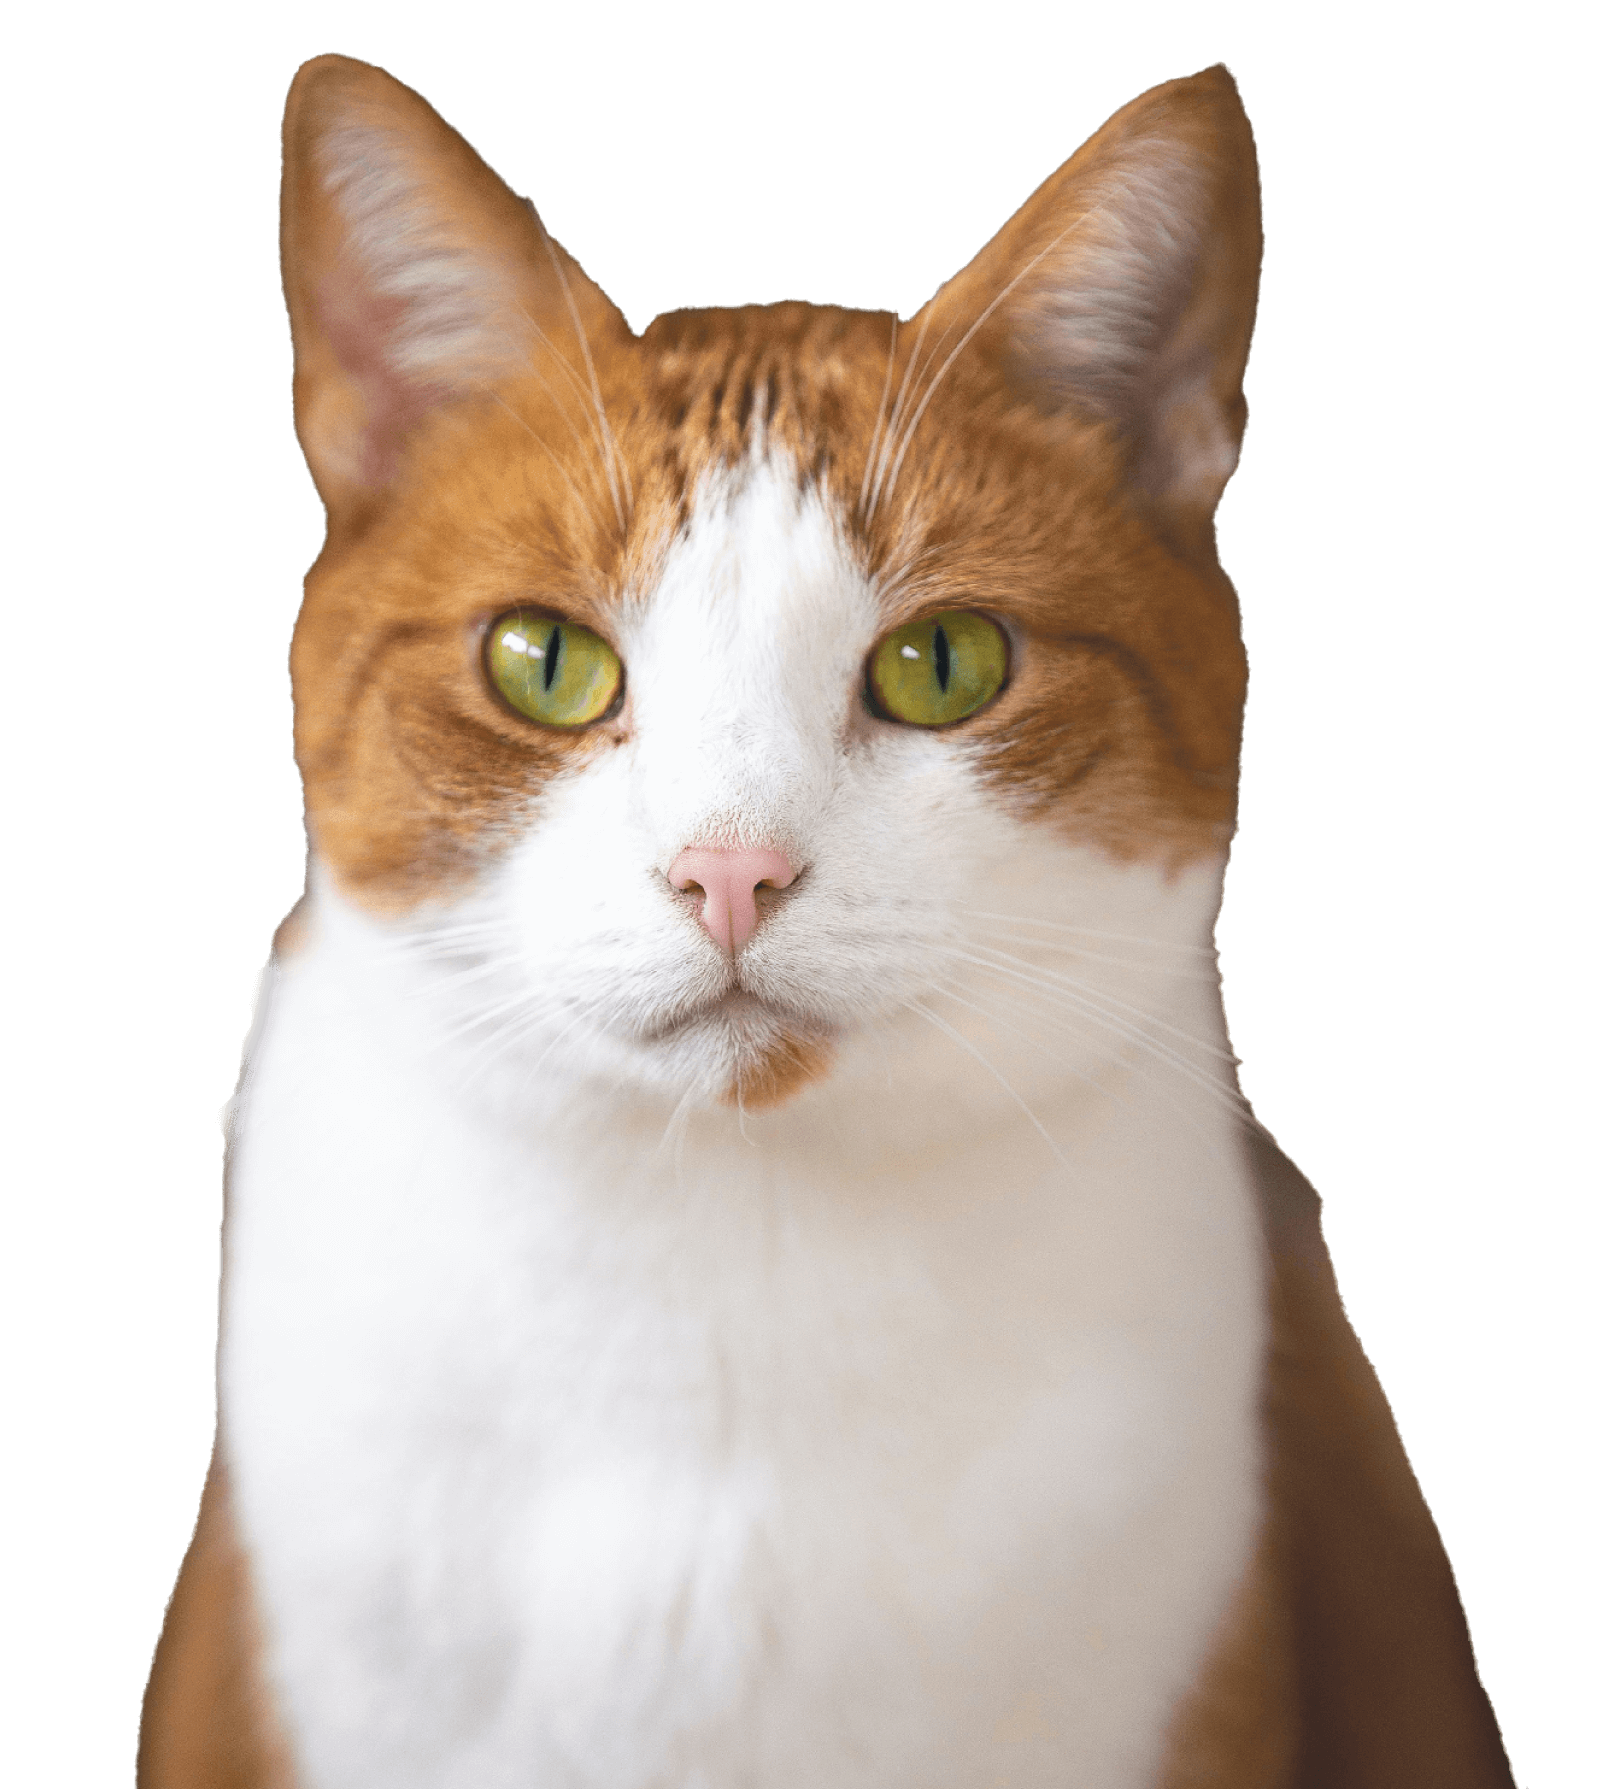
String url = "https://lcshelter.org/wp-content/uploads/2024/11/lewis-clark-animal-shelter-lewiston-idaho-cat.png";
List<Media> mediaList = List.of(new Media(MimeTypeUtils.IMAGE_PNG, new URI(url).toURL().toURI()));
// 定义用户提示词
UserMessage prompt = UserMessage.builder()
.text(input)
.media(mediaList)
.build();
// 调用 AI 模型
return this.chatClient.prompt(new Prompt(prompt))
.call()
.content();
}
}图片地址:https://lcshelter.org/wp-content/uploads/2024/11/lewis-clark-animal-shelter-lewiston-idaho-cat.png
测试接口:http://127.0.0.1:8082/multi/image?input=这只猫是什么品种

AtomGit 是由开放原子开源基金会联合 CSDN 等生态伙伴共同推出的新一代开源与人工智能协作平台。平台坚持“开放、中立、公益”的理念,把代码托管、模型共享、数据集托管、智能体开发体验和算力服务整合在一起,为开发者提供从开发、训练到部署的一站式体验。
更多推荐


 10
10 0
0- 0


 已为社区贡献7条内容

所有评论(0)