腾讯地图 Map Skills 快速入门:从零搭建 AI 智能行程规划应用
腾讯地图 Map Skills 快速入门:从零搭建 AI 智能行程规划应用
💡 摘要: 本文深入讲解了腾讯位置服务开发者征文大赛的参赛指南,通过实战案例展示了如何使用腾讯地图 Map Skills 从零开始搭建 AI 智能行程规划应用。涵盖 API Key 申请、Vue3 项目初始化、地图集成、AI Agent 架构设计等核心内容。结合腾讯云开发环境,提供完整的项目模板和最佳实践,帮助开发者快速入门并构建高质量的参赛作品。包含 8 个常见问题和完整的代码示例。
🗺️ 技术方案总览
核心技术栈
前端框架:Vue 3.4 + TypeScript 5.x
UI 组件库:Element Plus 2.x
地图 SDK: @tencentmap/jsapi-gl
状态管理:Pinia 5.x
路由管理:Vue Router 4.x
HTTP 客户端:Axios 1.x
AI 框架:LangChain / MCP 协议
构建工具:Vite 5.x
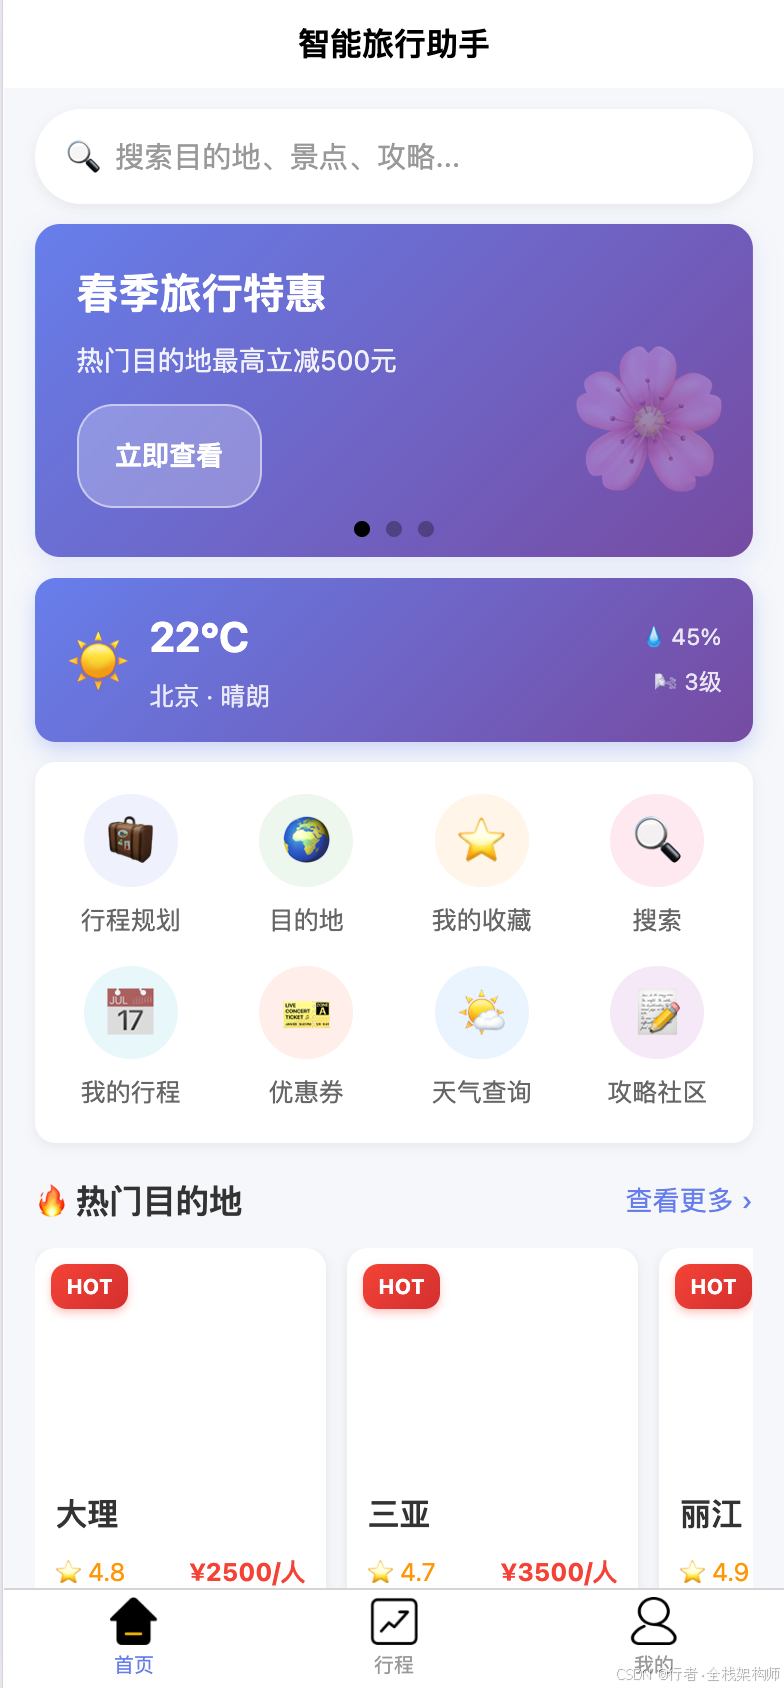
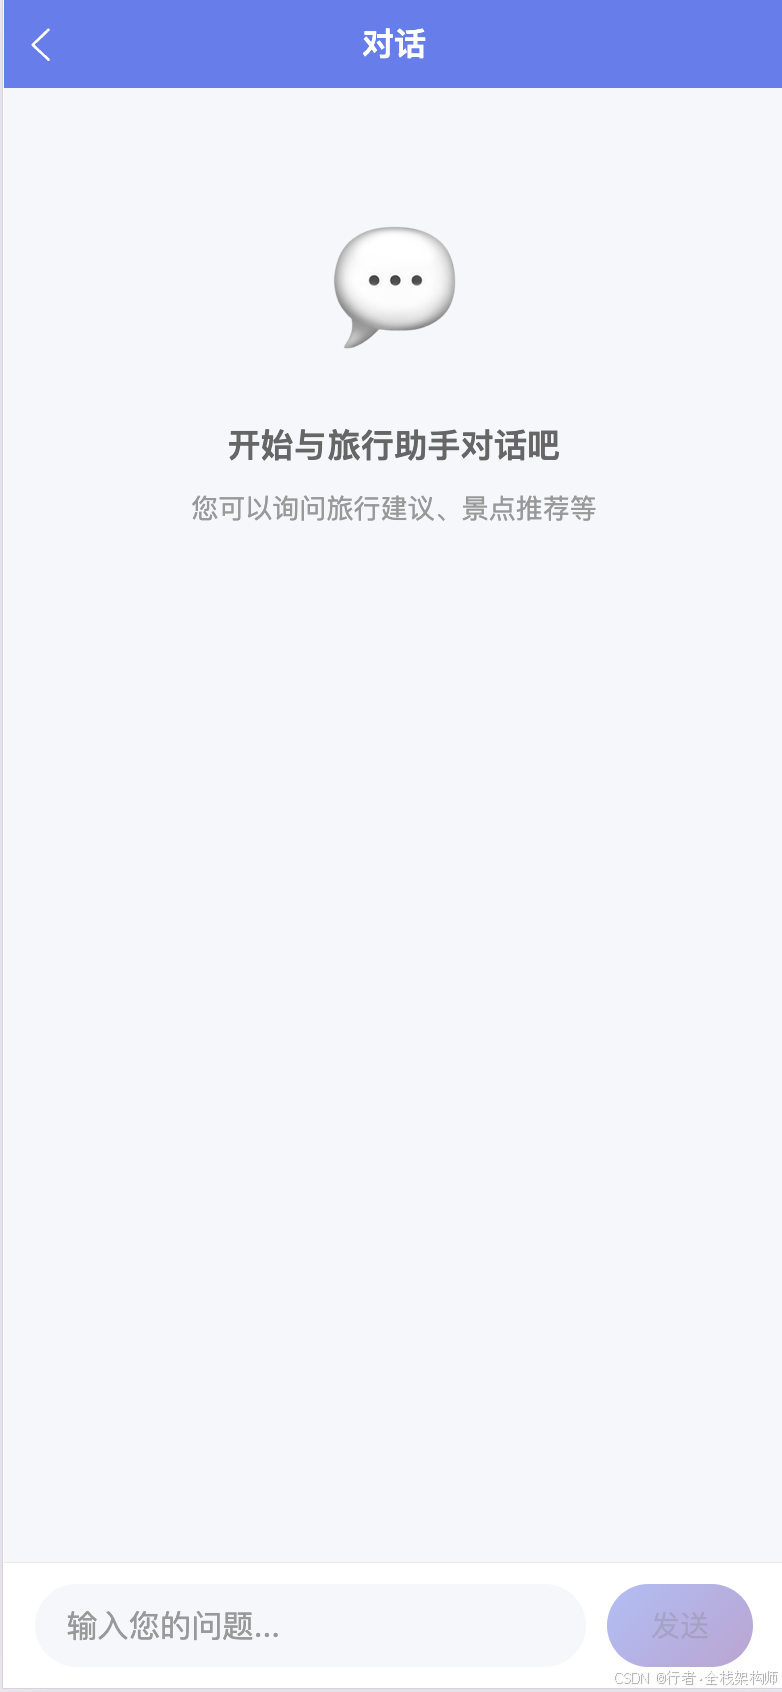
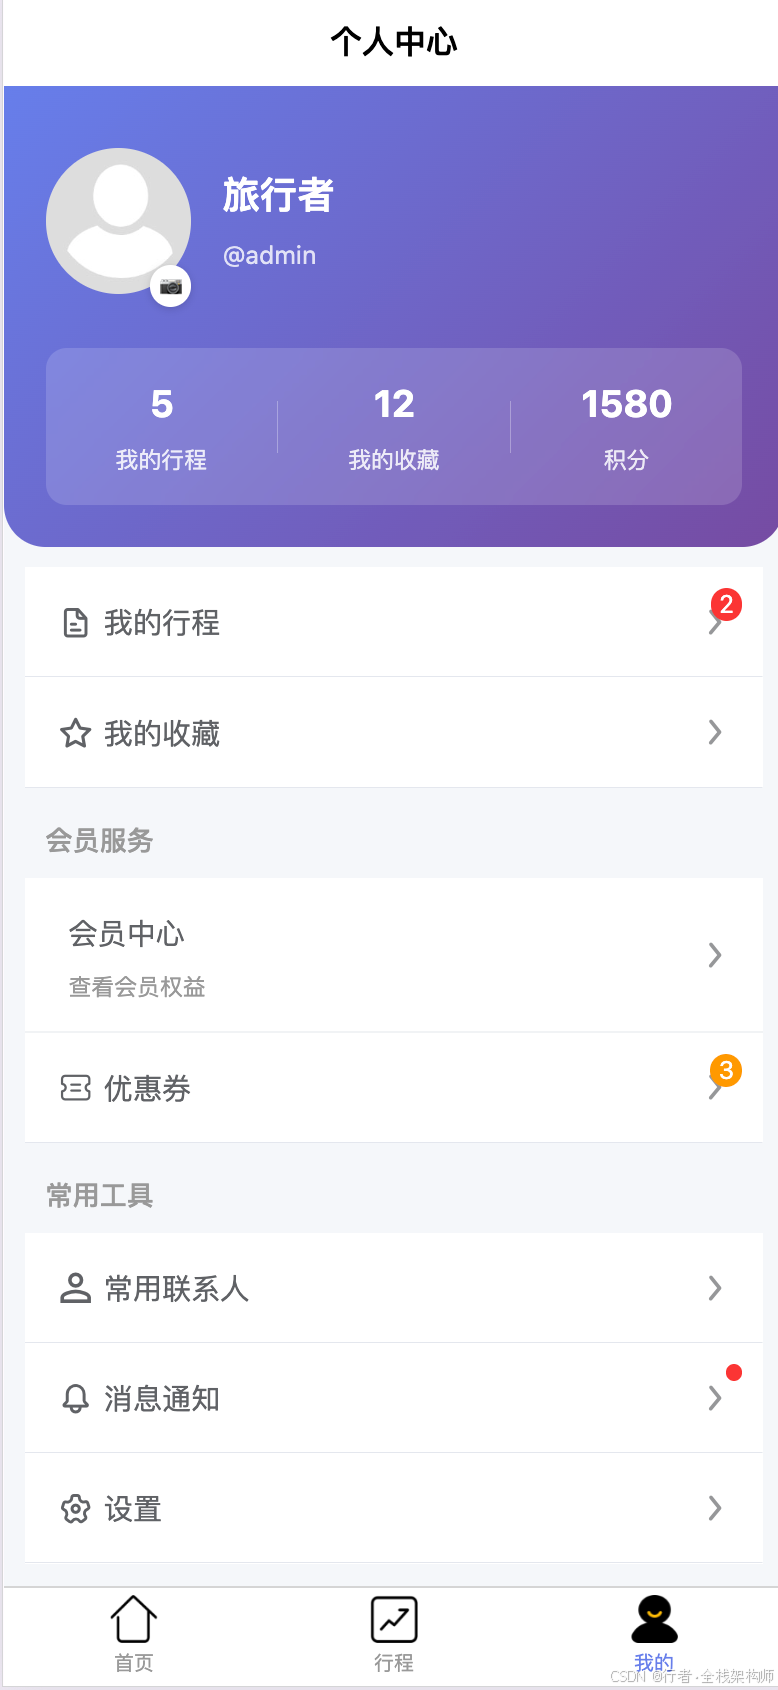
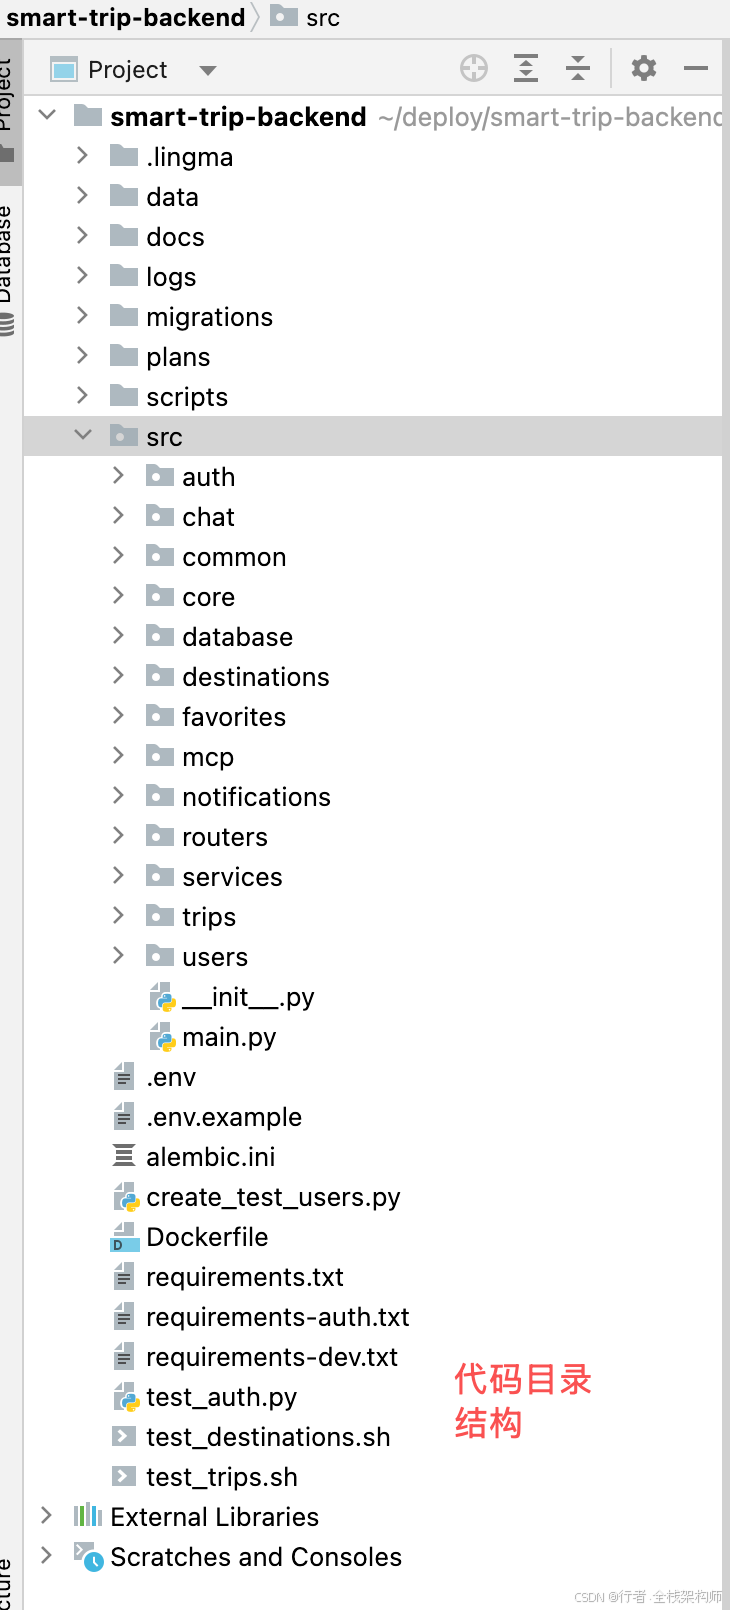
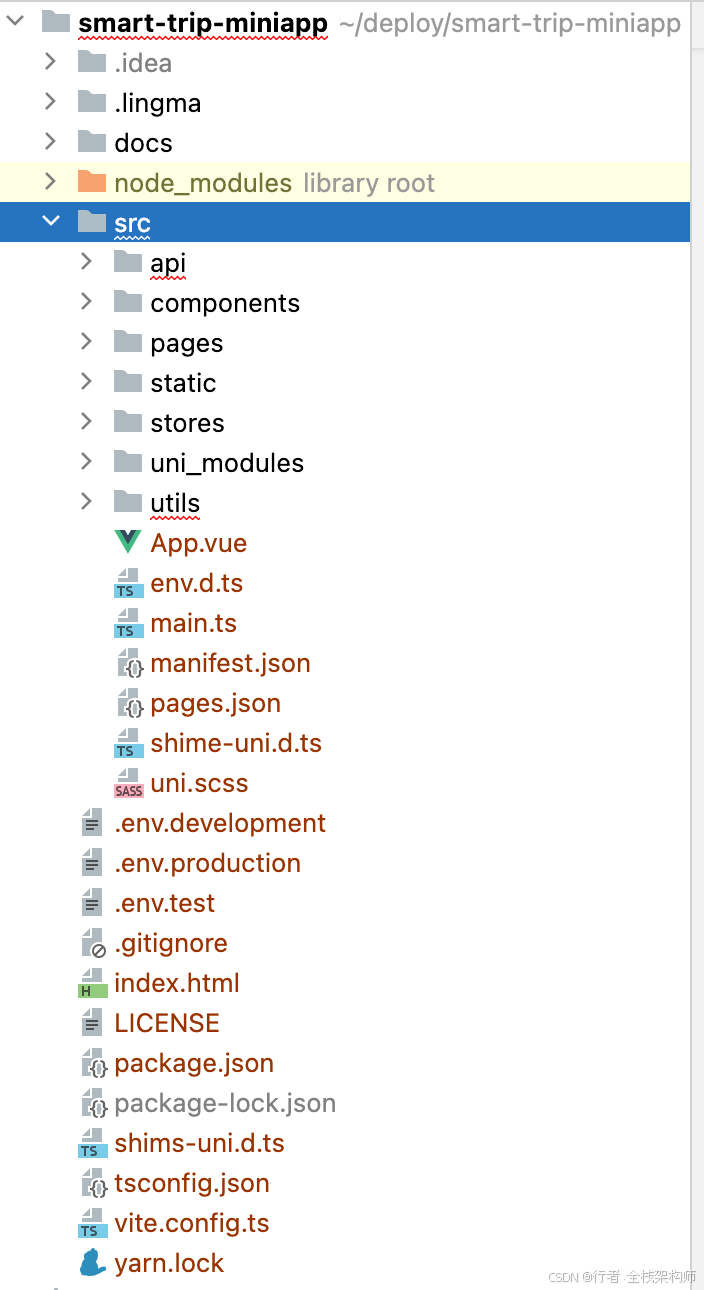
已完成的前端效果如下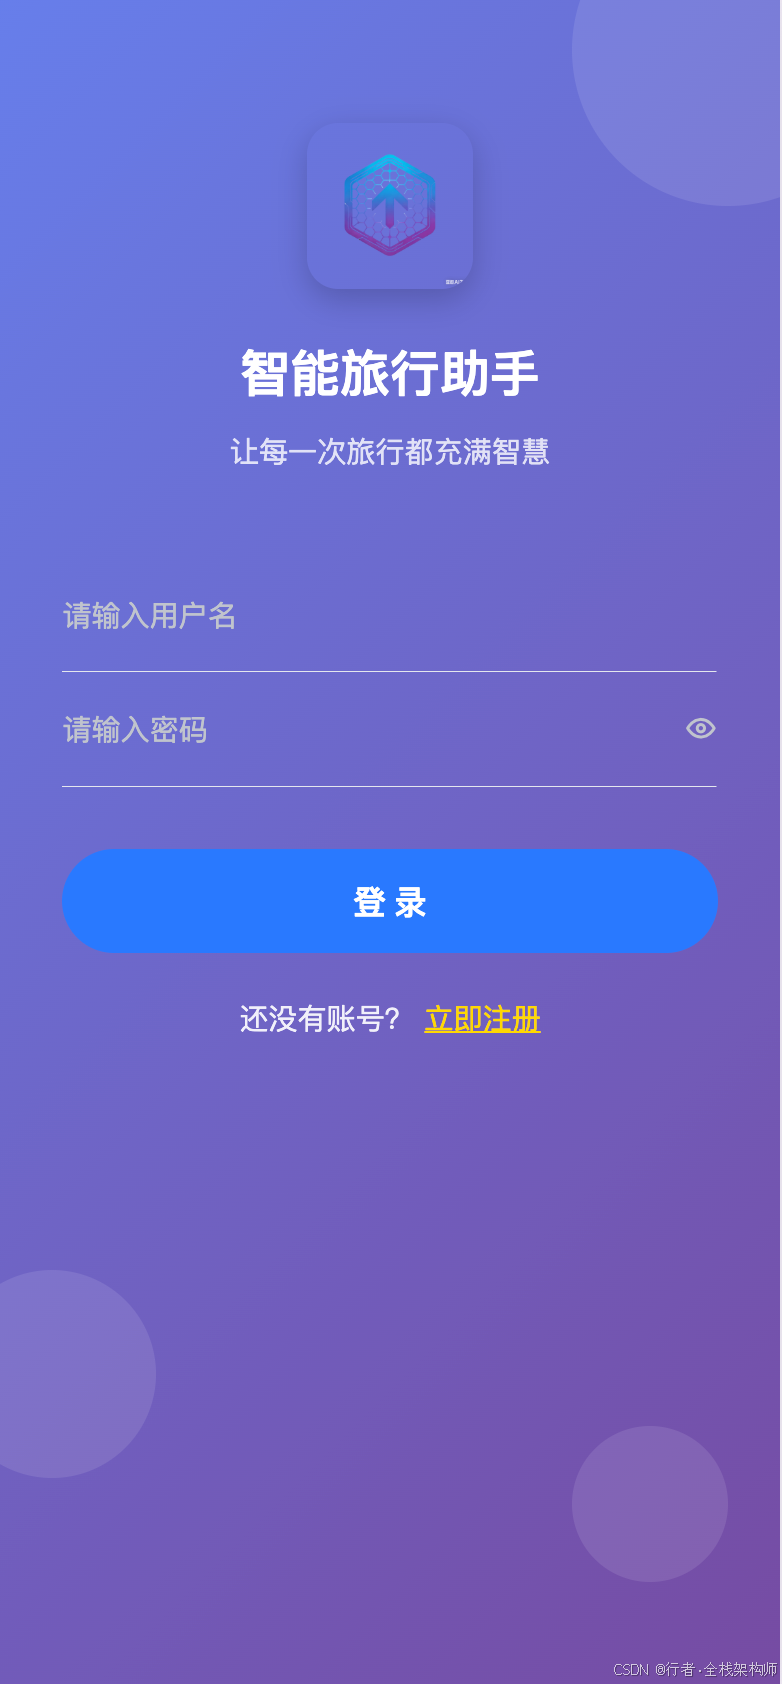
🔧 方案一:快速入门(主推)
问题分析
新手常见困惑:
- 腾讯地图 API 怎么用?
- 如何与 AI 结合?
- 文章应该写什么主题?
- Demo 要做到什么程度?
解决方案
Step 1: 注册与配置(30 分钟)
- 访问官网: https://lbs.qq.com/
- 注册账号: 使用手机号或邮箱
- 实名认证: 上传身份证,等待审核(通常 1-2 小时)
- 创建应用:
- 进入控制台 → 应用管理
- 点击"创建应用"
- 填写信息:
应用名称:智行助手
应用类型:Web 端
白名单:localhost,127.0.0.1
- 获取 API Key: 复制保存(后续会用到)
Step 2: 项目初始化(20 分钟)
# 创建 Vue3+TypeScript 项目
pnpm create vite@latest smart-trip-assistant --template vue-ts

# 进入项目目录
cd smart-trip-assistant

# 安装依赖
pnpm install element-plus @tencentmap/jsapi-gl pinia vue-router axios echarts
Step 3: 配置环境变量
在项目根目录创建 .env 文件:
VITE_TENCENT_MAP_KEY=你的 API_KEY
VITE_API_BASE_URL=http://localhost:3000
VITE_APP_TITLE=智行助手
Step 4: 第一个地图应用
创建 src/components/MapView.vue:
<template>
  <div class="map-container">
    <div ref="mapContainer" class="map"></div>
  </div>
</template>

<script setup lang="ts">
  import {ref, onMounted} from 'vue'
  import {TMap} from '@tencentmap/jsapi-gl'

  const mapContainer = ref<HTMLDivElement | null>(null)
  let map: TMap | null = null

  onMounted(() => {
    if (mapContainer.value) {
      // 初始化地图
      map = new TMap.Map(mapContainer.value, {
        center: new TMap.LatLng(39.9042, 116.4074), // 北京
        zoom: 11,
        viewMode: '3D'
      })

      console.log('🗺️ 地图初始化成功!')

      // 添加测试标记
      addTestMarker()
    }
  })

  function addTestMarker() {
    if (!map) return

    new TMap.Marker({
      map: map,
      position: new TMap.LatLng(39.9042, 116.4074),
      title: '北京'
    })

    console.log('📍 标记添加成功!')
  }
</script>

<style scoped>
  .map-container {
    width: 100%;
    height: 500px;
  }

  .map {
    width: 100%;
    height: 100%;
  }
</style>
Step 5: 在首页使用
修改 src/views/Home.vue:
<template>
  <div class="home">
    <h1>智行助手 - Smart Trip Assistant</h1>
    <p>Day 1: 环境搭建完成 ✓</p>
    <MapView/>
  </div>
</template>

<script setup lang="ts">
  import MapView from '@/components/MapView.vue'
</script>

<style scoped>
  .home {
    text-align: center;
    padding: 20px;
  }

  h1 {
    color: #409EFF;
    margin-bottom: 20px;
  }
</style>
Step 6: 启动测试
cd frontend
pnpm dev
访问 http://localhost:5173,你应该能看到地图了!
⚠️ 常见问题
问题 1: 地图无法显示,控制台报错"TMap is not defined"
现象:
Uncaught
ReferenceError: TMap
is
not
defined
原因:
- API Key 未正确配置
- 白名单未设置 localhost
解决方案:
# 1. 检查.env 文件
cat .env
# 确认 VITE_TENCENT_MAP_KEY 已正确填写

# 2. 登录腾讯地图控制台
# 访问 https://lbs.qq.com/dev/console/application/manage
# 检查白名单是否包含 localhost 和 127.0.0.1

# 3. 清除浏览器缓存,重启开发服务器
rm -rf node_modules/.vite
pnpm dev
预防机制:
创建项目时立即配置环境变量,不要等到报错才检查。
问题 2: 地图显示空白,没有错误信息
现象:
地图区域是空白的,没有任何内容
原因:
- 容器高度为 0
- CSS 样式问题
解决方案:
<!-- ✅ 正确做法 -->
<style scoped>
  .map-container {
    width: 100%;
    height: 500px; /* 必须指定具体高度 */
  }

  .map {
    width: 100%;
    height: 100%;
  }
</style>

<!-- ❌ 错误做法 -->
<style scoped>
  .map-container {
    width: 100%;
    /* 缺少 height,默认为 0 */
  }
</style>
调试技巧:
// 在浏览器控制台检查
document.querySelector('.map').clientHeight
// 如果返回 0,说明高度未正确设置
问题 3: POI 搜索失败,返回"Invalid Key"
现象:
{
  "status": 109,
  "message": "Invalid Key"
}
原因:
- API Key 与服务不匹配
- 使用了错误的接口地址
解决方案:
// ✅ 正确的 POI 搜索 URL
const url = `https://apis.map.qq.com/ws/place/v1/search?keyword=${keyword}&location=${lat},${lng}&radius=${radius}&key=${apiKey}`

// ❌ 错误的 URL(缺少 key 参数)
const wrongUrl = `https://apis.map.qq.com/ws/place/v1/search?keyword=${keyword}&location=${lat},${lng}&radius=${radius}`
验证方法:
# 直接在浏览器访问测试
curl "https://apis.map.qq.com/ws/place/v1/search?keyword=餐厅&location=39.9042,116.4074&radius=1000&key=你的 API_KEY"
问题 4: TypeScript 类型错误
现象:
Property
'TMap'
does
not
exist
on
type
'typeof import("...")'
原因:
- @tencentmap/jsapi-gl 类型定义不完整
解决方案:
// 在 src/types/tencent-map.d.ts 中添加类型声明
declare module '@tencentmap/jsapi-gl' {
    export class TMap {
        constructor(container: HTMLElement, options: any)

        static LatLng: any
        static Marker: any
    }
}

// 或者临时使用 any
// @ts-ignore
import {TMap} from '@tencentmap/jsapi-gl'
🔧 方案二:AI Agent 架构设计
问题分析
单纯展示地图太简单了,如何体现技术深度?
答案是:AI Agent + MCP 协议
解决方案
AI Agent 整体架构
MCP Client 实现
创建 src/services/mcp-client.ts:
// src/services/mcp-client.ts
import axios from 'axios'

export interface ToolCallRequest {
    tool: string
    arguments: Record<string, any>
}

export interface ToolCallResponse {
    success: boolean
    data?: any
    error?: string
}

export class MCPClient {
    private baseUrl: string

    constructor(baseUrl: string = '/api/mcp') {
        this.baseUrl = baseUrl
    }

    /**
     * 调用 Tool
     */
    async callTool(request: ToolCallRequest): Promise<ToolCallResponse> {
        try {
            const response = await axios.post(`${this.baseUrl}/call`, request)
            return response.data
        } catch (error) {
            console.error('Tool 调用失败:', error)
            return {
                success: false,
                error: error instanceof Error ? error.message : 'Unknown error'
            }
        }
    }

    /**
     * 生成行程规划
     */
    async generateTripPlan(prompt: string, preferences: any): Promise<ToolCallResponse> {
        return this.callTool({
            tool: 'generateTripPlan',
            arguments: {
                prompt,
                preferences
            }
        })
    }

    /**
     * 搜索 POI
     */
    async searchPOI(keyword: string, location: {
        lat: number,
        lng: number
    }, radius: number): Promise<ToolCallResponse> {
        return this.callTool({
            tool: 'searchPOI',
            arguments: {
                keyword,
                location,
                radius
            }
        })
    }

    /**
     * 路径规划
     */
    async planRoute(from: { lat: number, lng: number }, to: {
        lat: number,
        lng: number
    }, mode: string): Promise<ToolCallResponse> {
        return this.callTool({
            tool: 'planRoute',
            arguments: {
                from,
                to,
                mode
            }
        })
    }
}
NLU 模块实现
创建 src/composables/useNLU.ts:
// src/composables/useNLU.ts
import {ref} from 'vue'

interface Intent {
    type: 'trip_plan' | 'poi_search' | 'route_query' | 'unknown'
    entities: {
        location?: string
        poi_type?: string
        duration?: string
        preferences?: string[]
    }
    confidence: number
}

export function useNLU() {
    const loading = ref(false)

    /**
     * 解析用户输入
     */
    function parseIntent(input: string): Intent {
        // 简单的规则匹配(实际项目应该用 AI 模型)
        if (input.includes('规划') || input.includes('行程')) {
            return {
                type: 'trip_plan',
                entities: {
                    location: extractLocation(input),
                    duration: extractDuration(input)
                },
                confidence: 0.8
            }
        }

        if (input.includes('附近') || input.includes('推荐')) {
            return {
                type: 'poi_search',
                entities: {
                    poi_type: extractPOIType(input),
                    location: extractLocation(input)
                },
                confidence: 0.7
            }
        }

        return {
            type: 'unknown',
            entities: {},
            confidence: 0.3
        }
    }

    function extractLocation(text: string): string | undefined {
        const matches = text.match(/(?:去 | 到 | 在)([\u4e00-\u9fa5]+)/)
        return matches ? matches[1] : undefined
    }

    function extractDuration(text: string): string | undefined {
        const matches = text.match(/(\d+) 天/)
        return matches ? `${matches[1]}天` : undefined
    }

    function extractPOIType(text: string): string | undefined {
        if (text.includes('餐厅') || text.includes('吃饭')) return '餐饮'
        if (text.includes('酒店') || text.includes('住宿')) return '住宿'
        if (text.includes('景点') || text.includes('游玩')) return '景点'
        return undefined
    }

    return {
        loading,
        parseIntent
    }
}
⚠️ 常见问题
问题 5: AI 响应速度慢
现象:
用户输入后,需要等待 5-10 秒才有响应
原因:
- AI 模型推理时间长
- 网络延迟
解决方案:
// 1. 流式输出
async function sendMessage(input: string) {
    const stream = await fetch('/api/chat', {
        method: 'POST',
        body: JSON.stringify({message: input})
    })

    const reader = stream.body.getReader()

    while (true) {
        const {done, value} = await reader.read()
        if (done) break

        // 逐字显示
        displayText(new TextDecoder().decode(value))
    }
}

// 2. 加载动画
const loadingStates = ref({
    thinking: true,
    searching: false,
    planning: false
})

// 3. 本地缓存
const cache = new Map<string, any>()

function getCached(key: string) {
    if (cache.has(key)) {
        return cache.get(key)
    }
    return null
}
问题 6: 意图识别不准确
现象:
用户说"我想去北京玩 3 天",识别成了 POI 搜索
原因:
- 规则过于简单
- 缺少上下文理解
解决方案:
// 使用更强大的 NLU 模型
import {ChatOpenAI} from '@langchain/openai'

const llm = new ChatOpenAI({
    modelName: 'gpt-3.5-turbo',
    temperature: 0
})

async function parseWithLLM(input: string): Promise<Intent> {
    const prompt = `
请分析以下用户输入的意图:
"${input}"

可能的意图类型:
- trip_plan: 行程规划
- poi_search: POI 搜索
- route_query: 路线查询

请返回 JSON 格式:
{
  "type": "意图类型",
  "entities": {...},
  "confidence": 0.9
}
`

    const response = await llm.invoke(prompt)
    return JSON.parse(response.content as string)
}
📊 方案对比
| 特性 | 方案一(纯地图展示) | 方案二(AI+ 地图) |
|---|---|---|
| 技术难度 | ⭐⭐ 入门 | ⭐⭐⭐⭐ 进阶 |
| 开发周期 | 1-2 天 | 1-2 周 |
| 创新性 | ⭐⭐ | ⭐⭐⭐⭐⭐ |
| 评委印象 | 一般 | 优秀 |
| 获奖概率 | 较低 | 较高 |
| 学习价值 | 掌握地图 API | 掌握 AI+ 全栈 |
| 推荐度 | ⭐⭐ 适合新手练手 | ⭐⭐⭐⭐⭐ 强烈推荐 |
结论:
- 如果你是纯新手,先从方案一开始
- 如果你有一定基础,直接上方案二
- 最优策略: 先完成方案一,再迭代到方案二
🎁 福利资源包
1. 完整项目模板
我已经创建了完整的项目模板,包含:
- ✅ Vue3 + TypeScript 项目结构
- ✅ 腾讯地图集成示例
- ✅ AI Agent 基础框架
- ✅ MCP Client 实现
- ✅ 常用工具函数
获取方式:
git clone https://gitee.com/dickeryang/smart-trip-assistant.git
cd smart-trip-assistant/frontend
pnpm install
pnpm dev
📝 总结
关键收获
✅ 参赛流程: 从注册到提交的完整步骤
✅ 技术选型: AI+ 地图的创新应用场景
✅ 环境搭建: 详细的配置步骤和避坑指南
✅ 代码示例: 可直接运行的地图应用
✅ 架构设计: AI Agent + MCP 协议的实现思路
👍 如果本文对你有帮助,欢迎点赞、收藏、转发!
💬 有任何问题或建议,请在评论区留言交流~
🔔 关注我,获取《AI+ 腾讯地图实战》系列文章!
✍️ 行文仓促,定有不足之处,欢迎各位朋友在评论区批评指正,不胜感激!
专栏导航:
- 上一篇:《macOS 环境安装 Miniconda3 完全指南》
- 下一篇:AI 驱动的智能行程规划系统:腾讯地图 Map Skills 实战(待发布)

AtomGit 是由开放原子开源基金会联合 CSDN 等生态伙伴共同推出的新一代开源与人工智能协作平台。平台坚持“开放、中立、公益”的理念,把代码托管、模型共享、数据集托管、智能体开发体验和算力服务整合在一起,为开发者提供从开发、训练到部署的一站式体验。
更多推荐

 26
26 0
0- 0


 已为社区贡献4条内容

所有评论(0)