Spring Boot 3.3 + Spring AI 实战(JDK21+前后端分离):从零搭建阿里千问对话助手(Vue3+Element Plus+完整代码+避坑指南)
Spring Boot 3.3 + Spring AI 实战(JDK21+前后端分离):从零搭建阿里千问对话助手(Vue3+Element Plus+完整代码+避坑指南)
本文章主要是为了记录 Spring AI 的学习过程,文章排版通过AI生成。
第一章:环境准备(JDK21+前后端环境搭建)
核心内容(文档重点):
-
前置准备
-
JDK21安装与环境配置——详细说明JDK21下载、安装步骤,环境变量配置(JAVA_HOME、Path),验证安装成功的命令(java -version)
-
Node.js 21+安装(前端依赖,说明下载地址、安装步骤,验证命令(node -v、npm -v)。
-
Maven 3.9+配置
阿里云镜像配置,附settings.xml完整代码
<?xml version="1.0" encoding="UTF-8"?> <settings xmlns="http://maven.apache.org/SETTINGS/1.2.0" xmlns:xsi="http://www.w3.org/2001/XMLSchema-instance" xsi:schemaLocation="http://maven.apache.org/SETTINGS/1.2.0 https://maven.apache.org/xsd/settings-1.2.0.xsd"> <!-- 本地仓库路径(可自行修改) --> <localRepository>xxxxxxxx</localRepository> <!-- 插件镜像加速:阿里云 + 华为云 --> <mirrors> <mirror> <id>aliyunmaven</id> <mirrorOf>central</mirrorOf> <url>https://maven.aliyun.com/repository/public</url> </mirror> <mirror> <id>huaweicloud</id> <mirrorOf>central</mirrorOf> <url>https://mirrors.huaweicloud.com/repository/maven/</url> </mirror> </mirrors> <!-- 多 JDK 环境自动适配:JDK17 / JDK21 通用 --> <profiles> <profile> <id>jdk-17-21</id> <activation> <activeByDefault>true</activeByDefault> </activation> <properties> <maven.compiler.source>17</maven.compiler.source> <maven.compiler.target>17</maven.compiler.target> <maven.compiler.release>17</maven.compiler.release> <project.build.sourceEncoding>UTF-8</project.build.sourceEncoding> <project.reporting.outputEncoding>UTF-8</project.reporting.outputEncoding> <maven.compiler.encoding>UTF-8</maven.compiler.encoding> </properties> </profile> </profiles> <activeProfiles> <activeProfile>jdk-17-21</activeProfile> </activeProfiles> </settings> -
阿里千问API Key获取——详细说明阿里云百炼控制台的操作步骤;

-
-
后端项目初始化(通过Spring Initializr创建Spring Boot项目,勾选Spring Web、Lombok依赖,选择JDK21;
-
前端项目初始化(使用Vite创建Vue3项目,集成Element Plus,说明创建命令、依赖安装步骤;
npm install -g vite@latest npm create vite@latest you_project_name cd you_project_name npm install npm run dev -
前后端项目结构搭建(明确后端包结构:controller、service、config,前端目录结构:src/views、src/components、src/utils,说明每个目录/包的作用)。
关键细节(文档避坑点):
- JDK21需与Spring Boot 3.3.x、Spring AI 1.1.2版本兼容,低版本Spring Boot不支持JDK21,否则会出现启动报错;
- Maven仓库建议配置阿里云镜像,解决依赖下载缓慢问题,附settings.xml配置代码;
- 前端集成Element Plus时,需注意Vue3版本与Element Plus版本的兼容性,避免出现组件渲染异常。
第二章:后端核心配置(阿里千问模型接入+跨域配置)
核心内容(文档重点):
- 后端核心依赖配置(pom.xml中引入Spring AI Alibaba BOM、千问适配依赖、跨域依赖,详细说明依赖作用,避免依赖冲突,附完整pom代码。
<?xml version="1.0" encoding="UTF-8"?> <project xmlns="http://maven.apache.org/POM/4.0.0" xmlns:xsi="http://www.w3.org/2001/XMLSchema-instance" xsi:schemaLocation="http://maven.apache.org/POM/4.0.0 https://maven.apache.org/xsd/maven-4.0.0.xsd"> <modelVersion>4.0.0</modelVersion> <groupId>com.blankls</groupId> <artifactId>springai-qwen-agent</artifactId> <version>1.0.0</version> <description>AI对话助手 - Spring AI + 阿里千问</description> <properties> <java.version>21</java.version> <maven.compiler.source>21</maven.compiler.source> <maven.compiler.target>21</maven.compiler.target> <project.build.sourceEncoding>UTF-8</project.build.sourceEncoding> <spring.boot.version>3.3.5</spring.boot.version> <spring.ai.version>1.1.4</spring.ai.version> <spring.ai.ali.version>1.1.2.2</spring.ai.ali.version> </properties> <!-- 全部版本在 dependencyManagement 统一管理 --> <dependencyManagement> <dependencies> <!-- Spring Boot 版本管理 --> <dependency> <groupId>org.springframework.boot</groupId> <artifactId>spring-boot-dependencies</artifactId> <version>${spring.boot.version}</version> <type>pom</type> <scope>import</scope> </dependency> </dependencies> </dependencyManagement> <dependencies> <dependency> <groupId>org.springframework.boot</groupId> <artifactId>spring-boot-starter</artifactId> </dependency> <dependency> <groupId>org.springframework.boot</groupId> <artifactId>spring-boot-starter-web</artifactId> </dependency> <dependency> <groupId>com.alibaba.cloud.ai</groupId> <artifactId>spring-ai-alibaba-starter-dashscope</artifactId> <version>${spring.ai.ali.version}</version> </dependency> <!-- Lombok --> <dependency> <groupId>org.projectlombok</groupId> <artifactId>lombok</artifactId> <optional>true</optional> </dependency> </dependencies> <!-- 构建插件 --> <build> <plugins> <plugin> <groupId>org.springframework.boot</groupId> <artifactId>spring-boot-maven-plugin</artifactId> <version>${spring.boot.version}</version> <configuration> <excludes> <exclude> <groupId>org.projectlombok</groupId> <artifactId>lombok</artifactId> </exclude> </excludes> </configuration> </plugin> </plugins> </build> </project> - 阿里千问API Key配置(application.yml配置文件,说明如何从环境变量读取API Key,避免硬编码泄露,配置JDK21相关兼容参数,附完整配置代码;
server: port: 8082 spring: ai: dashscope: api-key: 你的key chat: options: model: 你的模型 temperature: 0.7 # 出现跨域问题 添加 cors: allowed-origins: http://localhost:5173 - Spring AI核心配置(ChatClient、StreamingChatClient自动装配,无需手动创建Bean,说明Spring AI的自动配置原理,适配JDK21的注意事项);
关键细节(文档避坑点):
- API Key需绑定阿里千问模型权限,否则会出现InvalidApiKey错误;
- base-url需配置阿里云百炼兼容模式路径(https://dashscope.aliyuncs.com/compatible-mode/v1),否则无法正常调用模型;
- 跨域配置需覆盖前端项目地址(如localhost:8080),否则会出现跨域请求被拦截错误;
- JDK21无需额外配置兼容参数,Spring Boot 3.3.x已原生支持。
第三章:后端核心功能开发(分模块实现)
按“分层开发”思路编写,每个模块附完整代码+注释,文档中插入代码截图占位,降低读者理解成本:
- Service层开发(核心):创建AiChatService类,注入ChatClient和StreamingChatClient,实现两个核心方法——单轮对话(call方法)、流式对话(stream方法),说明Spring AI封装的API用法,对比传统手动调用HTTP接口的优势,附完整代码+详细注释。
package com.blankls.aichat.service; import lombok.RequiredArgsConstructor; import lombok.extern.slf4j.Slf4j; import org.springframework.ai.chat.client.ChatClient; import org.springframework.ai.chat.messages.Message; import org.springframework.ai.chat.messages.SystemMessage; import org.springframework.ai.chat.messages.UserMessage; import org.springframework.ai.chat.prompt.Prompt; import org.springframework.stereotype.Service; import reactor.core.publisher.Flux; import java.util.ArrayList; import java.util.List; @Slf4j @Service @RequiredArgsConstructor public class AiChatService { private final ChatClient.Builder chatClientBuilder; private final List<Message> conversationHistory = new ArrayList<>(); private static final String SYSTEM_PROMPT = "你是一个专业的AI助手,请用简洁清晰的语言回答用户的问题。"; /** * 单轮对话方法 * <p> * 该方法用于处理用户的单次对话请求,支持多轮对话上下文管理。 * 首次对话时会自动添加系统提示词以设定AI助手的行为准则。 * 对话历史会被自动维护,以便在后续对话中保持上下文连贯性。 * </p> * * @param question 用户提出的问题内容,不能为空 * @return AI助手的完整回复内容字符串 */ public String chat(String question) { log.info("收到问题: {}", question); ChatClient chatClient = chatClientBuilder.build(); if (conversationHistory.isEmpty()) { conversationHistory.add(new SystemMessage(SYSTEM_PROMPT)); } conversationHistory.add(new UserMessage(question)); Prompt prompt = new Prompt(conversationHistory); String response = chatClient.prompt(prompt) .call() .content(); if (response != null) { conversationHistory.add(new org.springframework.ai.chat.messages.AssistantMessage(response)); } log.info("AI回复: {}", response); return response; } /** * 流式对话方法 * <p> * 该方法支持流式输出AI回复内容,适用于需要实时显示回复进度的场景。 * 会自动维护对话历史上下文,并在首次对话时添加系统提示词。 * </p> * * @param question 用户提出的问题内容,不能为空 * @return Flux<String> 响应式流对象,包含AI逐字返回的回复内容片段 */ public Flux<String> chatStream(String question) { log.info("收到流式问题: {}", question); ChatClient chatClient = chatClientBuilder.build(); if (conversationHistory.isEmpty()) { conversationHistory.add(new SystemMessage(SYSTEM_PROMPT)); } conversationHistory.add(new UserMessage(question)); Prompt prompt = new Prompt(conversationHistory); return chatClient.prompt(prompt) .stream() .content(); } /** * 清空对话历史方法 * <p> * 该方法用于清除所有已保存的对话历史记录,包括系统提示词、 * 用户问题和AI回复。调用后下次对话将重新开始。 * </p> */ public void clearHistory() { conversationHistory.clear(); log.info("对话历史已清空"); } } - Controller层开发:创建AiChatController类,提供两个接口——单轮对话接口(POST请求)、流式对话接口(SSE请求),说明接口设计思路,标注请求路径、请求参数、响应格式,,附完整代码+注释。
第四章:前端核心开发(Vue3+Element Plus实现)
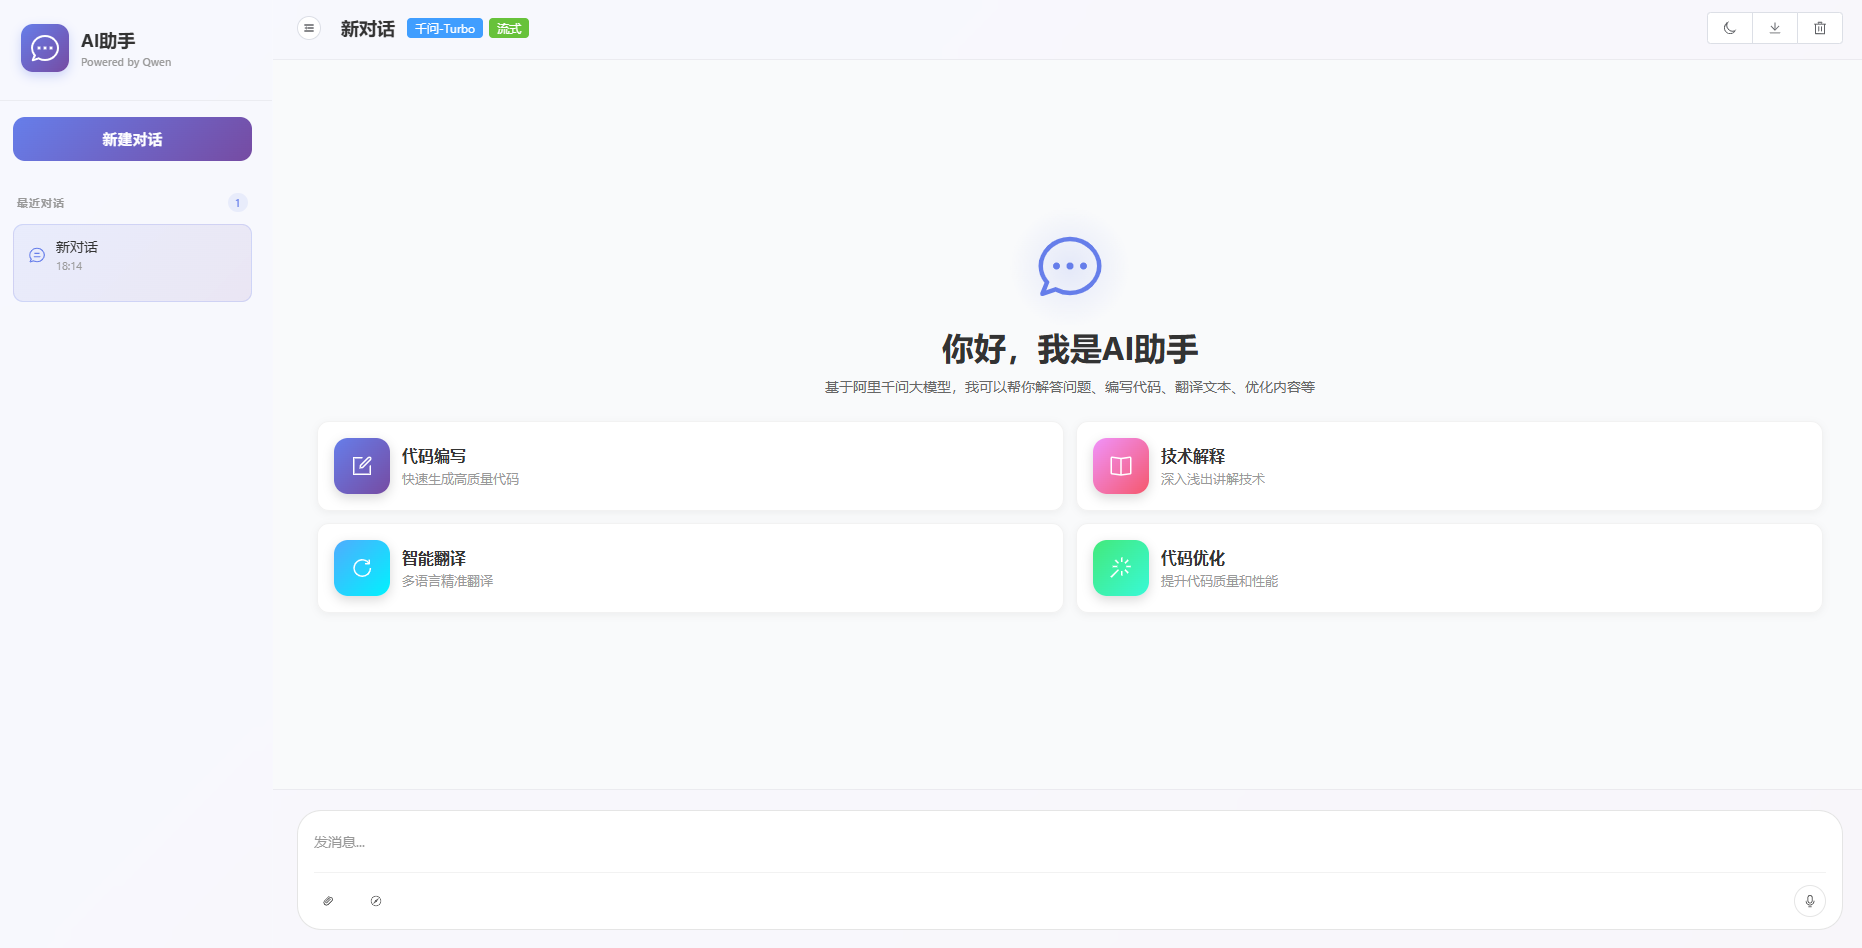
核心内容(文档重点):基于Vue3+JS+Element Plus开发对话页面,实现“输入问题→发送请求→显示响应(流式逐字输出)”功能,附完整前端代码(可直接复用),每个步骤标注代码作用,插入截图占位,贴合前后端分离实际应用场景,让文档更具实用性。
-
前端依赖配置:在package.json中添加Element Plus、axios、sse.js(处理流式响应)依赖,说明安装命令(npm install element-plus axios sse.js)。
-
全局配置:在main.js中引入Element Plus、Element Plus样式、axios,配置axios请求基准路径(对接后端接口),附完整代码。
-
页面组件开发(核心):创建ChatView.vue组件,使用Element Plus组件(Input输入框、Button按钮、Message消息框、Scrollbar滚动条)搭建对话界面,实现以下功能:① 输入框输入提问内容;② 发送按钮触发请求(区分单轮/流式对话);③ 接收后端响应,流式响应逐字显示,单轮对话一次性显示;④ 显示对话历史,区分用户提问和AI响应;⑤ 清空对话历史功能。附完整代码+详细注释。
-
工具类封装:创建api/chatApi.js,封装axios请求(单轮对话POST请求)、SSE流式请求(流式对话),处理请求异常、响应拦截,附完整代码。
-
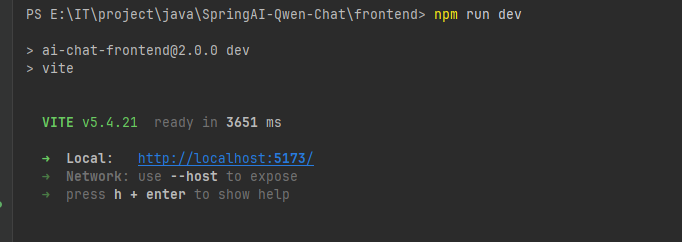
前端调试:启动前端项目(npm run dev),访问页面,测试请求发送与响应显示。
前端完整代码(可直接复制复用,文档中单独贴出,便于读者复制):
- App.vue(前端入口)
<template> <ChatView /> </template> <script setup> import ChatView from './views/ChatView.vue' </script> <style> * { margin: 0; padding: 0; box-sizing: border-box; } html, body, #app { height: 100%; width: 100%; } </style> - views/ChatView.vue(对话页面)
核心代码,内容太多,到附件中下载
- main.js(全局配置)
import { createApp } from 'vue'
import ElementPlus from 'element-plus'
import 'element-plus/dist/index.css'
import * as ElementPlusIconsVue from '@element-plus/icons-vue'
import App from './App.vue'

const app = createApp(App)

// 注册所有图标
for (const [key, component] of Object.entries(ElementPlusIconsVue)) {
  app.component(key, component)
}

app.use(ElementPlus)
app.mount('#app')
api/chatApi.js(请求封装)
import axios from 'axios'
import { fetchEventSource } from '@microsoft/fetch-event-source'

// 后端请求地址
const BASE_URL = 'http://localhost:8082'

export const singleChat = async (question) => {
  const response = await axios.post(`${BASE_URL}/api/chat/single`, {
    question
  })
  return response.data.answer
}

export const streamChat = (question, onMessage, onError, onClose) => {
  const controller = new AbortController()

  fetchEventSource(`${BASE_URL}/api/chat/stream`, {
    method: 'POST',
    headers: {
      'Content-Type': 'application/json'
    },
    body: JSON.stringify({ question }),
    signal: controller.signal,
    onmessage(event) {
      if (event.data && onMessage) {
        onMessage(event.data)
      }
    },
    onerror(error) {
      if (onError) {
        onError(error)
      }
    },
    onclose() {
      if (onClose) {
        onClose()
      }
    }
  })

  return controller
}

export const clearHistory = async () => {
  await axios.delete(`${BASE_URL}/api/chat/history`)
}
第五章:总结与学习收获(文档结尾)
核心内容(文档重点):
- 项目总结(梳理整个前后端分离项目的核心流程,重申JDK21环境配置、Spring Boot+Spring AI接入阿里千问的关键步骤、Vue3+Element Plus前端开发要点);
- 学习收获(明确通过本项目掌握的知识点,比如Spring AI核心API用法、阿里千问模型接入流程、前后端分离开发思路、JDK21适配技巧、常见问题排查技巧);
- 后续学习方向(比如深入学习Spring AI的RAG能力、向量数据库集成、前端组件封装优化等)。
第六章:完整代码
如果本文对你有帮助,欢迎点赞、收藏、关注,后续将更新更多相关内容!

AtomGit 是由开放原子开源基金会联合 CSDN 等生态伙伴共同推出的新一代开源与人工智能协作平台。平台坚持“开放、中立、公益”的理念,把代码托管、模型共享、数据集托管、智能体开发体验和算力服务整合在一起,为开发者提供从开发、训练到部署的一站式体验。
更多推荐
 8
8 0
0- 0


 已为社区贡献2条内容

所有评论(0)