QML ListView 列表视图组件示例合集
目录
1. 引言
ListView 是 QML 中最核心、使用频率最高的视图组件之一。它以列表形式展示数据,支持自定义委托、分组、头尾、拖拽排序、虚拟化渲染等特性,覆盖了大多数的数据展示场景。
本文基于历史文章中的示例进行整合和优化,包括:
- QML ListView:实现可拖拽排序的组件
- QML与C++:基于ListView调用外部模型进行增删改查(性能优化版)
- QML与C++:基于ListView调用外部模型进行增删改查(附自定义组件)
- QML ListView:列表视图的数据交互与样式定制
由于代码篇幅较长,文章中只展示关键部分,完整代码见本文结尾的下载链接。
2. 演示效果
项目的 Main.qml 使用 Flickable + Flow 布局,在同一窗口中展示五个独立 Demo:
- ListView 样式:头像、状态徽标、section 分组标题
- ListView 数据交互:输入框 + ListModel 增删
- 可拖拽列表:按住拖动列表项完成重新排序
- C++ 模型联系人列表:C++ 后端模型 + 搜索过滤 + 增删改
- ProxyModel 大数据列表:10 万条随机数据 + 实时关键词过滤
3. 代码说明
3.1 ListView 样式
文件:Demo_ListViewStyle.qml
运行效果:
这个 Demo 展示了 ListView 最重要的外观定制能力:自定义 header、delegate 和 section.delegate,实现一个带头像、状态标签和分组标题的联系人列表。
关键代码:
ListView {
    id: listView
    model: contactModel
    clip: true

    header: Rectangle {
        width: listView.width; height: 30; color: "#2D82B5"
        Text { anchors.centerIn: parent; text: "联系人列表"; color: "white" }
    }

    delegate: Rectangle {
        width: listView.width; height: 50
        color: ListView.isCurrentItem ? "#BCE6FF" : "white"
        MouseArea { anchors.fill: parent; onClicked: parent.ListView.view.currentIndex = index }

        Row {
            anchors { fill: parent; margins: 5 }
            spacing: 10

            // 头像:图片加载成功显示图片,否则显示首字母圆形占位
            Item {
                width: 40; height: 40; anchors.verticalCenter: parent.verticalCenter
                Image {
                    id: avatarImage
                    anchors.fill: parent; source: avatar
                    visible: status === Image.Ready
                    fillMode: Image.PreserveAspectCrop
                    // 离线状态叠加半透明蒙层
                    Rectangle { anchors.fill: parent; color: "#80999999"; visible: model.status === "离线" }
                }
                Rectangle {
                    visible: avatarImage.status !== Image.Ready
                    anchors.fill: parent; radius: 20; color: "#E0E0E0"
                    Text { anchors.centerIn: parent; text: name[0]; font.pixelSize: 20 }
                }
            }

            Column {
                anchors.verticalCenter: parent.verticalCenter; spacing: 4
                Text { text: name; font.pixelSize: 14; font.bold: true }
                Text {
                    text: status; font.pixelSize: 12
                    color: status === "在线" ? "#4CAF50" : status === "离线" ? "#9E9E9E" : "#F44336"
                }
            }
        }
    }

    // 按 status 字段自动分组
    section.property: "status"
    section.delegate: Rectangle {
        width: parent.width; height: 26; color: "#F5F5F5"
        Text {
            anchors { verticalCenter: parent.verticalCenter; left: parent.left; leftMargin: 10 }
            text: section; font.bold: true; font.pixelSize: 12; color: "#2D82B5"
        }
    }
}
代码说明:
ListView 的样式定制主要通过三个扩展点实现:
要点:
header/footer:在列表头部或尾部插入固定组件,常用于标题栏或汇总信息delegate:定义每个数据项的视觉表现,ListView.isCurrentItem可判断当前选中项section.property+section.delegate:按指定字段自动分组,section.delegate定义分组标题外观,数据模型中相同值的相邻行会被归入同一分组- 头像处理技巧:用
Image.status === Image.Ready判断图片是否加载成功,加载失败时显示首字母占位符 - 离线蒙层:在
Image上叠加半透明Rectangle,通过visible控制显示 clip: true防止内容溢出列表边界
3.2 ListView 数据交互
文件:Demo_ListViewInteraction.qml
运行效果:

这个 Demo 展示了 ListView 与 ListModel 的动态数据绑定:通过输入框输入名称和价格,点击按钮将数据追加到列表;每条记录带有独立的删除按钮。
关键代码:
ListModel {
    id: fruitModel
    ListElement { fruitName: "苹果"; price: "8.0" }
    // ...
}

RowLayout {
    CustomTextField { id: nameInput;  placeholderText: "名称"; Layout.fillWidth: true }
    CustomTextField { id: priceInput; placeholderText: "价格"; Layout.preferredWidth: 60 }
    IconButton {
        text: "添加"; iconSource: "qrc:/icons/add.png"
        showBackground: true; backgroundColor: "#BBDEFB"
        onClicked: {
            if (nameInput.text && priceInput.text) {
                fruitModel.append({ "fruitName": nameInput.text, "price": priceInput.text })
                nameInput.text = ""; priceInput.text = ""
            }
        }
    }
}

ListView {
    model: fruitModel
    clip: true; spacing: 4
    delegate: Rectangle {
        width: listView.width; height: 40; radius: 4; color: "#f5f5f5"
        RowLayout {
            anchors { fill: parent; margins: 8 }
            Text { text: fruitName; Layout.fillWidth: true }
            Text { text: price + " 元"; color: "#E67E22" }
            Button { text: "删除"; onClicked: fruitModel.remove(index) }
        }
    }
}
代码说明:
ListView 与 ListModel 结合是 QML 中最常见的数据展示模式,核心在于 Model-View 的自动同步。
要点:
ListModel.append({}):向模型追加一条数据,ListView 自动更新视图,无需手动刷新ListModel.remove(index):删除指定索引的数据,对应列表项自动消失delegate中直接使用模型字段名(如fruitName、price)作为变量访问数据- 添加后立即清空输入框,避免重复提交
- 输入校验:
if (nameInput.text && priceInput.text)防止空数据提交
3.3 可拖拽列表
文件:Demo_DraggableList.qml
运行效果:
这个 Demo 实现了列表项的拖拽重排功能。按住列表项并沿 Y 轴拖动,松手后该项会移动到目标位置,其余项自动动画位移。
关键代码:
delegate: Item {
    id: delegateItem
    width: dragListView.width; height: 52
    required property int index
    required property string itemName
    required property string colorCode

    Rectangle {
        id: dragRect
        color: colorCode; radius: 6

        Drag.active: dragArea.drag.active
        Drag.source: delegateItem
        Drag.hotSpot.x: width / 2; Drag.hotSpot.y: height / 2

        states: [
            State {
                name: "dragging"; when: dragArea.drag.active
                // 拖拽时:脱离 delegate,重设父级为 ListView,浮在顶层
                ParentChange { target: dragRect; parent: dragListView }
                PropertyChanges {
                    target: dragRect
                    anchors.left: undefined; anchors.right: undefined
                    anchors.top: undefined;  anchors.bottom: undefined
                    width: delegateItem.width - 8; height: delegateItem.height - 8; z: 2
                }
            },
            State {
                name: "normal"; when: !dragArea.drag.active
                ParentChange { target: dragRect; parent: delegateItem }
                PropertyChanges {
                    target: dragRect
                    anchors.fill: parent; anchors.margins: 4; x: 0; y: 0
                }
            }
        ]

        MouseArea {
            id: dragArea
            anchors.fill: parent
            drag.target: dragRect; drag.axis: Drag.YAxis
            cursorShape: Qt.SizeVerCursor
            property int startIndex: -1
            onPressed:  { startIndex = delegateItem.index }
            onReleased: {
                var pos = mapToItem(dragListView, mouseX, mouseY)
                var dropIndex = dragListView.indexAt(pos.x, pos.y)
                if (dropIndex >= 0 && dropIndex !== startIndex)
                    dragListModel.move(startIndex, dropIndex, 1)
            }
        }
    }
}

// 其他项被挤开时的平滑位移动画
displaced: Transition {
    NumberAnimation { properties: "x,y"; duration: 200; easing.type: Easing.OutQuad }
}
核心机制:
3.4 C++ 数据模型联系人列表
文件:Demo_ContactListCpp.qml / datamodel_cpp.h / datamodel_cpp.cpp
运行效果:
这个 Demo 展示了如何用 C++ 的 QAbstractListModel 作为 ListView 的数据源,支持搜索过滤、添加、编辑、删除联系人。
3.4.1 C++ 数据模型
datamodel_cpp.h 核心结构:
class DataModelCpp : public QAbstractListModel {
    Q_OBJECT
public:
    enum Roles { NameRole = Qt::UserRole + 1, PhoneRole, FirstLetterRole };
    int      rowCount(const QModelIndex &parent = {}) const override;
    QVariant data(const QModelIndex &index, int role = Qt::DisplayRole) const override;
    QHash<int, QByteArray> roleNames() const override;

    // Q_INVOKABLE 使方法可在 QML 中直接调用
    Q_INVOKABLE bool addContact(const QString &name, const QString &phone);
    Q_INVOKABLE bool removeContact(int index);
    Q_INVOKABLE bool editContact(int index, const QString &name, const QString &phone);
    Q_INVOKABLE QVariantList searchContacts(const QString &keyword);
    Q_INVOKABLE void clearSearch();
private:
    QList<ContactItemCpp> m_items;
    QList<ContactItemCpp> m_originalItems; // 搜索前的原始数据备份
};
main.cpp 注册到 QML 上下文:
DataModelCpp *modelCpp = new DataModelCpp(&engine);
engine.rootContext()->setContextProperty("dataModelCpp", modelCpp);
要点:
roleNames()建立枚举值到字符串的映射,QML 的 delegate 中才能通过字段名访问数据Q_INVOKABLE宏使 C++ 方法可在 QML 中直接以model.method()的形式调用- 搜索实现:维护
m_originalItems原始备份,搜索时过滤结果到m_items;清除搜索时恢复原始数据 - 增删改时使用对应的
beginInsertRows/endInsertRows、beginRemoveRows/endRemoveRows、dataChanged通知机制,精确触发视图更新,避免全量刷新 setContextProperty()将 C++ 对象注入 QML 全局上下文,所有 QML 文件均可直接使用
3.4.2 QML 侧使用
详情见文件: Demo_ContactListCpp.qml
DataModelCpp 模型调用处: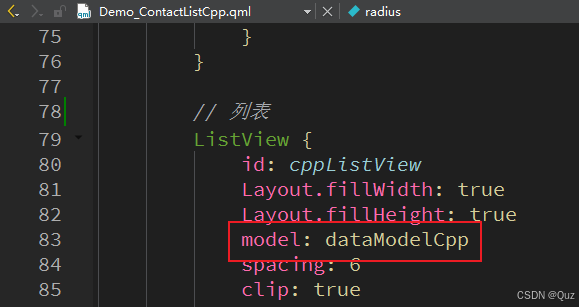
3.5 ProxyModel 大数据列表
文件:Demo_ContactListModel.qml / datamodel_proxy.h / datamodel_proxy.cpp
运行效果:
这个 Demo 展示了如何处理 10 万条数据的高性能场景:DataModelProxy 持有全量数据,ContactProxyModel(继承自 QSortFilterProxyModel)在其上层提供实时过滤,QML 只绑定代理模型。
3.5.1 C++ 层设计
datamodel_proxy.h 核心结构:
// 代理模型:在 DataModelProxy 上提供实时过滤
class ContactProxyModel : public QSortFilterProxyModel {
    Q_OBJECT
    // 暴露 filterString 属性,QML 可直接赋值触发过滤
    Q_PROPERTY(QString filterString READ filterString
               WRITE setFilterString NOTIFY filterStringChanged)
public:
    void setFilterString(const QString &s);
    Q_INVOKABLE bool removeContact(int index); // 通过代理索引操作底层数据
    Q_INVOKABLE bool editContact(int index, const QString &name, const QString &phone);
protected:
    bool filterAcceptsRow(int sourceRow, const QModelIndex &sourceParent) const override;
private:
    QString m_filterString;
};
main.cpp 注册两个模型:
DataModelProxy    *modelProxy  = new DataModelProxy(&engine);
ContactProxyModel *proxyModel  = new ContactProxyModel(&engine);
proxyModel->setSourceModel(modelProxy);
engine.rootContext()->setContextProperty("contactProxyModel", proxyModel);
要点:
QSortFilterProxyModel不持有数据,只对源模型行做过滤/排序,filterAcceptsRow()返回true表示该行可见invalidateFilter()触发重新过滤,无需重建模型mapToSource()将代理索引映射到源模型索引,增删改必须经此步骤reserve(100000)预分配内存,批量插入时避免多次扩容- ListView 虚拟化渲染:无论数据多少,只渲染可见区域的 delegate,滚动时复用
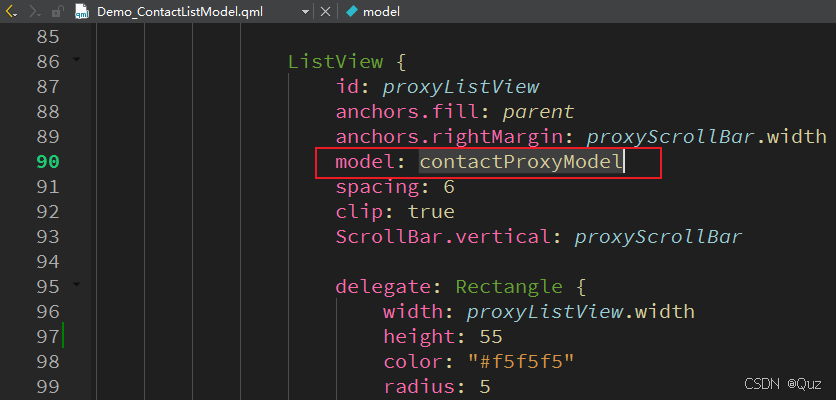
3.5.2 QML 侧使用
详情见文件: Demo_ContactListModel.qml
contactProxyModel 模型调用处:
4. 技术要点
4.1 C++ Model 与 QML Model 对比
| 特性 | ListModel(QML) | QAbstractListModel(C++) |
|---|---|---|
| 数据量 | 适合小量数据(< 千条) | 适合大量数据 |
| 业务逻辑 | 简单 | 复杂逻辑可在 C++ 中处理 |
| 搜索/排序 | 需手动过滤 | 可配合 QSortFilterProxyModel |
| 性能 | 一般 | 高,可优化内存和更新粒度 |
| 与后端集成 | 不便 | 直接对接数据库/网络 |
| 代码量 | 少 | 多(需实现基类接口) |
4.2 ProxyModel 过滤流程
5. 工程下载
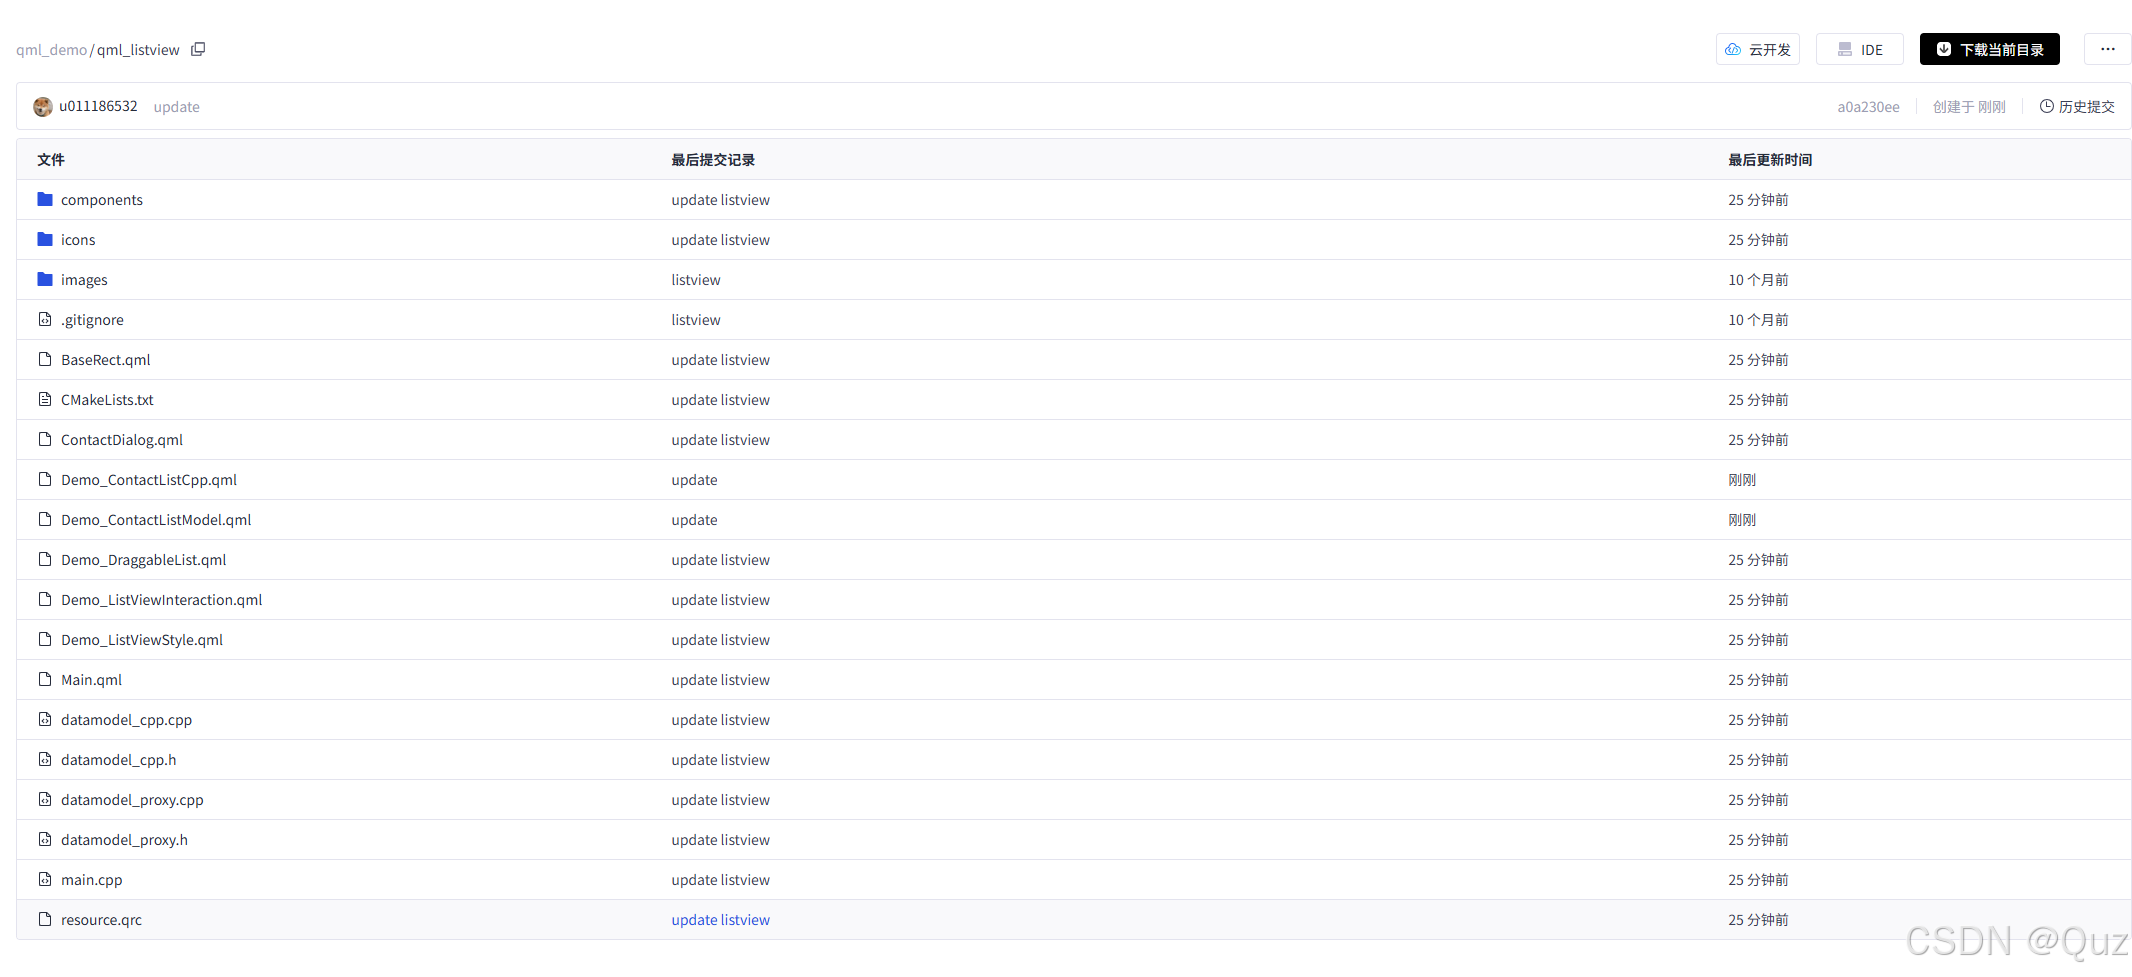

AtomGit 是由开放原子开源基金会联合 CSDN 等生态伙伴共同推出的新一代开源与人工智能协作平台。平台坚持“开放、中立、公益”的理念,把代码托管、模型共享、数据集托管、智能体开发体验和算力服务整合在一起,为开发者提供从开发、训练到部署的一站式体验。
更多推荐

 14
14 0
0- 0


 已为社区贡献6条内容

所有评论(0)