小白3天精通跨平台React Native鸿蒙开发:项目引入axios,实现接口API请求
什么是Axios
axios是一个基于Promise的HTTP库,封装了底层的XMLHttpRequest和http模块(移植到鸿蒙OS上的库也封装了鸿蒙的net.http模块)。axios的拦截器功能可以统一处理认证、错误提示和请求认证,减少重复代码,同时Axios可以自动转换Json数据,无需手动调用Json.parse。
Axios是一个基于Promise的HTTP客户端库,专门用于处理网络数据请求。它最大的特点是能够同时在浏览器和Node.js环境中运行。
核心特性:
- 环境兼容:浏览器端使用XMLHttpRequest,Node.js端使用http模块
- Promise API:使用Promise处理异步请求,避免回调地狱
- 拦截器机制:支持请求和响应的拦截处理
- 数据转换:自动转换请求和响应数据
- 安全防护:提供CSRF/XSRF防御机制
相比于原生Fetch API,Axios使用更简单方便,提供了更完善的错误处理和超时配置
接口示例
axios(config):发送请求
axios.create(config):创建实例
axios.get(url[,config]):发送get请求
axios.post(url[,config]):发哦post请求
axios.defaults[’ ']:配置一个默认
axios.interceptors:拦截器
…
AxiosRequestConfig类型
常用配置
url:表示用来发送请求的地址,一般为路径,即‘/path’
method:表示发送请求的方法
baseURL:最终发送给服务器的url是baseURL+url
headers:配置所发起网络请求的请求头
params:配置get请求所携带的参数时使用,这里配置的对象会作为参数拼接到url上
data:配置post、put、delete请求所携带的参数时使用
timeout:设置请求的超时事件
onUploadProgress:用于监听上传进度
AxiosResponse类型
axios在返回响应数据时,会默认对这次请求的响应数据进行一次包装
{
    //这次请求返回的响应数据
    data:{},
    //请求状态
    status: 200,
    //状态说明文字
    statusText: 'OK',
    //请求的请求头
    headers: {},
    //这次请求设置的配置 也就是一个AxiosRequestConfig类型的对象
    config: {},
    //表示axios底层封装的请求实例
    request: {}
    //HTTP请求各个阶段所花费的时间
    performanceTiming:{}
}
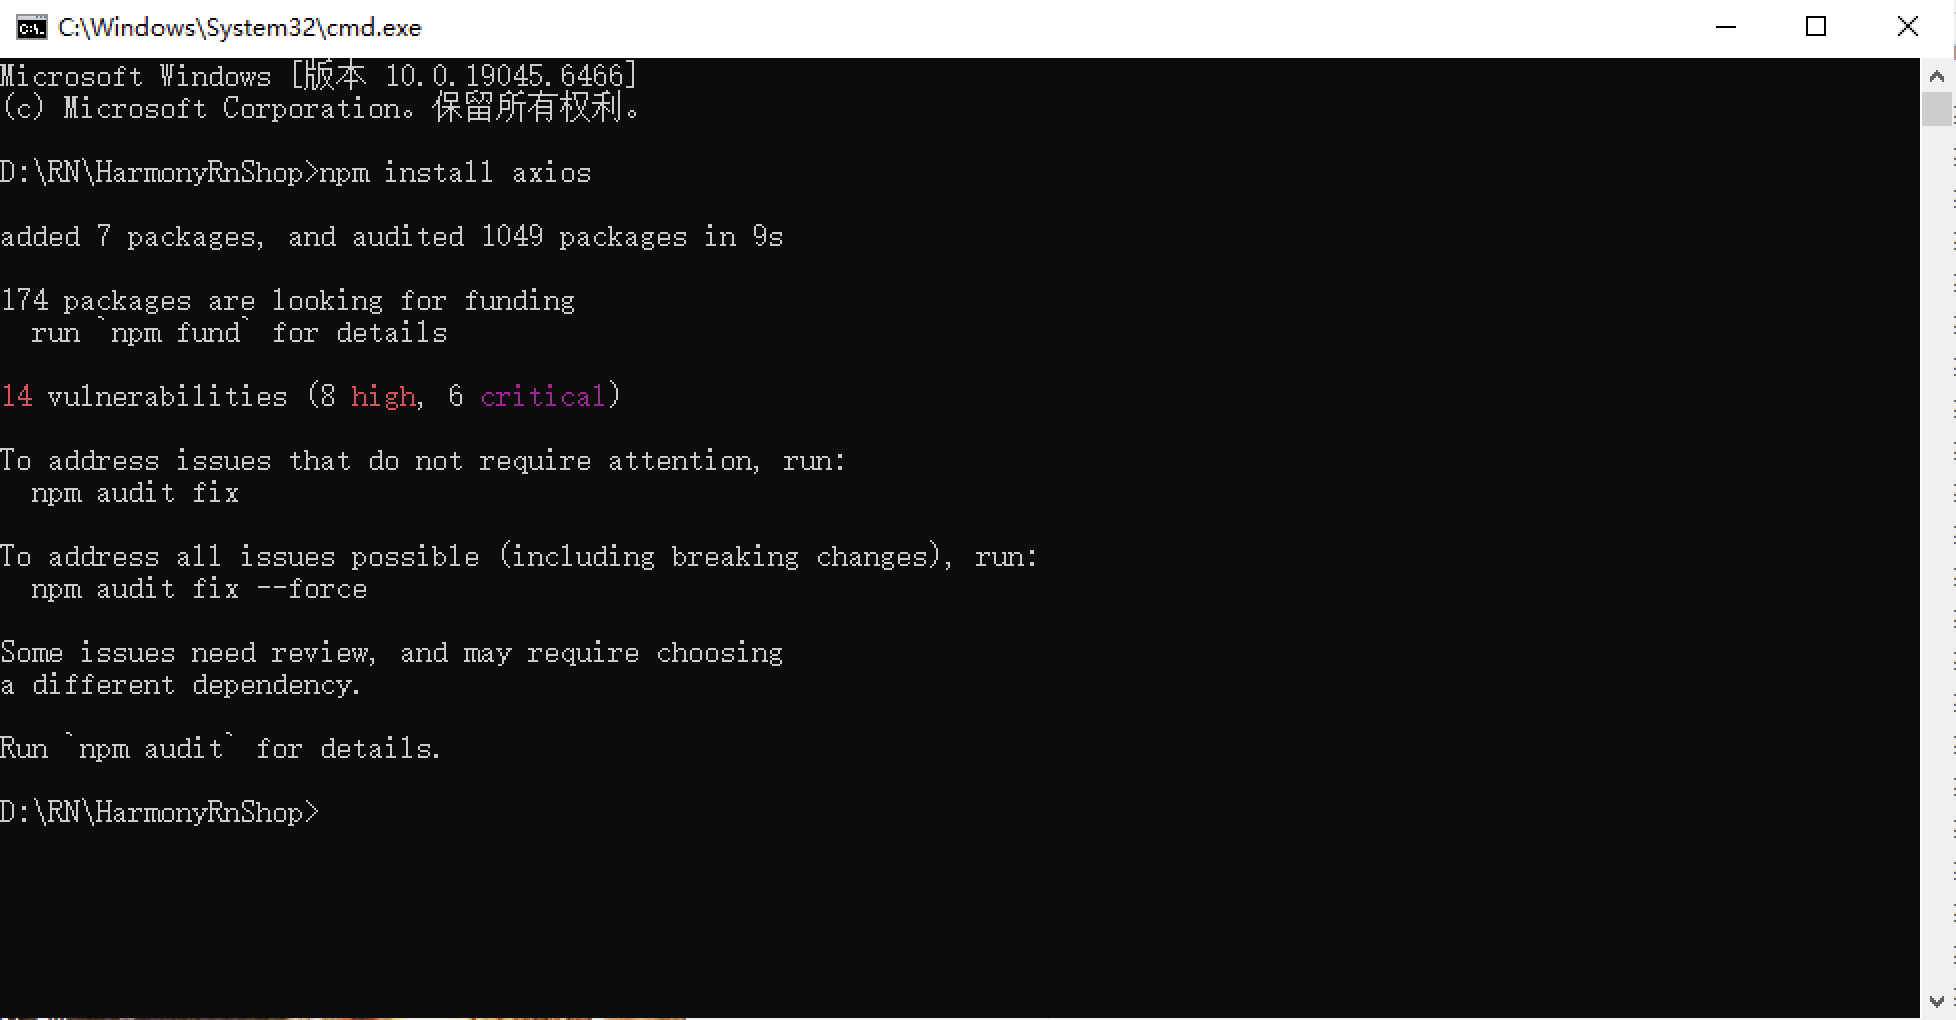
安装依赖包:
npm install axios
发送一个get请求:
Axios是一个基于Promise的HTTP客户端库,用于在浏览器和Node.js中发起网络请求。它专注于简化HTTP请求处理,相比原生Fetch API更易用,支持请求拦截、响应转换、取消请求等功能。
axios(
  {
    url:'/get',
    //对这个网址发送的请求,响应的数据即为携带的参数
    baseURL:'httpbin.org',
    method: 'get',
    params: {username: 'limiaomiao',password: 12345}
  }
)
  .then((res: AxiosResponse<string>) => {
    console.log('[axios]'+JSON.stringify(res))
  })

使用axios.get()
由于ArkTs不再支持any类型,所以在使用get方法时需要指定泛型参数的类型:
axios.get<T = any, R = AxiosResponse<T>, D = any>(url)
- T是响应数据类型
- R是AxiosResponse类型中data字段的类型
- D是当发送get请求时,在url中添加的查询参数的类型,参数为空时,D为null类型
可以看到这个Axios类中主要的方法就是request方法,用于发起实际的网络请求,而且他还在Axios的原型链上绑定了我们常用的一些请求类型,并在绑定的方法体内去调用request方法,config信息也就是将我们在axios.get方法中的配置信息使用mergeConfig方法合并起来,最终返回一个AxiosRequestConfig对象。
import React from 'react';
import { View, Text, Dimensions, StyleSheet, Image, TextInput, TouchableOpacity, Alert } from 'react-native';
import { Modal, ModalContent, ModalPortal } from 'react-native-modals';

//获取屏幕的宽高
const screenWidth =Math.round( Dimensions.get('window').width);
const screenHight =Math.round( Dimensions.get('window').height);
import axios from 'axios';

const AppStyles = StyleSheet.create({
  wrap: {
    width: '100%',
    height: screenHight,
    backgroundColor: '#85BDFF'
  },
  title: {
    width: '100%',
    height: 72,
    fontFamily: 'OPPOSans, OPPOSans',
    fontWeight: 'normal',
    paddingTop: 50,
    fontSize: 36,
    color: '#304057',
    lineHeight: 72,
    textAlign: 'center',
    fontStyle: 'normal'
  },
  banner: {
    paddingTop: 50,
    paddingRight: 32,
    paddingLeft: 32,
  },
  bannerItem: {
    paddingTop: 10,
    display: 'flex',
    flexDirection:'row',
    alignItems: 'center',
    justifyContent: 'center',
    width: '50%',
  },
  loginBox: {
    position: 'relative',
    width: '100%',
    paddingTop: 29,
    paddingLeft: 20,
    paddingRight: 20,
    borderTopRightRadius: 30,
    borderTopLeftRadius: 30,
    backgroundColor: '#F2F8FF',
    flex: 1
  },
  loginBoxCode: {
    marginTop: 20,
    position: 'relative',
    width: '100%',
  },
  loginBoxCodeBtn: {
    position: 'absolute',
    right: 4,
    top: 4,
    width: 110,
    height: 40,
    lineHeight: 40,
    borderRadius: 10,
    backgroundColor: '#1669E3',
    textAlign: 'center',
    fontWeight: 'bold',
    fontSize: 14,
    color: '#FFFFFF',
  },
  loginBtn: {
    position: 'absolute',
    left: 20,
    bottom: 30,
    width: '100%',
    height: 48,
    lineHeight: 48,
    borderRadius: 10,
    backgroundColor: '#1669E3',
    textAlign: 'center',
    fontWeight: 'bold',
    fontSize: 14,
    color: '#FFFFFF',
  }
})
function HomePath() {
  const [phone, onChangePhone] = React.useState('');
  const [code, onChangeCode] = React.useState('');
  const [visible, setVisible] = React.useState(false);
  const submitLogin = () => {
    console.log('submitLogin', phone, code);
    var regex = /^1[3-9]\d{9}$/;
    if (!regex.test(phone)) {
      Alert.alert('请输入正确的手机号码');
      return;
    }
    var regex = /^\d{6}$/;
    if (!regex.test(code)) {
      Alert.alert('请输入正确的验证码');
      return;
    }
    // setVisible(true);
    axios.get('https://xxx.com/id_type?t=1764427207873')
    .then(function (response) {
      console.log("get id_type success:", JSON.stringify(response));
      Alert.alert(JSON.stringify(response));
      // navigation.navigate('IndexPath')
    })
    .catch(function (error) {
      console.log(error);
    });
  }

  return (
    <View style={AppStyles.wrap}>
      <Text style={AppStyles.title}>鸿蒙ReactNative系统</Text>
      <View style={AppStyles.banner}>
        <View style={{display:'flex',flexDirection:'row',justifyContent:'space-between'}}>
          <View style={AppStyles.bannerItem}>
            <Image style={{width:27,height:27}} source={require('./images/checked.png')}></Image>
            <Text style={{paddingLeft: 4}}>实时业绩便捷查询</Text>
          </View>
          <View style={AppStyles.bannerItem}>
            <Image style={{width:27,height:27}} source={require('./images/checked.png')}></Image>
            <Text style={{paddingLeft: 4}}>订单状态轻松把控</Text>
          </View>
        </View>
        <View style={{display:'flex',flexDirection:'row',justifyContent:'space-between'}}>
          <View style={AppStyles.bannerItem}>
            <Image style={{width:27,height:27}} source={require('./images/checked.png')}></Image>
            <Text style={{paddingLeft: 4}}>宣传数据全程管理</Text>
          </View>
          <View style={AppStyles.bannerItem}>
            <Image style={{width:27,height:27}} source={require('./images/checked.png')}></Image>
            <Text style={{paddingLeft: 4}}>海量素材一站转发</Text>
          </View>
        </View>
      </View>

      <Image style={{width:289, height: 182, display: 'flex', alignSelf: 'center', margin: 20}} source={require('./images/login-bg.png')}></Image>

      <View style={AppStyles.loginBox}>
        <TextInput style={{width: '100%', height: 48, borderRadius: 10, backgroundColor: '#FFFFFF', paddingLeft: 16, paddingRight: 16, fontSize: 14, color: '#304057'}}
         placeholder="请输入手机号" onChangeText={onChangePhone} value={phone}
         keyboardType="numeric"
         maxLength={11}></TextInput>

        <View style={AppStyles.loginBoxCode}>
          <TextInput style={{width: '100%', height: 48, borderRadius: 10, backgroundColor: '#FFFFFF', paddingLeft: 16, paddingRight: 16, fontSize: 14, color: '#304057'}}
          placeholder="请输入验证码" onChangeText={onChangeCode} value={code}
          keyboardType="numeric"
          maxLength={6}></TextInput>
          <Text style={AppStyles.loginBoxCodeBtn}>获取验证码</Text>
        </View>

        <TouchableOpacity style={AppStyles.loginBtn} onPress={submitLogin}>
          <Text style={{fontSize: 14, color: '#FFFFFF', lineHeight: 48, textAlign: 'center', fontWeight: 'bold'}}>登陆</Text>
        </TouchableOpacity>
      </View>

      <ModalPortal>
        <Modal
          visible={visible}
          onTouchOutside={() => {
            setVisible(false)
          }}
          onSwipeOut={() => setVisible(false)}
        >
          <ModalContent>
            <Text>登录成功!欢迎使用我们的应用。</Text>
            <Text>手机号:{phone}</Text>
            <TouchableOpacity
              style={{marginTop: 20, padding: 10, backgroundColor: '#1669E3', borderRadius: 5}}
              onPress={() => setVisible(false)}
            >
              <Text style={{color: '#FFFFFF', textAlign: 'center'}}>确定</Text>
            </TouchableOpacity>
          </ModalContent>
        </Modal>
      </ModalPortal>
    </View>
  );
}
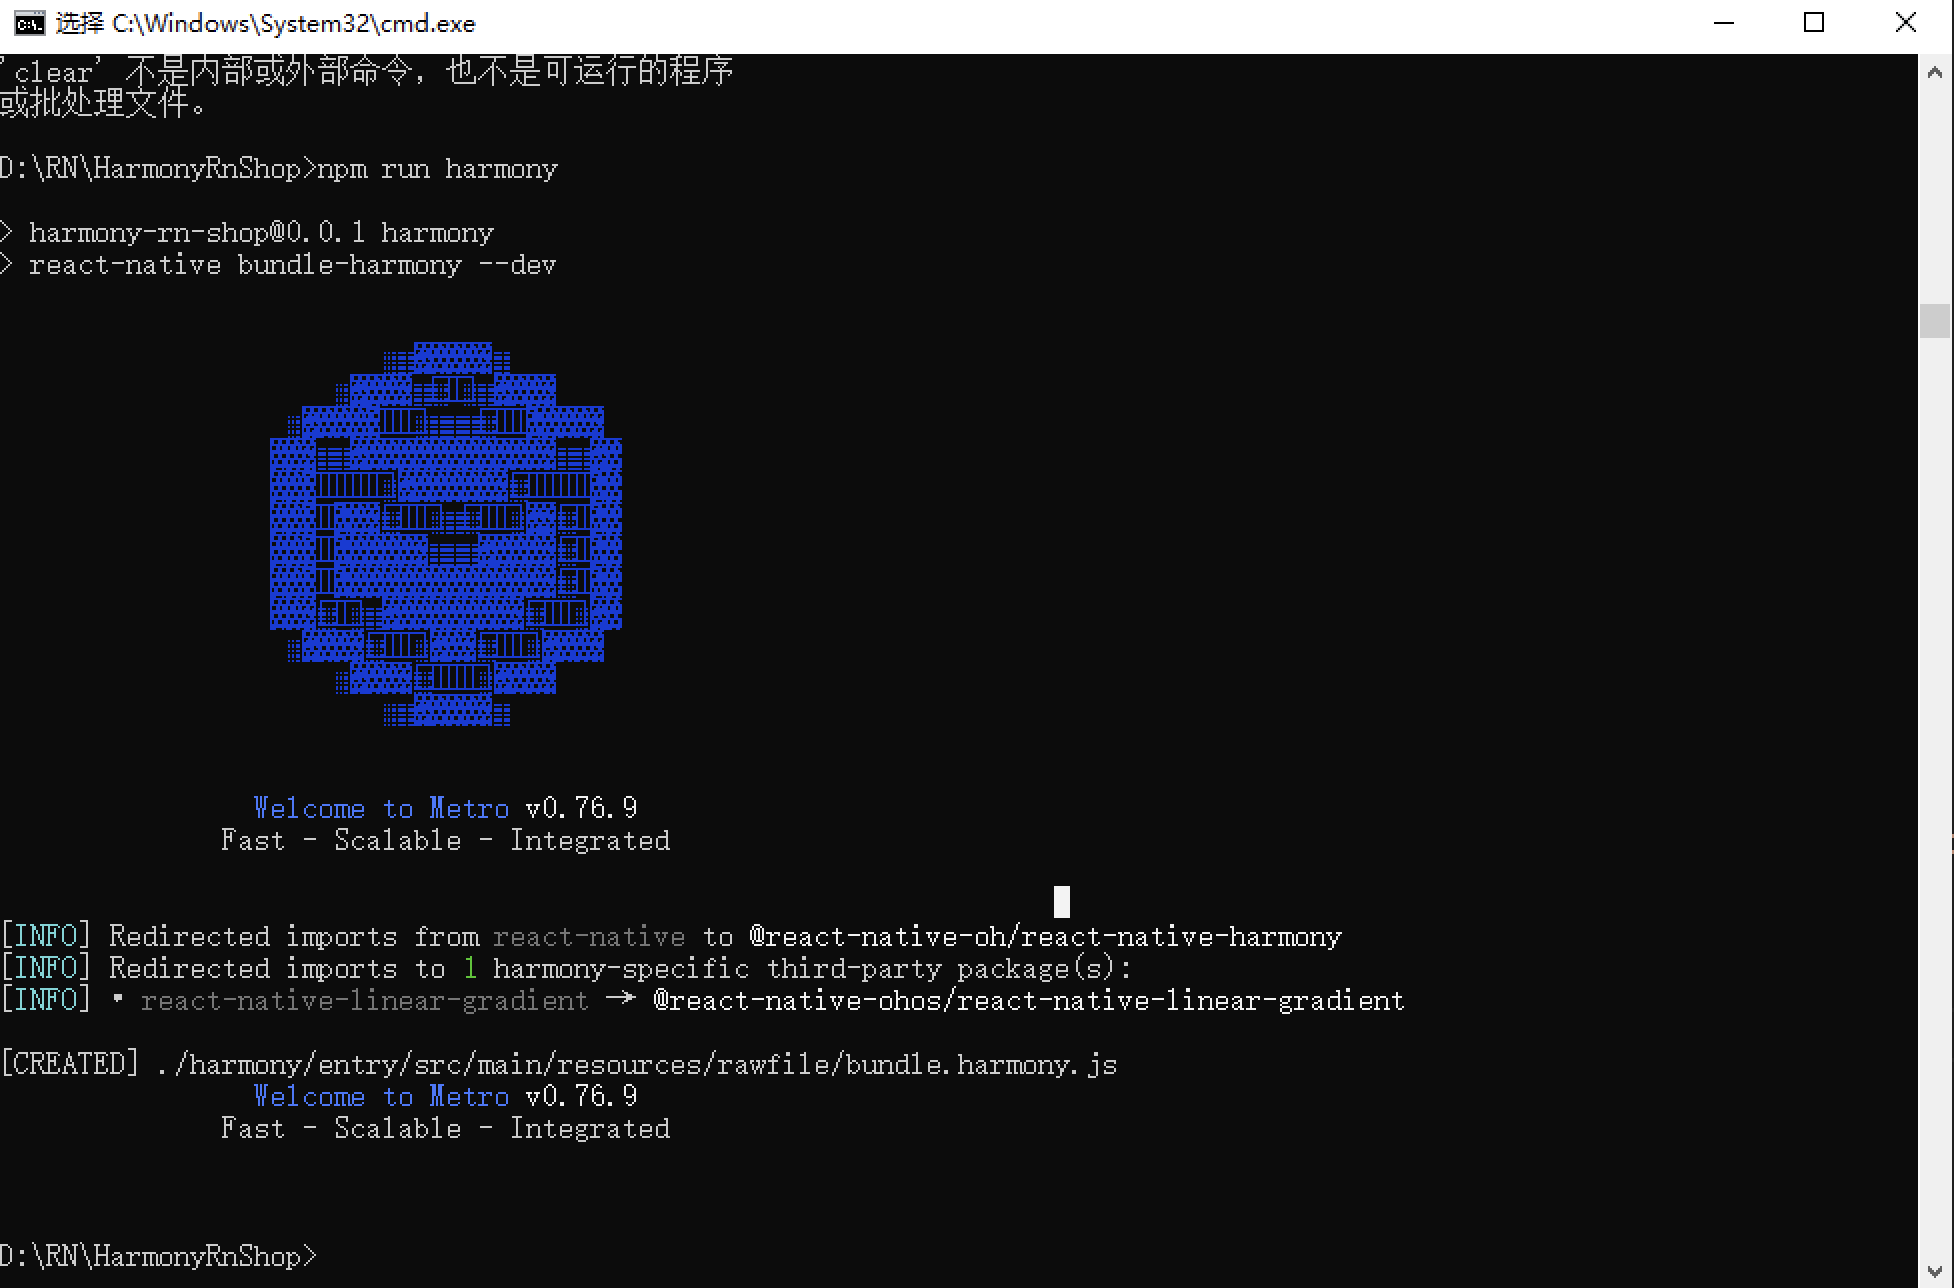
接下来通过打包命令npn run harmony将reactNative的代码打包成为bundle,这样可以进行在开源鸿蒙OpenHarmony中进行使用。
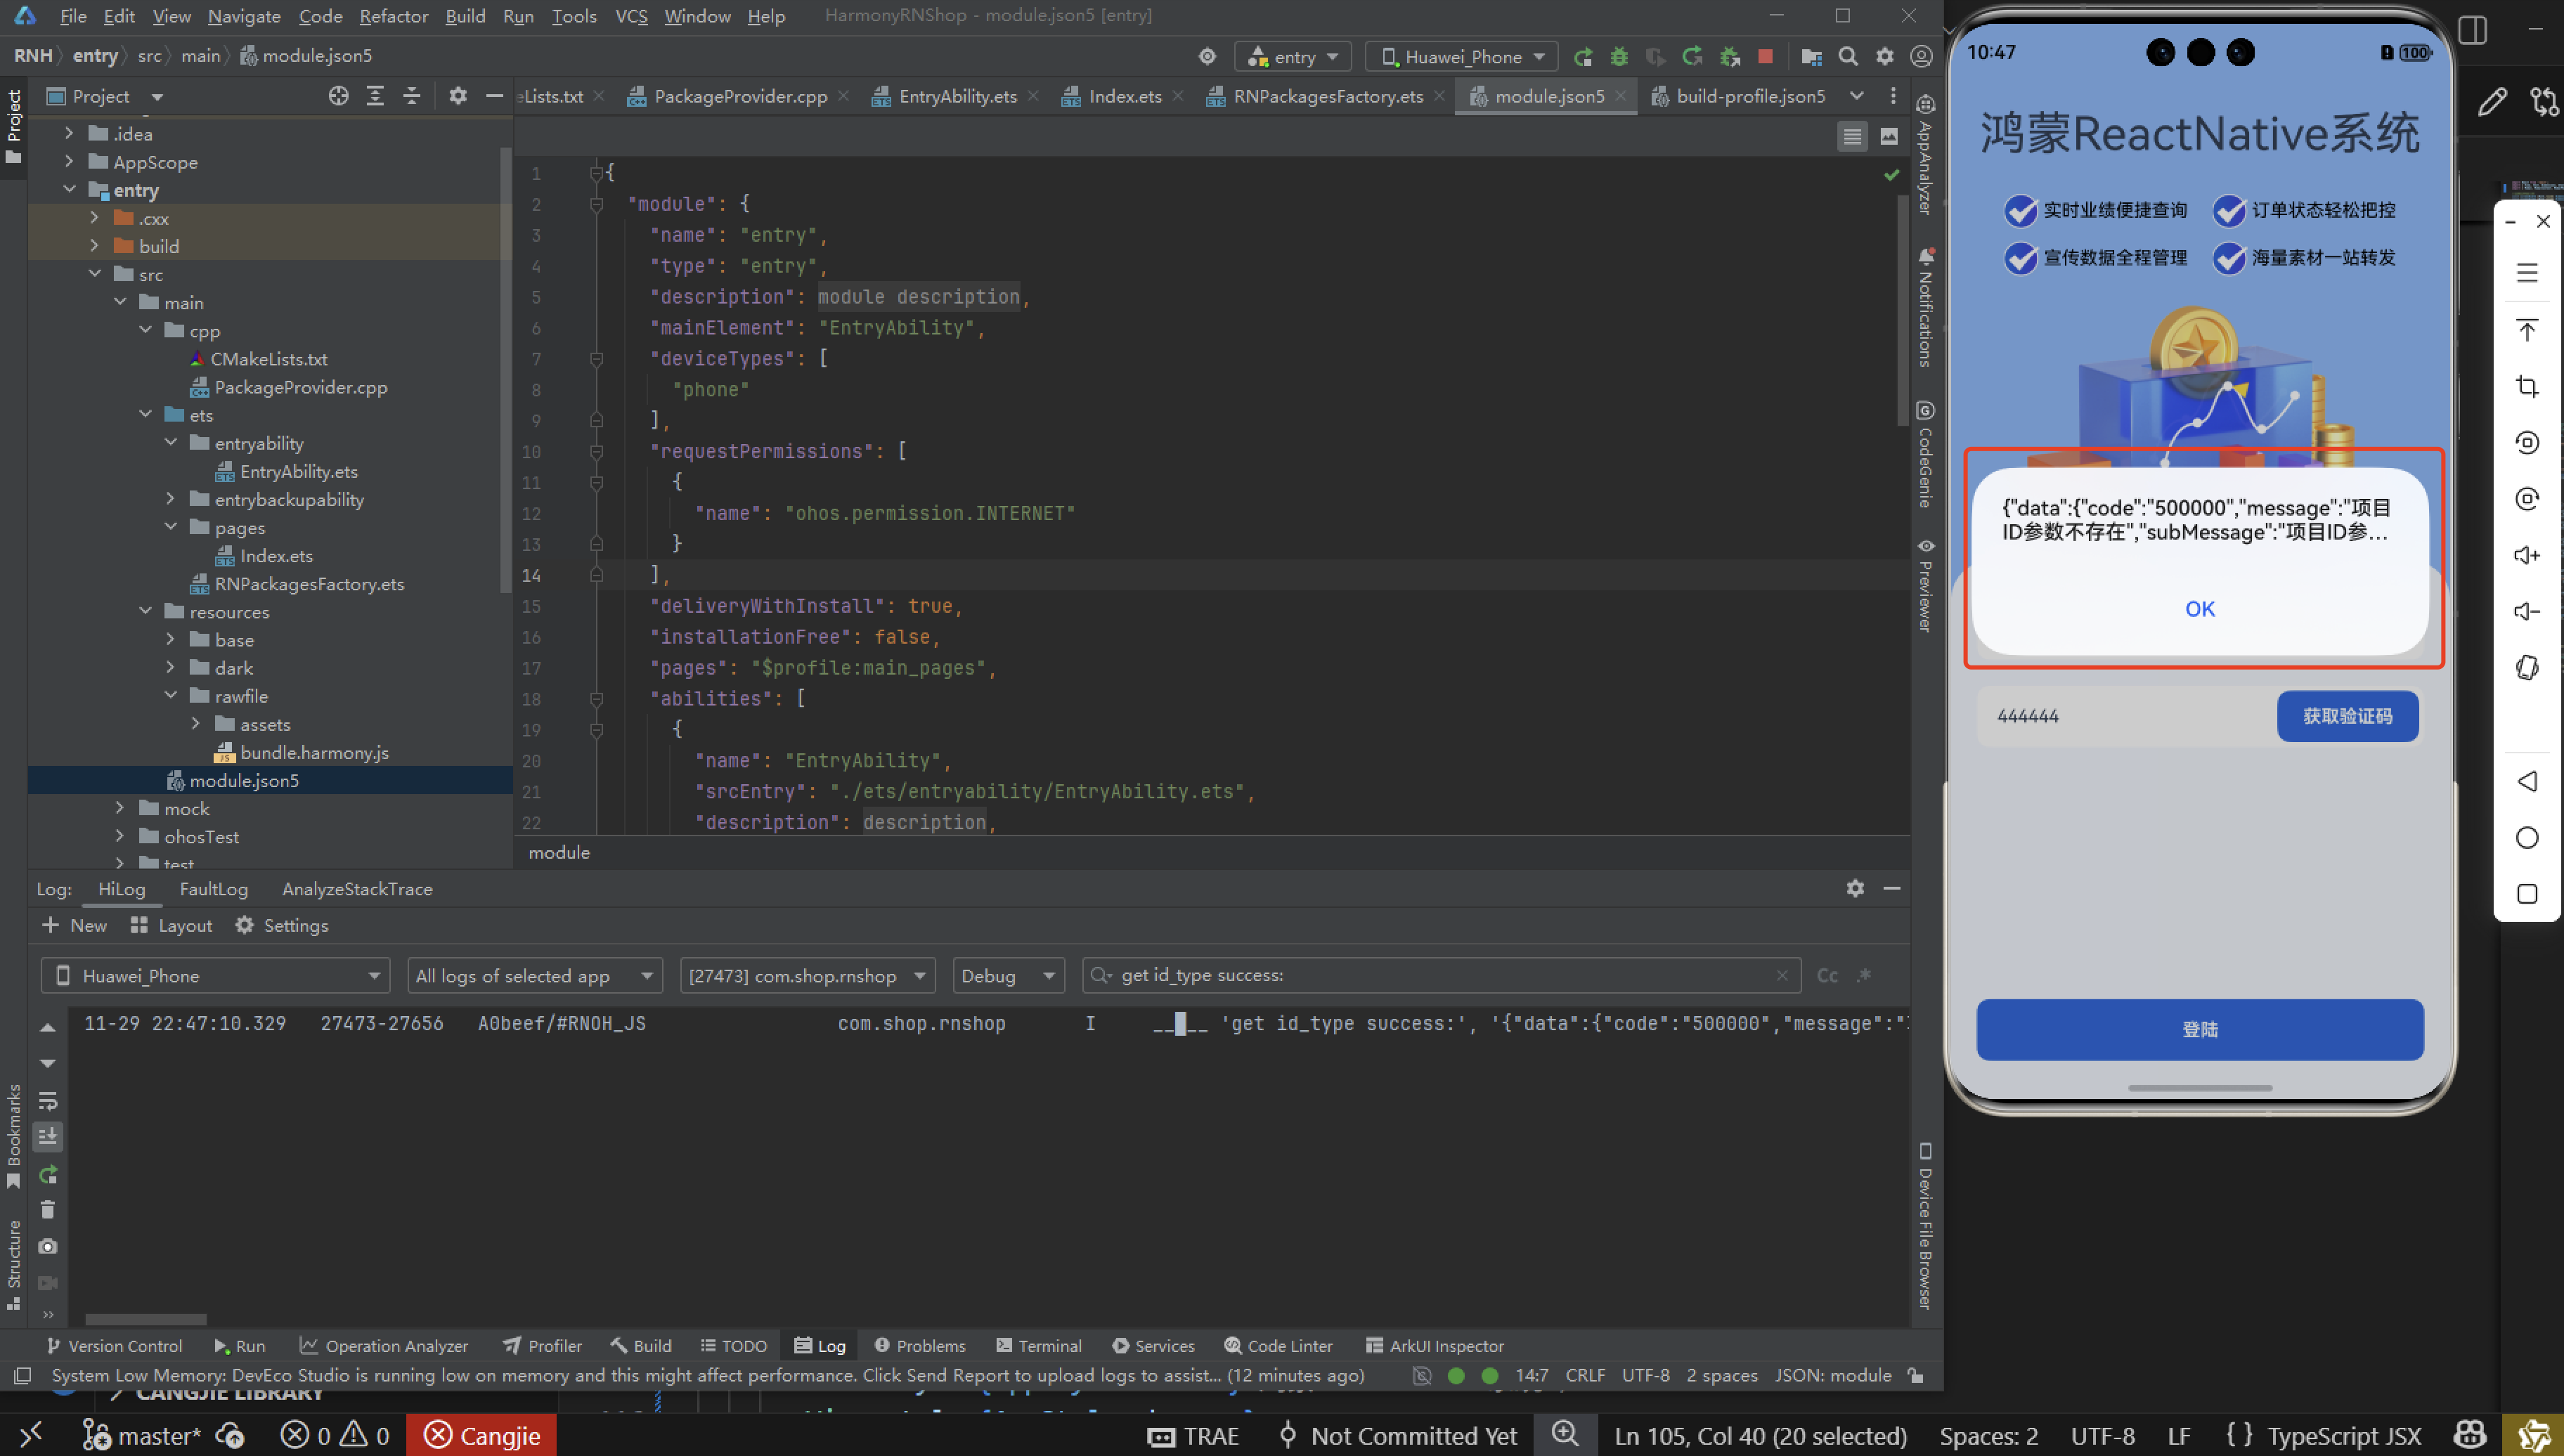
接下来将bundle文件复制到鸿蒙的项目工程中进行引入,然后,正常打包后,可以看到以下的运行效果:
这里请求成功了,但是提示没有项目的ID参数不存在,这里是没有传Header头。
欢迎大家加入开源鸿蒙跨平台开发者社区,一起共建开源鸿蒙跨平台生态。

AtomGit 是由开放原子开源基金会联合 CSDN 等生态伙伴共同推出的新一代开源与人工智能协作平台。平台坚持“开放、中立、公益”的理念,把代码托管、模型共享、数据集托管、智能体开发体验和算力服务整合在一起,为开发者提供从开发、训练到部署的一站式体验。
更多推荐


 8
8 0
0- 0


 已为社区贡献42条内容

所有评论(0)