three.js学习 03 - 添加坐标轴辅助器
·
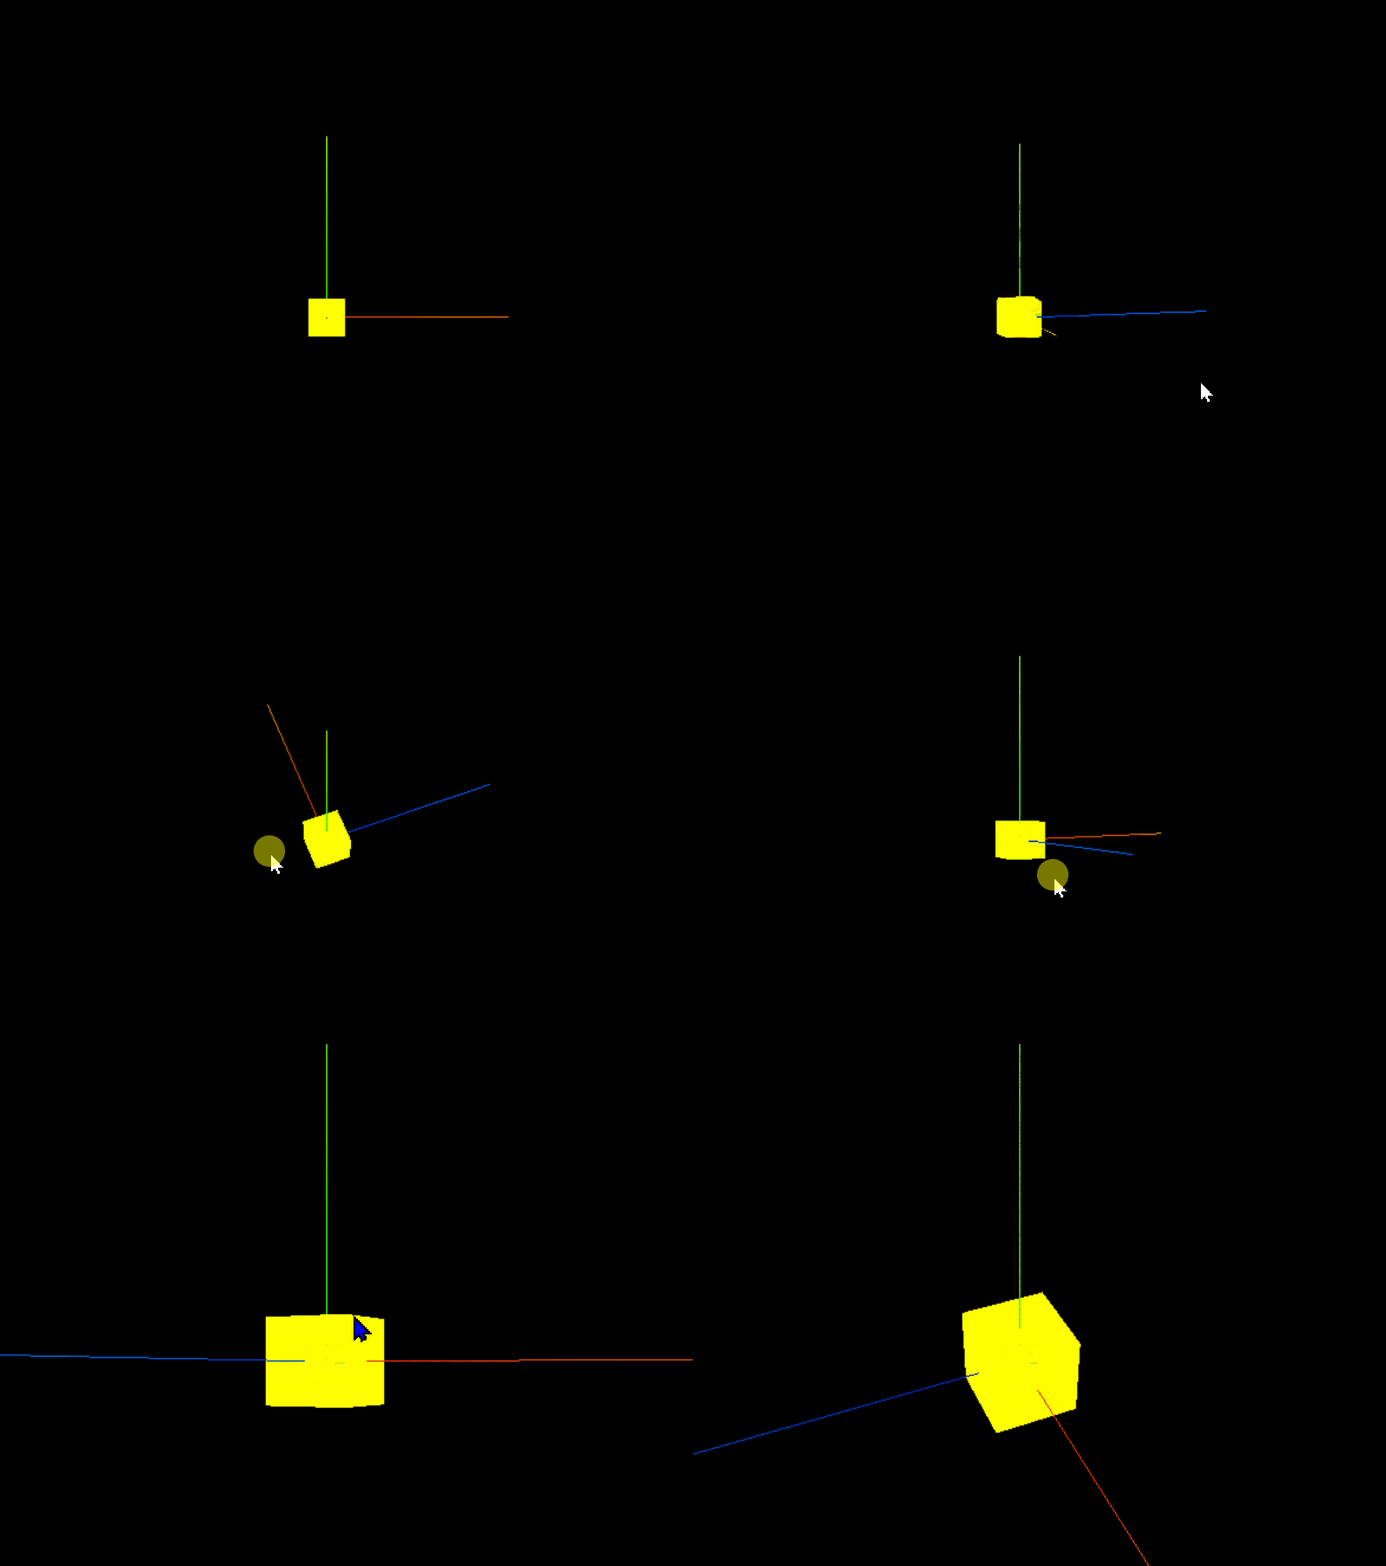
1. 坐标轴辅助器添加后效果

2.坐标轴辅助器AxesHelper()添加方法
红色代表X轴,绿色代表Y轴,蓝色代表Z轴
const axesHelper = new THREE.AxesHelper(5)   //参数5代表长度
scene.add(axesHelper)   //添加完成后出现坐标轴辅助器
3. 单页面完整调配代码
import * as THREE from 'three'
// 导入轨道控制器
import {
    OrbitControls
} from 'three/examples/jsm/controls/OrbitControls'
// console.log(THREE);

// 基础内容

// 1.创建场景
const scene = new THREE.Scene()
// 2.创建相机
const camera = new THREE.PerspectiveCamera(
    75,
    window.innerWidth / window.innerHeight,
    0.1,
    1000
) //透视相机(角度,宽高比,近端,远端)

camera.position.set(0, 0, 10) //修改相机位置

scene.add(camera) //将相机添加到场景中

// 添加物体
// 创建一个几何体对象
const cubeGeometry = new THREE.BoxGeometry(1, 1, 1)
const cubeMaterial = new THREE.MeshBasicMaterial({
    color: 0xffff00
})
// 根据几何体和材质创建一个物体
const cube = new THREE.Mesh(cubeGeometry, cubeMaterial)
// 将几何体添加到场景中
scene.add(cube)

//初始化渲染器
const renderer = new THREE.WebGLRenderer()

//设置渲染的尺寸大小
renderer.setSize(window.innerWidth, window.innerHeight)
console.log(renderer);

// 将webgl渲染的canves内容添加到body上
document.body.appendChild(renderer.domElement)

// 使用渲染器,通过相机,将场景渲染进来
// renderer.render(scene, camera)


// 2023.04.26 使用控制器查看3d物体
// 创建轨道控制器
const controls = new OrbitControls(camera, renderer.domElement) //第一个参数是相机对象,第二个参数是渲染器

// 添加坐标轴辅助器
const axesHelper = new THREE.AxesHelper(5)   //参数5代表长度
scene.add(axesHelper)   //添加完成后出现坐标轴辅助器


// 设置一个渲染函数,浏览器每次刷新重新加载渲染器
function render(params) {
    renderer.render(scene, camera)  //渲染器
    requestAnimationFrame(render) //requestAnimationFrame==》请求动画帧 接收一个渲染函数  渲染下一帧的时候就会执行render函数
}

render()//一开始的时候渲染一下
更多推荐
 已为社区贡献3条内容


所有评论(0)