【CV】实时人脸检测 | 使用 OpenCV 进行口罩检测
🔎大家好,我是Sonhhxg_柒,希望你看完之后,能对你有所帮助,不足请指正!共同学习交流🔎
📝个人主页-Sonhhxg_柒的博客_CSDN博客 📃
🎁欢迎各位→点赞👍 + 收藏⭐️ + 留言📝
📣系列专栏 - 机器学习【ML】 自然语言处理【NLP】 深度学习【DL】
🖍foreword
✔说明⇢本人讲解主要包括Python、机器学习(ML)、深度学习(DL)、自然语言处理(NLP)等内容。
如果你对这个系列感兴趣的话,可以关注订阅哟👋
文章目录
在本文中,我们将了解如何使用 OpenCV 实时检测人脸。从网络摄像头流中检测到面部后,我们将保存包含面部的帧。稍后我们会将这些帧(图像)传递给我们的口罩检测分类器,以查明该人是否戴着口罩。
什么 是人脸检测?
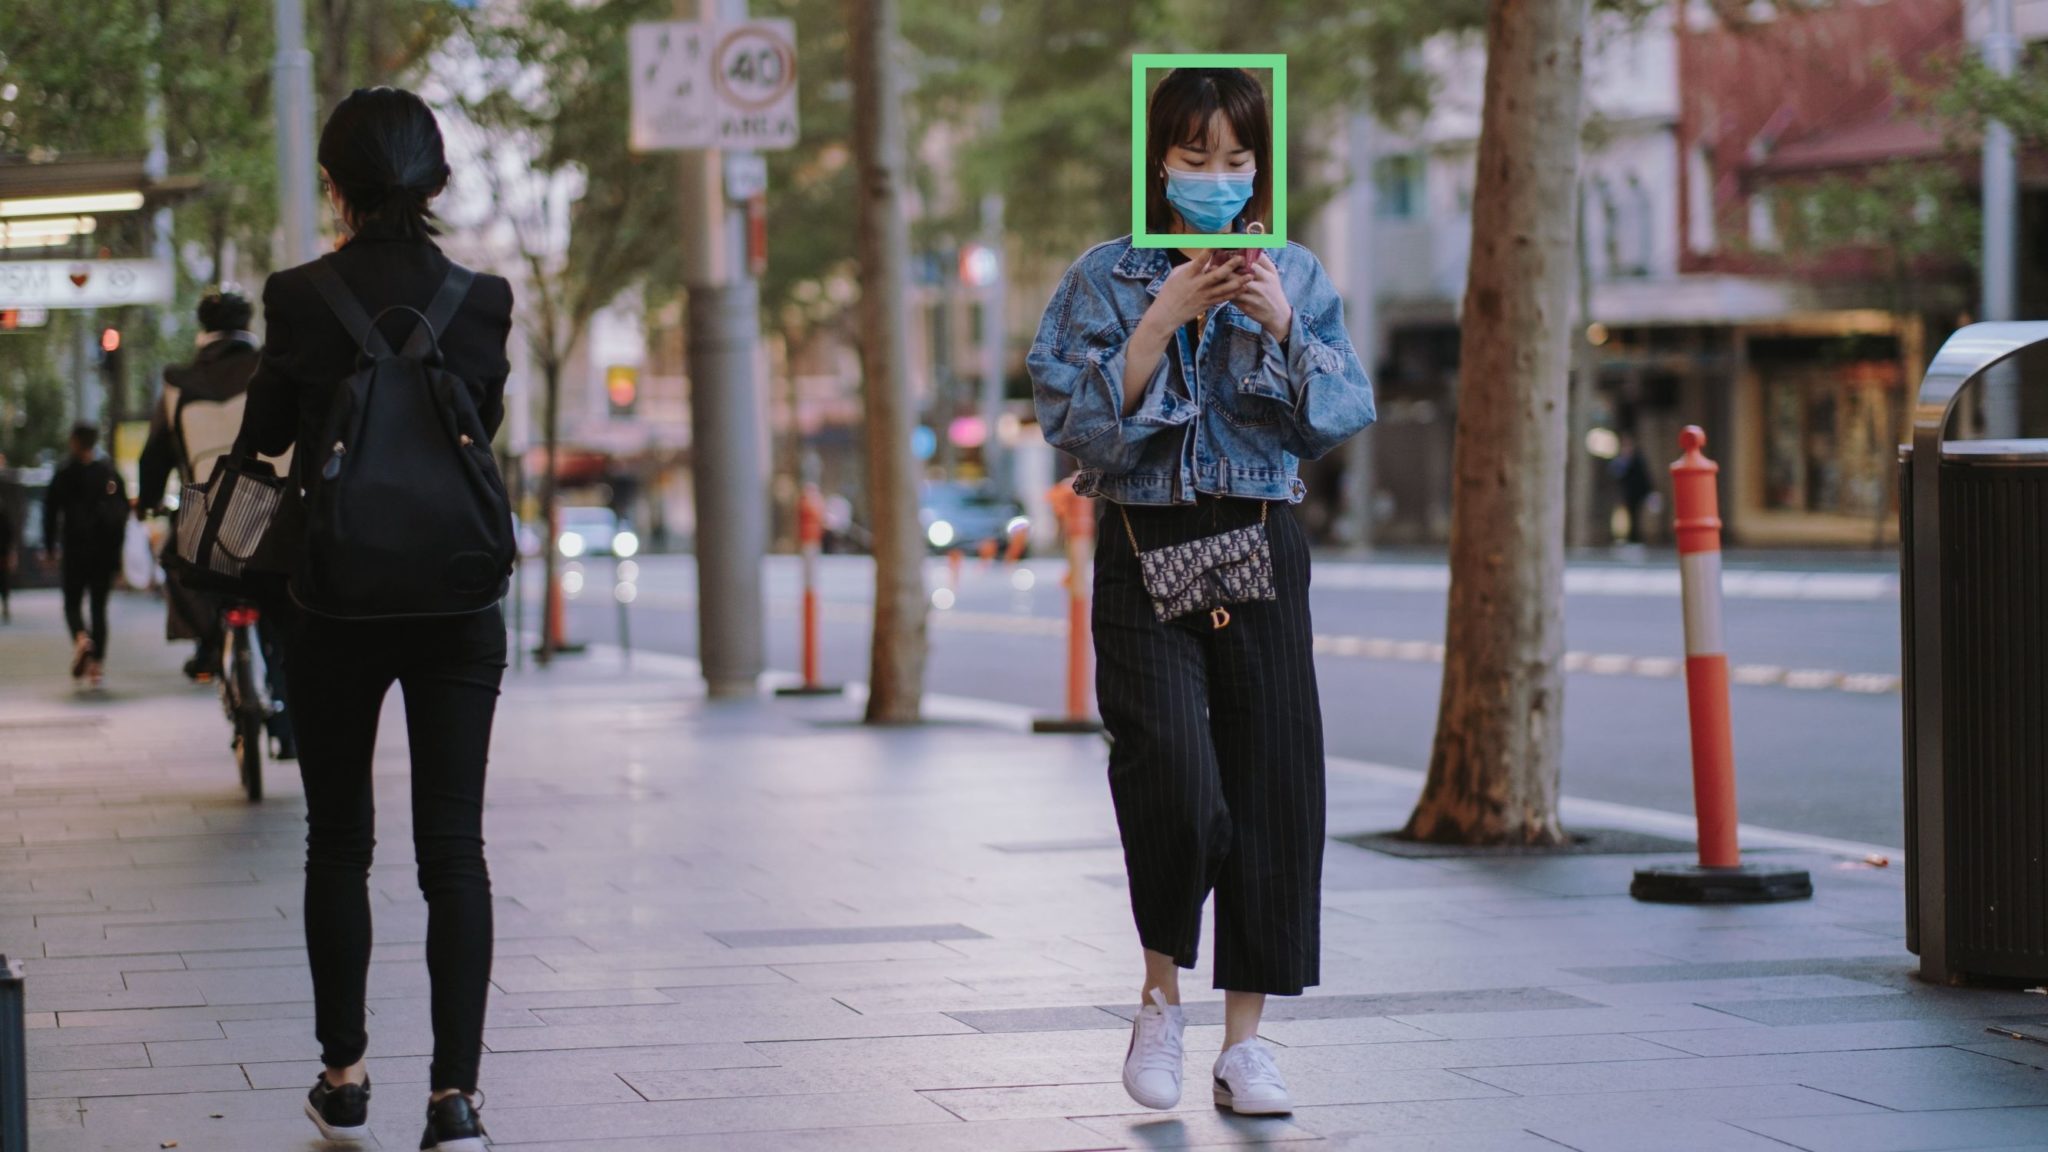
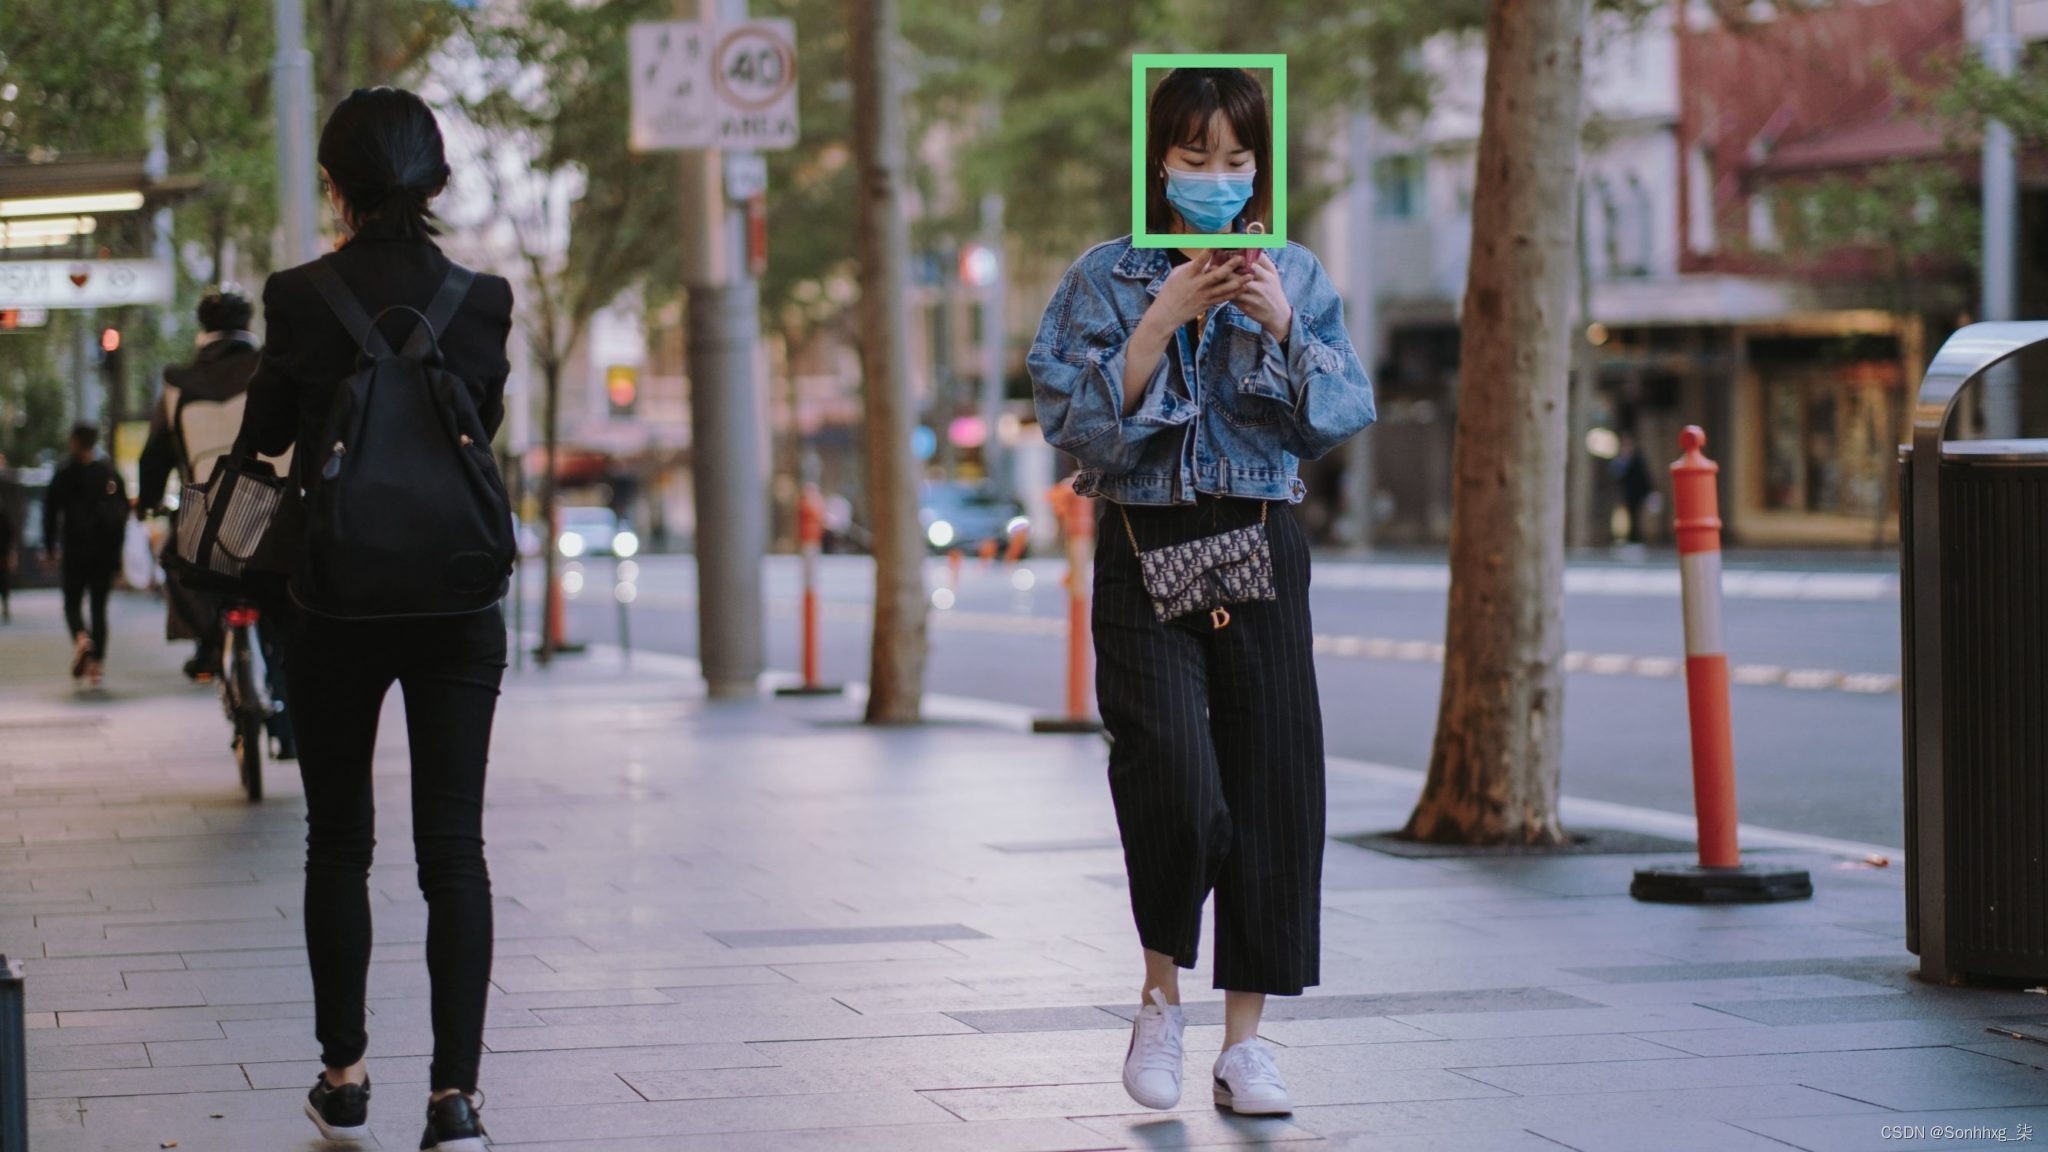
人脸检测的目标是确定图像或视频中是否存在人脸。如果存在多个面,则每个面都被一个边界框包围,因此我们知道这些面的位置
人脸检测算法的主要目标是准确有效地确定图像或视频中人脸的存在和位置。这些算法分析数据的视觉内容,搜索与面部特征相对应的模式和特征。通过采用机器学习、图像处理和模式识别等各种技术,人脸检测算法旨在将人脸与视觉数据中的其他对象或背景元素区分开来。
人脸很难建模,因为有许多变量可以改变,例如面部表情、方向、照明条件以及太阳镜、围巾、口罩等部分遮挡。检测结果给出了面部位置参数,并且可以要求有多种形式,例如覆盖面部中央部分、眼睛中心或包括眼睛、鼻子和嘴角、眉毛、鼻孔等的标志的矩形。
人脸检测方法
人脸检测主要有两种方法:
- 特征库方法
- 图像库方法
特征库方法
物体通常通过其独特的特征来识别。人脸有很多特征,可以在人脸和许多其他物体之间进行识别。它通过提取眼睛、鼻子、嘴巴等结构特征来定位人脸,然后使用它们来检测人脸。通常,某种统计分类器合格然后有助于区分面部和非面部区域。此外,人脸具有特定的纹理,可用于区分人脸和其他物体。此外,特征的边缘可以帮助检测面部的物体。在接下来的部分中,我们将使用OpenCV 教程实现基于特征的方法。
图像库方法
一般来说,基于图像的方法依靠统计分析和机器学习技术来查找面部和非面部图像的相关特征。学习到的特征采用分布模型或判别函数的形式,从而用于人脸检测。在这种方法中,我们使用不同的算法,例如神经网络、HMM、SVM、AdaBoost 学习。在接下来的部分中,我们将了解如何使用 MTCNN 或多任务级联卷积神经网络(一种基于图像的人脸检测方法)来检测人脸
人脸检测算法
使用基于特征的方法的流行算法之一是Viola-Jones 算法,在这里我将简要讨论它。如果您想详细了解它,我建议您阅读这篇文章《使用维奥拉琼斯算法进行人脸检测》。
Viola-Jones 算法以两位计算机视觉研究人员的名字命名,他们于 2001 年提出了该方法,Paul Viola 和 Michael Jones 在他们的论文“使用简单特征的增强级联进行快速目标检测”中。尽管是一个过时的框架,但 Viola-Jones 的功能相当强大,并且其应用已被证明在实时人脸检测中异常引人注目。该算法的训练速度非常慢,但可以以令人印象深刻的速度实时检测人脸。
给定一个图像(该算法适用于灰度图像),该算法会查看许多较小的子区域,并尝试通过在每个子区域中查找特定特征来找到人脸。它需要检查许多不同的位置和比例,因为图像可以包含许多不同尺寸的面孔。维奥拉和琼斯在该算法中使用类似 Haar 的特征来检测人脸。
人脸识别
人脸检测和人脸识别经常互换使用,但它们有很大不同。事实上,人脸检测只是人脸识别的一部分。
人脸识别是一种利用人脸识别或验证个人身份的方法。有多种算法可以进行人脸识别,但它们的准确性可能会有所不同。这里我将描述我们如何使用深度学习进行人脸识别。
事实上,这里有一篇文章,Face Recognition Python,它展示了如何实现人脸识别。
使用Python进行人脸检测
如前所述,在这里我们将了解如何使用基于图像的方法来检测人脸。MTCNN(多任务级联卷积神经网络)无疑是遵循这一原理的最流行、最准确的人脸检测工具之一。因此,它基于深度学习架构,具体由级联连接的 3 个神经网络(P-Net、R-Net 和 O-Net)组成。
那么,让我们看看如何在 Python 中使用这个算法来实时检测人脸。首先,您需要安装 MTCNN 库,其中包含经过训练的可以检测人脸的模型。
pip install mtcnn现在让我们看看如何使用 MTCNN:
from mtcnn import MTCNN
import cv2
detector = MTCNN()
#Load a videopip TensorFlow
video_capture = cv2.VideoCapture(0)

while (True):
    ret, frame = video_capture.read()
    frame = cv2.resize(frame, (600, 400))
    boxes = detector.detect_faces(frame)
    if boxes:

        box = boxes[0]['box']
        conf = boxes[0]['confidence']
        x, y, w, h = box[0], box[1], box[2], box[3]

        if conf > 0.5:
            cv2.rectangle(frame, (x, y), (x + w, y + h), (255, 255, 255), 1)

    cv2.imshow("Frame", frame)
    if cv2.waitKey(25) & 0xFF == ord('q'):
        break

video_capture.release()
cv2.destroyAllWindows()
使用 OpenCV 进行人脸检测
在本节中,我们将通过网络摄像头使用 OpenCV 从实时流中执行实时人脸检测。
如您所知,视频基本上由帧组成,帧是静态图像。我们对视频中的每一帧进行人脸检测。因此,当检测静态图像中的人脸和检测实时视频流中的人脸时,它们之间没有太大区别。
我们将使用 Haar Cascade 算法(也称为 Voila-Jones 算法)来检测人脸。它基本上是一种机器学习对象检测算法,用于识别图像或视频中的对象。在 OpenCV 中,我们有几个经过训练的 Haar Cascade 模型,它们保存为 XML 文件。我们使用此文件,而不是从头开始创建和训练模型。我们将在该项目中使用“haarcascade_frontalface_alt2.xml”文件。现在让我们开始编码
第一步是找到“haarcascade_frontalface_alt2.xml”文件的路径。我们通过使用Python语言的os模块来做到这一点。
import os
cascPath = os.path.dirname(
    cv2.__file__) + "/data/haarcascade_frontalface_alt2.xml"
下一步是加载我们的分类器。上述 XML 文件的路径作为 OpenCV 的 CascadeClassifier() 方法的参数。
faceCascade = cv2.CascadeClassifier(cascPath)加载分类器后,让我们使用这个简单的 OpenCV 一行代码打开网络摄像头
video_capture = cv2.VideoCapture(0)接下来,我们需要从网络摄像头流中获取帧,我们使用 read() 函数来执行此操作。我们在无限循环中使用它来获取所有帧,直到我们想要关闭流为止。
while True:
    # Capture frame-by-frame
    ret, frame = video_capture.read()
read() 函数返回:
- 实际读取的视频帧(每个循环一帧)
- 返回码
返回代码告诉我们是否已经用完帧,如果我们正在读取文件,就会发生这种情况。从网络摄像头读取数据时这并不重要,因为我们可以永久记录,因此我们将忽略它。
为了使这个特定的分类器工作,我们需要将帧转换为灰度。
gray = cv2.cvtColor(frame, cv2.COLOR_BGR2GRAY)faceCascade 对象有一个方法 detectorMultiScale(),该方法接收帧(图像)作为参数并在图像上运行分类器级联。术语“多尺度”表示该算法以多个尺度查看图像的子区域,以检测不同尺寸的面部。
  faces = faceCascade.detectMultiScale(gray,
                                         scaleFactor=1.1,
                                         minNeighbors=5,
                                         minSize=(60, 60),
                                         flags=cv2.CASCADE_SCALE_IMAGE)
让我们看一下这个函数的这些参数:
- scaleFactor – 指定在每个图像比例下图像尺寸减小多少的参数。通过重新缩放输入图像,您可以将较大的脸部调整为较小的脸部,使其可以被算法检测到。1.05 是一个很好的可能值,这意味着您使用一小步来调整大小,即将大小减小 5%,从而增加了找到与检测模型匹配大小的机会。
- minNeighbors – 指定每个候选矩形应保留多少个邻居的参数。该参数会影响检测到的人脸的质量。值越高,检测次数越少,但质量越高。3~6个就比较划算了。
- 标志——操作模式
- minSize – 可能的最小对象大小。小于该值的对象将被忽略。
可变面孔现在包含目标图像的所有检测。检测结果保存为像素坐标。每个检测均由其左上角坐标以及包含检测到的面部的矩形的宽度和高度定义。
为了显示检测到的人脸,我们将在其上绘制一个矩形。OpenCV的矩形()在图像上绘制矩形,它需要知道左上角和右下角的像素坐标。坐标表示图像中像素的行和列。我们可以很容易地从变量face中得到这些坐标。
for (x,y,w,h) in faces:
        cv2.rectangle(frame, (x, y), (x + w, y + h),(0,255,0), 2)
矩形()接受以下参数:
- 原始图像
- 检测左上角点的坐标
- 检测右下点的坐标
- 矩形的颜色(定义红色、绿色和蓝色数量 (0-255) 的元组)。在我们的示例中,我们设置为绿色,仅将绿色分量保持为 255,其余部分为零。
- 矩形线的粗细
接下来,我们只显示结果帧,并设置退出无限循环并关闭视频源的方法。按“q”键,我们可以在此处退出脚本
 cv2.imshow('Video', frame)
    if cv2.waitKey(1) & 0xFF == ord('q'):
        break
接下来的两行只是清理并释放图片。
video_capture.release()
cv2.destroyAllWindows()
这是完整的代码和输出。
import cv2
import os
cascPath = os.path.dirname(
    cv2.__file__) + "/data/haarcascade_frontalface_alt2.xml"
faceCascade = cv2.CascadeClassifier(cascPath)
video_capture = cv2.VideoCapture(0)
while True:
    # Capture frame-by-frame
    ret, frame = video_capture.read()
    gray = cv2.cvtColor(frame, cv2.COLOR_BGR2GRAY)
    faces = faceCascade.detectMultiScale(gray,
                                         scaleFactor=1.1,
                                         minNeighbors=5,
                                         minSize=(60, 60),
                                         flags=cv2.CASCADE_SCALE_IMAGE)
    for (x,y,w,h) in faces:
        cv2.rectangle(frame, (x, y), (x + w, y + h),(0,255,0), 2)
        # Display the resulting frame
    cv2.imshow('Video', frame)
    if cv2.waitKey(1) & 0xFF == ord('q'):
        break
video_capture.release()
cv2.destroyAllWindows()
创建模型来识别戴口罩的面孔
在本节中,我们将创建一个分类器,可以区分戴口罩和不戴口罩的面孔。如果您想跳过这一部分,这里有一个下载预训练模型的链接。保存它并继续下一部分,了解如何使用它来使用 OpenCV 检测掩模。
因此,为了创建这个分类器,我们需要图像形式的数据。幸运的是,我们有一个数据集,其中包含带面具和不带面具的图像脸部。由于这些图像的数量非常少,我们无法从头开始训练神经网络。相反,我们微调了一个名为 MobileNetV2 的预训练网络,该网络是在 Imagenet 数据集上进行训练的。
让我们首先导入我们需要的所有必要的库。
from tensorflow.keras.preprocessing.image import ImageDataGenerator
from tensorflow.keras.applications import MobileNetV2
from tensorflow.keras.layers import AveragePooling2D
from tensorflow.keras.layers import Dropout
from tensorflow.keras.layers import Flatten
from tensorflow.keras.layers import Dense
from tensorflow.keras.layers import Input
from tensorflow.keras.models import Model
from tensorflow.keras.optimizers import Adam
from tensorflow.keras.applications.mobilenet_v2 import preprocess_input
from tensorflow.keras.preprocessing.image import img_to_array
from tensorflow.keras.preprocessing.image import load_img
from tensorflow.keras.utils import to_categorical
from sklearn.preprocessing import LabelBinarizer
from sklearn.model_selection import train_test_split
from imutils import paths
import matplotlib.pyplot as plt
import numpy as np
import os
下一步是读取所有图像并将它们分配到某个列表。在这里,我们获取与这些图像关联的所有路径,然后相应地标记它们。请记住,我们的数据集包含在两个文件夹中,即 with_masks 和 without_masks。因此,我们可以通过从路径中提取文件夹名称来轻松获取标签。此外,我们对图像进行预处理并将其大小调整为 224x 224 尺寸。
imagePaths = list(paths.list_images('/content/drive/My Drive/dataset'))
data = []
labels = []
# loop over the image paths
for imagePath in imagePaths:
	# extract the class label from the filename
	label = imagePath.split(os.path.sep)[-2]
	# load the input image (224x224) and preprocess it
	image = load_img(imagePath, target_size=(224, 224))
	image = img_to_array(image)
	image = preprocess_input(image)
	# update the data and labels lists, respectively
	data.append(image)
	labels.append(label)
# convert the data and labels to NumPy arrays
data = np.array(data, dtype="float32")
labels = np.array(labels)
下一步是加载预训练的模型并根据我们的问题对其进行自定义。因此,我们只需删除这个预训练模型的顶层并添加我们自己的几层。正如您所看到的,最后一层有两个节点,因为我们只有两个输出。这称为迁移学习。
baseModel = MobileNetV2(weights="imagenet", include_top=False,
	input_shape=(224, 224, 3))
# construct the head of the model that will be placed on top of the
# the base model
headModel = baseModel.output
headModel = AveragePooling2D(pool_size=(7, 7))(headModel)
headModel = Flatten(name="flatten")(headModel)
headModel = Dense(128, activation="relu")(headModel)
headModel = Dropout(0.5)(headModel)
headModel = Dense(2, activation="softmax")(headModel)

# place the head FC model on top of the base model (this will become
# the actual model we will train)
model = Model(inputs=baseModel.input, outputs=headModel)
# loop over all layers in the base model and freeze them so they will
# *not* be updated during the first training process
for layer in baseModel.layers:
	layer.trainable = False
现在我们需要将标签转换为 one-hot 编码。之后,我们将数据分为训练集和测试集以对其进行评估。此外,下一步是数据增强,它可以显着增加可用于训练模型的数据的多样性,而无需实际收集新数据。裁剪、旋转、剪切和水平翻转等数据增强技术通常用于训练大型神经网络。
lb = LabelBinarizer()
labels = lb.fit_transform(labels)
labels = to_categorical(labels)
# partition the data into training and testing splits using 80% of
# the data for training and the remaining 20% for testing
(trainX, testX, trainY, testY) = train_test_split(data, labels,
	test_size=0.20, stratify=labels, random_state=42)
# construct the training image generator for data augmentation
aug = ImageDataGenerator(
	rotation_range=20,
	zoom_range=0.15,
	width_shift_range=0.2,
	height_shift_range=0.2,
	shear_range=0.15,
	horizontal_flip=True,
	fill_mode="nearest")
下一步是编译模型并根据增强数据对其进行训练。
INIT_LR = 1e-4
EPOCHS = 20
BS = 32
print("[INFO] compiling model...")
opt = Adam(lr=INIT_LR, decay=INIT_LR / EPOCHS)
model.compile(loss="binary_crossentropy", optimizer=opt,
	metrics=["accuracy"])
# train the head of the network
print("[INFO] training head...")
H = model.fit(
	aug.flow(trainX, trainY, batch_size=BS),
	steps_per_epoch=len(trainX) // BS,
	validation_data=(testX, testY),
	validation_steps=len(testX) // BS,
epochs=EPOCHS)现在我们的模型已经训练完毕,让我们绘制一个图表来查看它的学习曲线。此外,我们保存模型以供以后使用。这是这个经过训练的模型的链接。
N = EPOCHS
plt.style.use("ggplot")
plt.figure()
plt.plot(np.arange(0, N), H.history["loss"], label="train_loss")
plt.plot(np.arange(0, N), H.history["val_loss"], label="val_loss")
plt.plot(np.arange(0, N), H.history["accuracy"], label="train_acc")
plt.plot(np.arange(0, N), H.history["val_accuracy"], label="val_acc")
plt.title("Training Loss and Accuracy")
plt.xlabel("Epoch #")
plt.ylabel("Loss/Accuracy")
plt.legend(loc="lower left")
输出:

# 保存训练生成的模型
model.save('mask_recog_ver2.h5')
如何进行实时口罩检测
在进入下一部分之前,请确保从此链接下载上述模型,并将其放置在与要在其中编写以下代码的 python 脚本相同的文件夹中。
现在我们的模型已经训练完毕,我们可以修改第一部分中的代码,以便它可以检测人脸并告诉我们该人是否戴着口罩。
为了使我们的面具检测器模型发挥作用,它需要面部图像。为此,我们将使用第一部分中所示的方法检测具有面部的帧,然后在预处理后将它们传递到我们的模型。因此,让我们首先导入我们需要的所有库。
import cv2
import os
from tensorflow.keras.preprocessing.image import img_to_array
from tensorflow.keras.models import load_model
from tensorflow.keras.applications.mobilenet_v2 import preprocess_input
import numpy as np
前几行与第一部分完全相同。唯一不同的是,我们已将预训练的掩模检测器模型分配给变量模型。
ascPath = os.path.dirname(
    cv2.__file__) + "/data/haarcascade_frontalface_alt2.xml"
faceCascade = cv2.CascadeClassifier(cascPath)
model = load_model("mask_recog1.h5")

video_capture = cv2.VideoCapture(0)
while True:
    # Capture frame-by-frame
    ret, frame = video_capture.read()
    gray = cv2.cvtColor(frame, cv2.COLOR_BGR2GRAY)
    faces = faceCascade.detectMultiScale(gray,
                                         scaleFactor=1.1,
                                         minNeighbors=5,
                                         minSize=(60, 60),
                                         flags=cv2.CASCADE_SCALE_IMAGE)
接下来,我们定义一些列表。faces_list 包含由faceCascade 模型检测到的所有人脸,preds 列表用于存储由掩模检测器模型做出的预测。
faces_list=[]
preds=[]
此外,由于 faces 变量包含包含脸部的矩形的左上角坐标、高度和宽度,因此我们可以使用它来获取脸部的帧,然后对该帧进行预处理,以便可以将其输入到模型中进行预测。预处理步骤与第二部分训练模型时遵循的步骤相同。例如,模型是在 RGB 图像上训练的,因此我们在这里将图像转换为 RGB
    for (x, y, w, h) in faces:
        face_frame = frame[y:y+h,x:x+w]
        face_frame = cv2.cvtColor(face_frame, cv2.COLOR_BGR2RGB)
        face_frame = cv2.resize(face_frame, (224, 224))
        face_frame = img_to_array(face_frame)
        face_frame = np.expand_dims(face_frame, axis=0)
        face_frame =  preprocess_input(face_frame)
        faces_list.append(face_frame)
        if len(faces_list)>0:
            preds = model.predict(faces_list)
        for pred in preds:
        #mask contain probabily of wearing a mask and vice versa
            (mask, withoutMask) = pred
获得预测后,我们在脸上画一个矩形,并根据预测放置标签。
label = "Mask" if mask > withoutMask else "No Mask"
        color = (0, 255, 0) if label == "Mask" else (0, 0, 255)
        label = "{}: {:.2f}%".format(label, max(mask, withoutMask) * 100)
        cv2.putText(frame, label, (x, y- 10),
                    cv2.FONT_HERSHEY_SIMPLEX, 0.45, color, 2)

        cv2.rectangle(frame, (x, y), (x + w, y + h),color, 2)
其余步骤与第一部分相同。
cv2.imshow('Video', frame)
    if cv2.waitKey(1) & 0xFF == ord('q'):
        break
video_capture.release()
cv2.destroyAllWindows()
这是完整的代码和输出:
import cv2
import os
from tensorflow.keras.preprocessing.image import img_to_array
from tensorflow.keras.models import load_model
from tensorflow.keras.applications.mobilenet_v2 import preprocess_input
import numpy as np

cascPath = os.path.dirname(
    cv2.__file__) + "/data/haarcascade_frontalface_alt2.xml"
faceCascade = cv2.CascadeClassifier(cascPath)
model = load_model("mask_recog1.h5")

video_capture = cv2.VideoCapture(0)
while True:
    # Capture frame-by-frame
    ret, frame = video_capture.read()
    gray = cv2.cvtColor(frame, cv2.COLOR_BGR2GRAY)
    faces = faceCascade.detectMultiScale(gray,
                                         scaleFactor=1.1,
                                         minNeighbors=5,
                                         minSize=(60, 60),
                                         flags=cv2.CASCADE_SCALE_IMAGE)
    faces_list=[]
    preds=[]
    for (x, y, w, h) in faces:
        face_frame = frame[y:y+h,x:x+w]
        face_frame = cv2.cvtColor(face_frame, cv2.COLOR_BGR2RGB)
        face_frame = cv2.resize(face_frame, (224, 224))
        face_frame = img_to_array(face_frame)
        face_frame = np.expand_dims(face_frame, axis=0)
        face_frame =  preprocess_input(face_frame)
        faces_list.append(face_frame)
        if len(faces_list)>0:
            preds = model.predict(faces_list)
        for pred in preds:
            (mask, withoutMask) = pred
        label = "Mask" if mask > withoutMask else "No Mask"
        color = (0, 255, 0) if label == "Mask" else (0, 0, 255)
        label = "{}: {:.2f}%".format(label, max(mask, withoutMask) * 100)
        cv2.putText(frame, label, (x, y- 10),
                    cv2.FONT_HERSHEY_SIMPLEX, 0.45, color, 2)

        cv2.rectangle(frame, (x, y), (x + w, y + h),color, 2)
        # Display the resulting frame
    cv2.imshow('Video', frame)
    if cv2.waitKey(1) & 0xFF == ord('q'):
        break
video_capture.release()
cv2.destroyAllWindows()
更新:我训练了另一个模型,它可以将图像分类为戴口罩、不戴口罩和未正确戴口罩。这是该模型的Kaggle 笔记本的链接。您可以修改它,也可以从那里下载模型并使用它来代替我们在本文中训练的模型。虽然这个模型不如我们在这里训练的模型那么有效,但它有一个额外的功能,可以检测未正确佩戴的口罩。
如果您使用此模型,则需要对代码进行一些细微的更改。将前面的行替换为这些行。
for (box, pred) in zip(locs, preds):
        # unpack the bounding box and predictions
        (startX, startY, endX, endY) = box
        (mask, withoutMask,notproper) = pred

        # determine the class label and color we'll use to draw
        # the bounding box and text
        if (mask > withoutMask and mask>notproper):
            label = "Without Mask"
        elif ( withoutMask > notproper and withoutMask > mask):
            label = "Mask"
        else:
            label = "Wear Mask Properly"

        if label == "Mask":
            color = (0, 255, 0)
        elif label=="Without Mask":
            color = (0, 0, 255)
        else:
            color = (255, 140, 0)

        # include the probability in the label
        label = "{}: {:.2f}%".format(label,
                                     max(mask, withoutMask, notproper) * 100)

        # display the label and bounding box rectangle on the output
        # frame
        cv2.putText(frame, label, (startX, startY - 10),
                    cv2.FONT_HERSHEY_SIMPLEX, 0.45, color, 2)
cv2.rectangle(frame, (startX, startY), (endX, endY), color, 2)更多推荐
 已为社区贡献9条内容


所有评论(0)