

【精通Spring】基于注解管理Bean
基于注解管理Bean从 Java 5 开始,Java 增加了对注解(Annotation)的支持,它是代码中的一种特殊标记,可以在编译、类加载和运行时被读取,执行相应的处理。开发人员可以通过注解在不改变原有代码和逻辑的情况下,在源代码中嵌入补充信息。Spring 从 2.5 版本开始提供了对注解技术的全面支持,我们可以使用注解来实现自动装配,简化 Spring 的 XML 配置。Spring 通过

个人名片:

🐼作者简介:一名大三在校生,喜欢AI编程🎋
🐻❄️个人主页🥇:落798.
🐼个人WeChat:hmmwx53
🕊️系列专栏:🖼️
- 零基础学Java——小白入门必备🔥
- 重识C语言——复习回顾🔥
- 计算机网络体系———深度详讲
- HCIP数通工程师-刷题与实战🔥🔥🔥
- 微信小程序开发——实战开发🔥
- HarmonyOS 4.0 应用开发实战——实战开发🔥🔥🔥
- Redis快速入门到精通——实战开发🔥🔥🔥
- RabbitMQ快速入门🔥
🐓每日一句:🍭我很忙,但我要忙的有意义!
欢迎评论 💬点赞👍🏻 收藏 📂加关注+
文章目录
基于注解管理Bean
从 Java 5 开始,Java 增加了对注解(Annotation)的支持,它是代码中的一种特殊标记,可以在编译、类加载和运行时被读取,执行相应的处理。开发人员可以通过注解在不改变原有代码和逻辑的情况下,在源代码中嵌入补充信息。
Spring 从 2.5 版本开始提供了对注解技术的全面支持,我们可以使用注解来实现自动装配,简化 Spring 的 XML 配置。
Spring 通过注解实现自动装配的步骤如下:
- 引入依赖
- 开启组件扫描
- 使用注解定义 Bean
- 依赖注入
3.3.1、搭建子模块spring6-ioc-annotation
①搭建模块
搭建方式如:spring6-ioc-xml
②引入配置文件
引入spring-ioc-xml模块日志log4j2.xml
③添加依赖
<dependencies>
    <!--spring context依赖-->
    <!--当你引入Spring Context依赖之后,表示将Spring的基础依赖引入了-->
    <dependency>
        <groupId>org.springframework</groupId>
        <artifactId>spring-context</artifactId>
        <version>6.0.3</version>
    </dependency>

    <!--junit5测试-->
    <dependency>
        <groupId>org.junit.jupiter</groupId>
        <artifactId>junit-jupiter-api</artifactId>
    </dependency>

    <!--log4j2的依赖-->
    <dependency>
        <groupId>org.apache.logging.log4j</groupId>
        <artifactId>log4j-core</artifactId>
        <version>2.19.0</version>
    </dependency>
    <dependency>
        <groupId>org.apache.logging.log4j</groupId>
        <artifactId>log4j-slf4j2-impl</artifactId>
        <version>2.19.0</version>
    </dependency>
</dependencies>
3.3.2、开启组件扫描
Spring 默认不使用注解装配 Bean,因此我们需要在 Spring 的 XML 配置中,通过 context:component-scan 元素开启 Spring Beans的自动扫描功能。开启此功能后,Spring 会自动从扫描指定的包(base-package 属性设置)及其子包下的所有类,如果类上使用了 @Component 注解,就将该类装配到容器中。
<?xml version="1.0" encoding="UTF-8"?>
<beans xmlns="http://www.springframework.org/schema/beans"
       xmlns:xsi="http://www.w3.org/2001/XMLSchema-instance"
       xmlns:context="http://www.springframework.org/schema/context"
       xsi:schemaLocation="http://www.springframework.org/schema/beans
    http://www.springframework.org/schema/beans/spring-beans-3.0.xsd
    http://www.springframework.org/schema/context
            http://www.springframework.org/schema/context/spring-context.xsd">
    <!--开启组件扫描功能-->
    <context:component-scan base-package="com.atguigu.spring6"></context:component-scan>
</beans>
注意:在使用 context:component-scan 元素开启自动扫描功能前,首先需要在 XML 配置的一级标签 中添加 context 相关的约束。
情况一:最基本的扫描方式
<context:component-scan base-package="com.atguigu.spring6">
</context:component-scan>
情况二:指定要排除的组件
<context:component-scan base-package="com.atguigu.spring6">
    <!-- context:exclude-filter标签:指定排除规则 -->
    <!--
 		type:设置排除或包含的依据
		type="annotation",根据注解排除,expression中设置要排除的注解的全类名
		type="assignable",根据类型排除,expression中设置要排除的类型的全类名
	-->
    <context:exclude-filter type="annotation" expression="org.springframework.stereotype.Controller"/>
        <!--<context:exclude-filter type="assignable" expression="com.atguigu.spring6.controller.UserController"/>-->
</context:component-scan>
情况三:仅扫描指定组件
<context:component-scan base-package="com.atguigu" use-default-filters="false">
    <!-- context:include-filter标签:指定在原有扫描规则的基础上追加的规则 -->
    <!-- use-default-filters属性:取值false表示关闭默认扫描规则 -->
    <!-- 此时必须设置use-default-filters="false",因为默认规则即扫描指定包下所有类 -->
    <!--
 		type:设置排除或包含的依据
		type="annotation",根据注解排除,expression中设置要排除的注解的全类名
		type="assignable",根据类型排除,expression中设置要排除的类型的全类名
	-->
    <context:include-filter type="annotation" expression="org.springframework.stereotype.Controller"/>
	<!--<context:include-filter type="assignable" expression="com.atguigu.spring6.controller.UserController"/>-->
</context:component-scan>
3.3.3、使用注解定义 Bean
Spring 提供了以下多个注解,这些注解可以直接标注在 Java 类上,将它们定义成 Spring Bean。
| 注解 | 说明 |
|---|---|
| @Component | 该注解用于描述 Spring 中的 Bean,它是一个泛化的概念,仅仅表示容器中的一个组件(Bean),并且可以作用在应用的任何层次,例如 Service 层、Dao 层等。 使用时只需将该注解标注在相应类上即可。 |
| @Repository | 该注解用于将数据访问层(Dao 层)的类标识为 Spring 中的 Bean,其功能与 @Component 相同。 |
| @Service | 该注解通常作用在业务层(Service 层),用于将业务层的类标识为 Spring 中的 Bean,其功能与 @Component 相同。 |
| @Controller | 该注解通常作用在控制层(如SpringMVC 的 Controller),用于将控制层的类标识为 Spring 中的 Bean,其功能与 @Component 相同。 |
写在后面🔥🔥🔥:
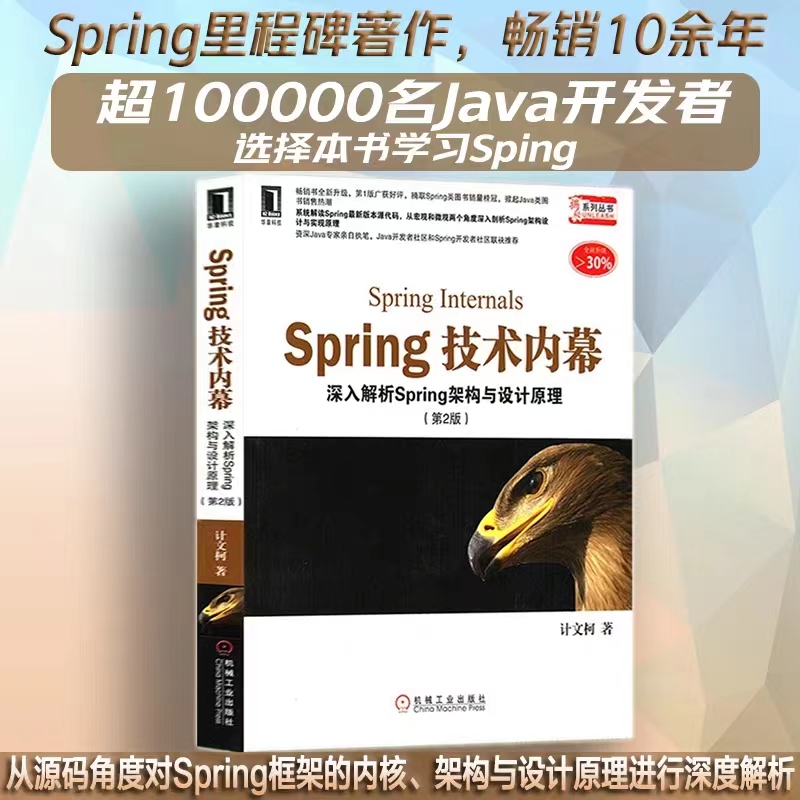
本专栏是自己深入学习并结合Spring技术内幕一经典图书内容做出的的心得与总结,将其精简编写成一篇专栏供大家学习,希望对新学习Spring框架技术的小伙伴有所帮助。
图书推荐:

欢迎添加微信,加入我的核心小队,请备注来意
👇👇👇👇👇👇👇👇👇👇👇👇👇👇👇

旨在为数千万中国开发者提供一个无缝且高效的云端环境,以支持学习、使用和贡献开源项目。
更多推荐


 24
24 0
0- 0


 已为社区贡献8条内容

所有评论(0)