
【YOLOv5】 02-标注图片,训练并使用自己的模型
安装labelimg使用labelimg训练模型使用模型继续训练
在上一篇文章中,我们完成了YOLOv5的安装和测试。如果想检测自定义目标,就需要用到LabelImg来对图片打标签,本篇文章介绍了LabelImg安装与使用,以及如何训练并使用自己的模型。
一、安装LabelImg
输入如下命令进行安装:
pip install labelimg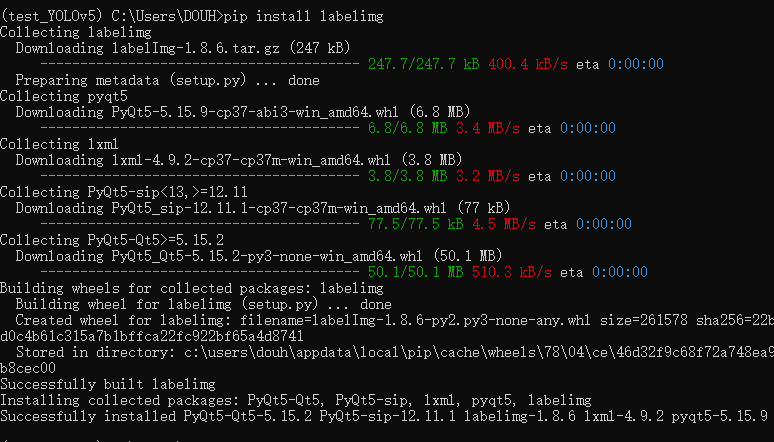
二、使用LabelImg
输入“labelimg”来打开该软件

软件界面如下:
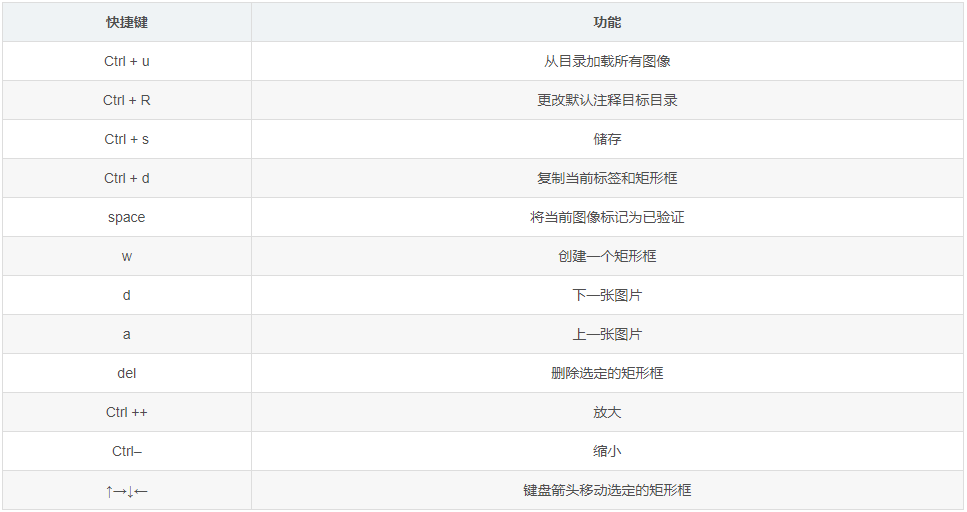
常用的快捷键有:
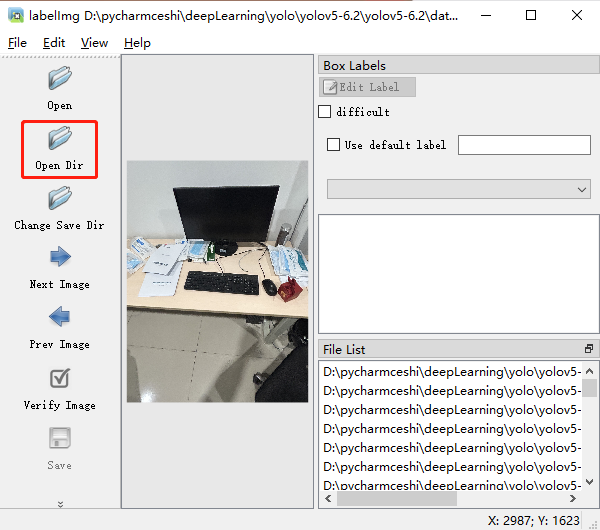
点击如下按钮,打开样本所在的文件夹
点击如下按钮来框选目标的范围
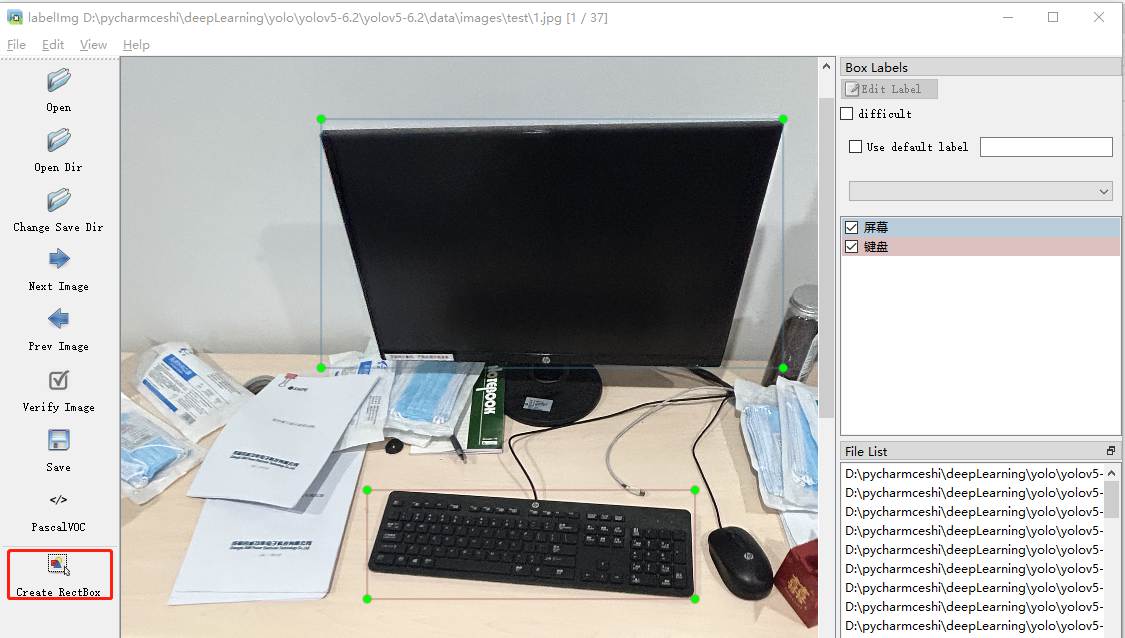
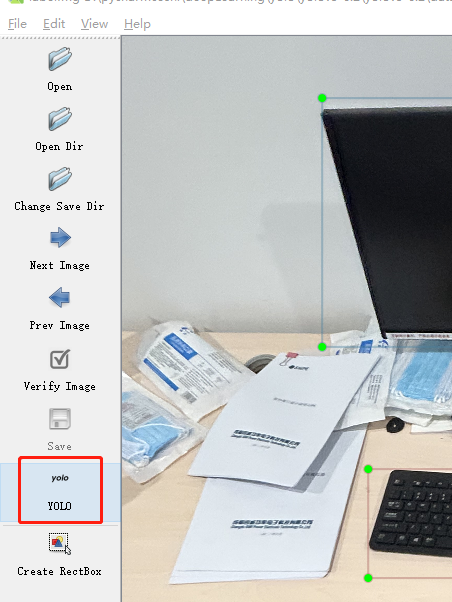
框选好后,选择存为YOLO格式(即将标记的信息保存为.txt格式)
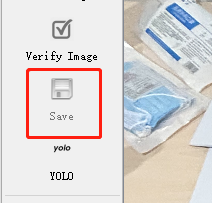
点击“Save”来保存标记好后的第一张图(这里是灰色是因为已经保存过了),保存到一个指定的文件夹,之后所有标记好的txt都存储到该文件夹中。
注意:保存的文件名要与原始图片的文件名保持一致。每标记一张图都要记得保存!
点击File-》Change Save Dir ,选择刚才存储txt的那个文件夹
点击“Next Image”来准备标注下一个图片
如果遇到只能框选方形,无法框选矩形的情况,只需按下“ctrl+shift+R”就可以恢复创建矩形box
三、训练模型
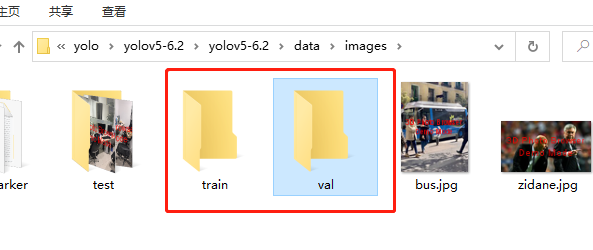
首先新建训练集和验证集文件夹,分别命名为“train”和“val”
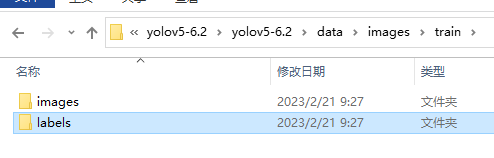
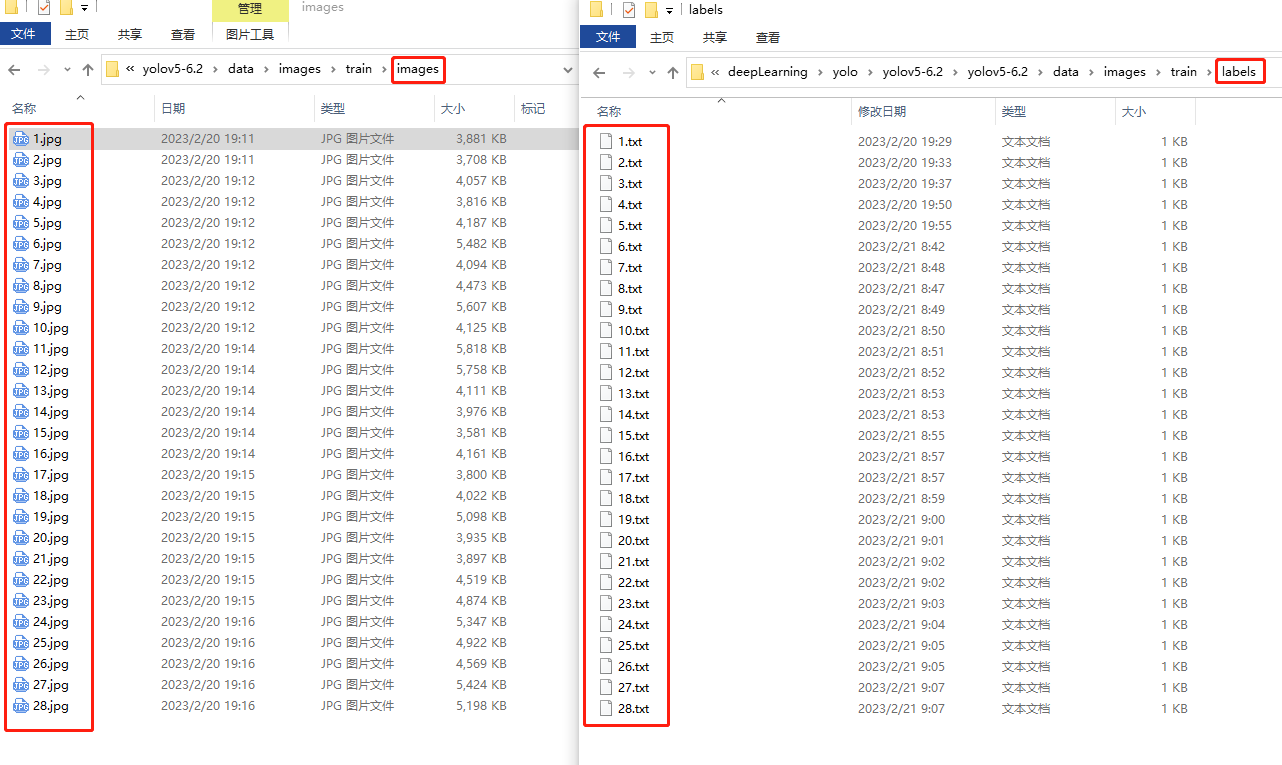
“train”和“val”文件夹都需包含“images”和“labels”文件夹。其中,“images”文件夹用于存放图片,“labels”文件夹用来存放txt
将刚才标注好的约75%的图片和标签分别放入“train”中的“images”和“labels”,用作训练集
注意:图片和标签必需一一对应
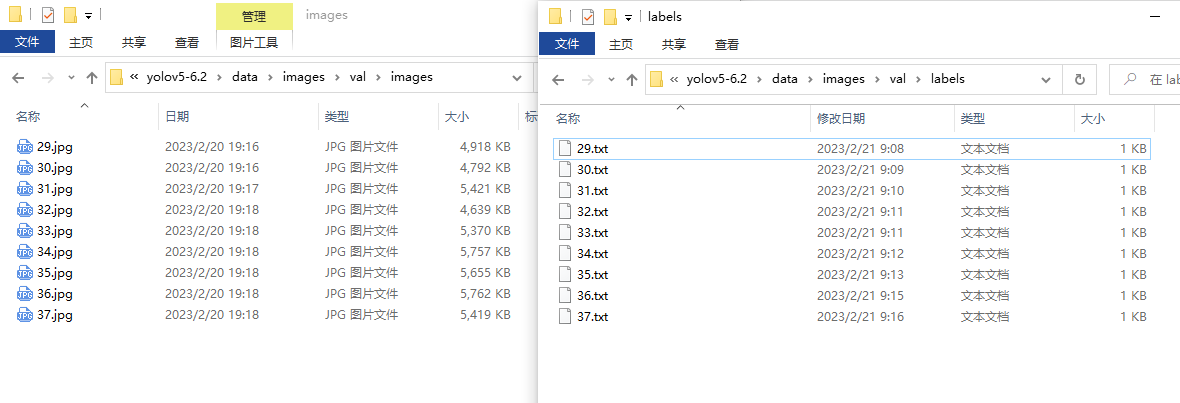
将剩下的放入“val”中的“images”和“labels”,用作验证集
创建一个yaml文件
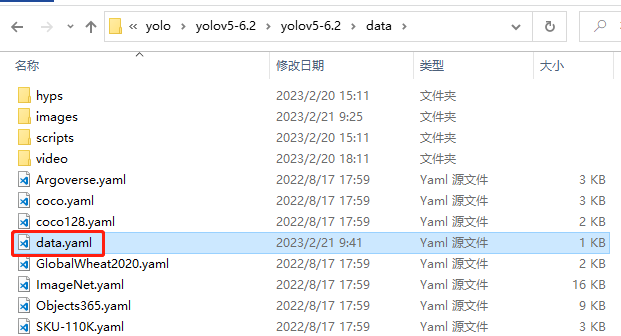
文件内容如下:

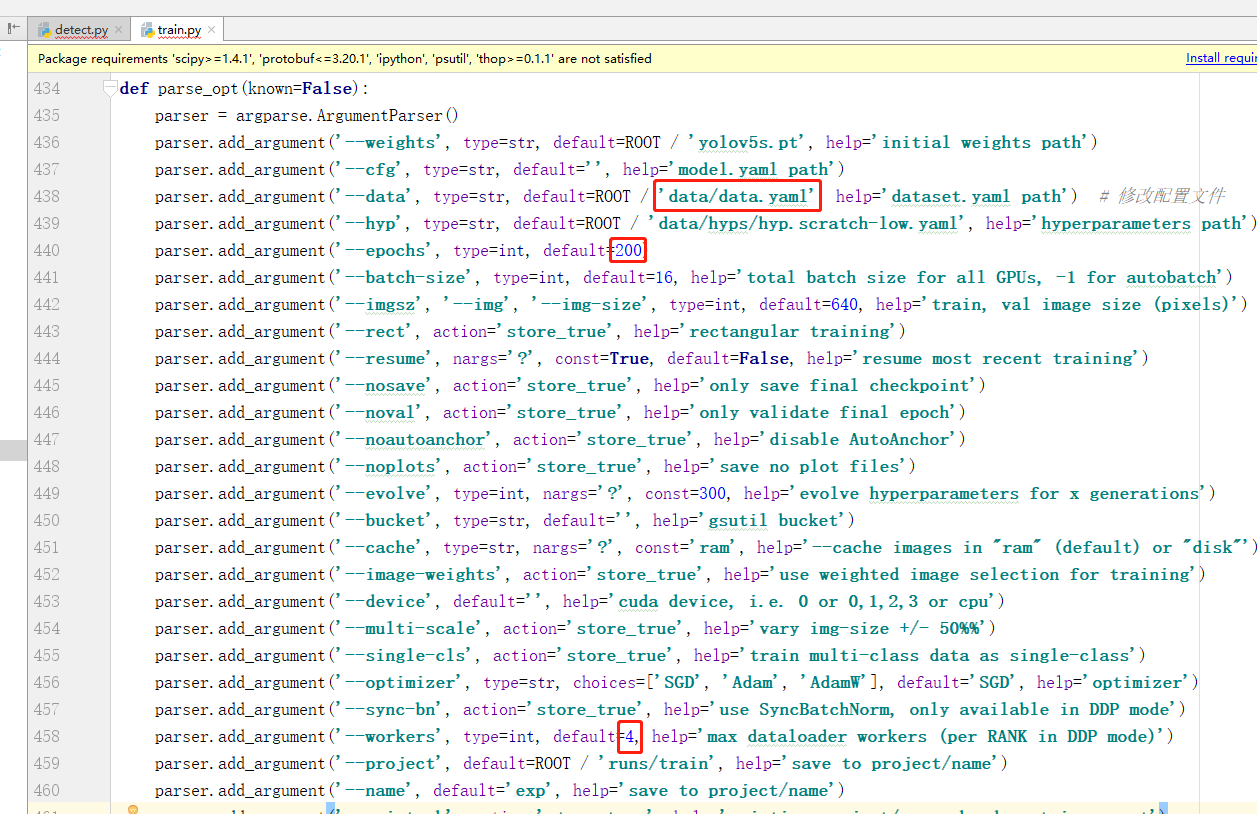
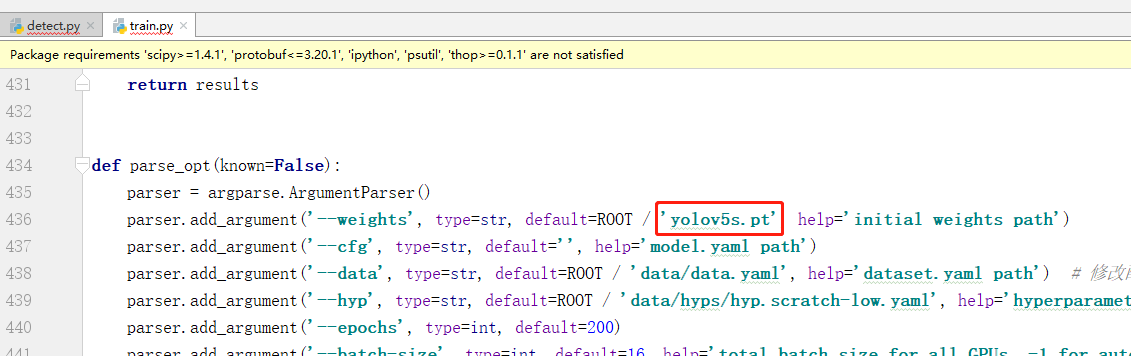
修改“train.py”中的一些参数
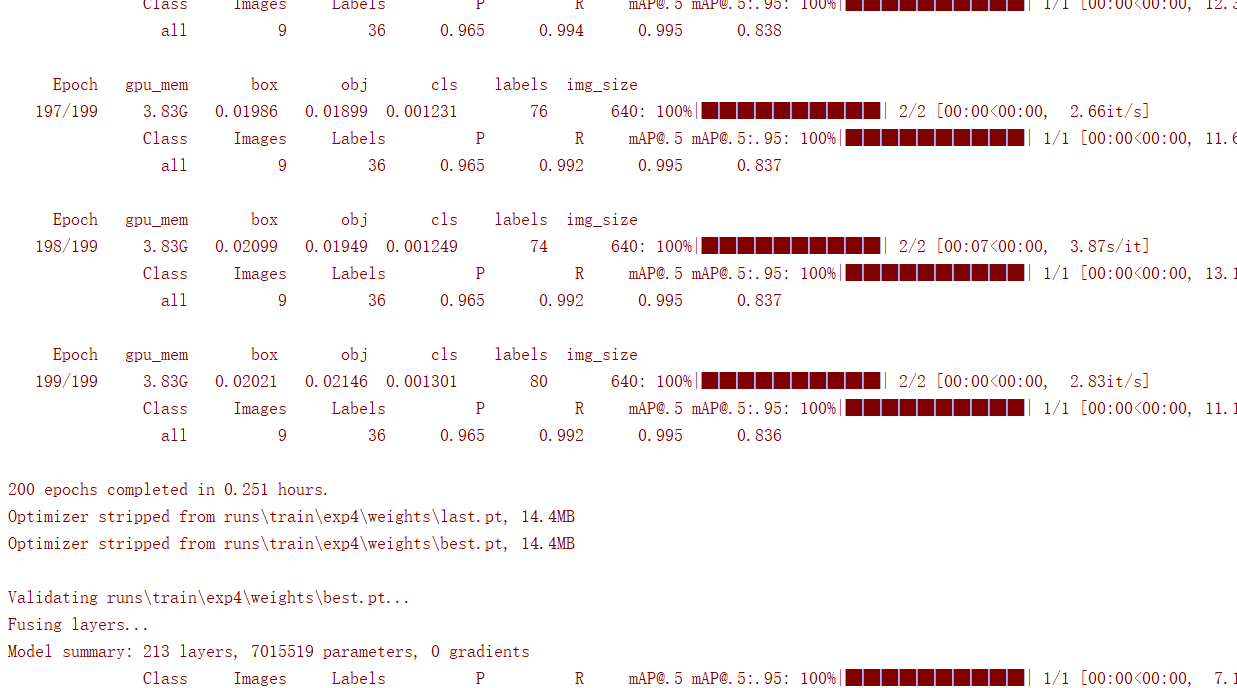
运行train.py来训练,可以看到训练的结果存储在“runs\train\exp4\weights”中
四、使用模型
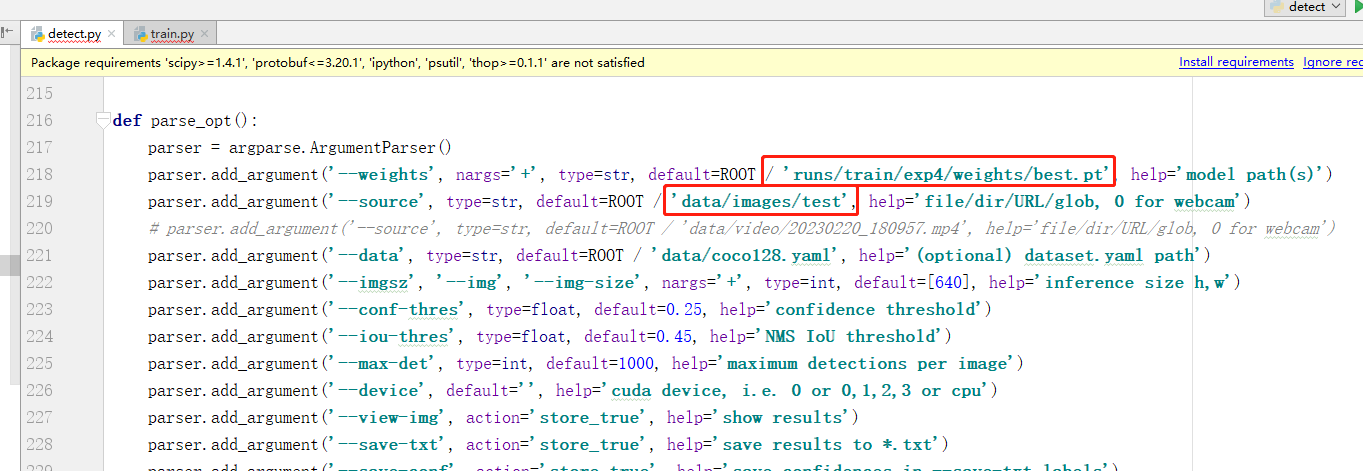
如下图,将detect.py中的“--weights”参数替换为刚训练好的pt文件路径,“--source”改为待检测的图片路径
五、继续训练
如果想在上一次训练的基础上继续训练模型,可以更改“train.py”中的“--weights”参数,改为上一次训练的pt文件

旨在为数千万中国开发者提供一个无缝且高效的云端环境,以支持学习、使用和贡献开源项目。
更多推荐


 12
12 0
0- 0


 已为社区贡献5条内容

所有评论(0)