
python实现植物大战僵尸
植物大战僵尸是一款十分经典的游戏,在github上就有python版的开源代码()打开后可以看见有六个版本,在这里我选的是第一个版本。太阳花,豌豆射手,寒冰射手,坚果,樱桃炸弹。新增加植物:双重豌豆射手,三重豌豆射手,食人花 ,小喷菇,土豆地雷,倭瓜。
python实现植物大战僵尸
@TOC
前言
植物大战僵尸是一款十分经典的游戏,在github上就有python版的开源代码(https://github.com/search?q=PythonPlantsVsZombies)打开后可以看见有六个版本,在这里我选的是第一个版本。
游戏介绍
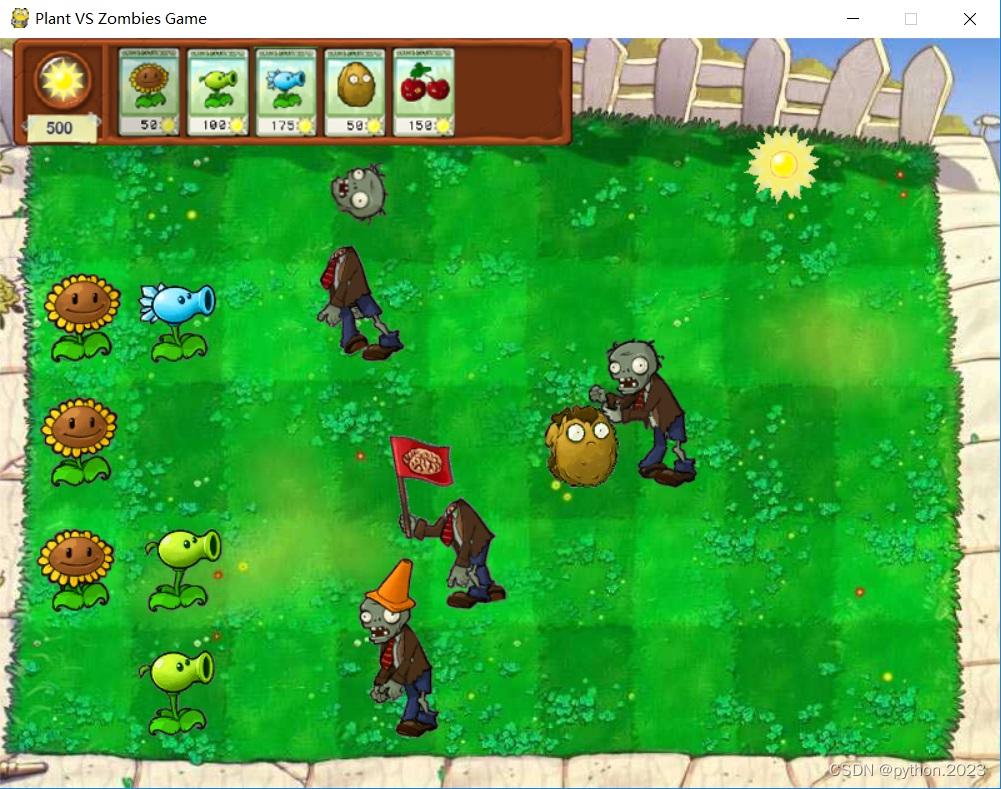
游戏截图
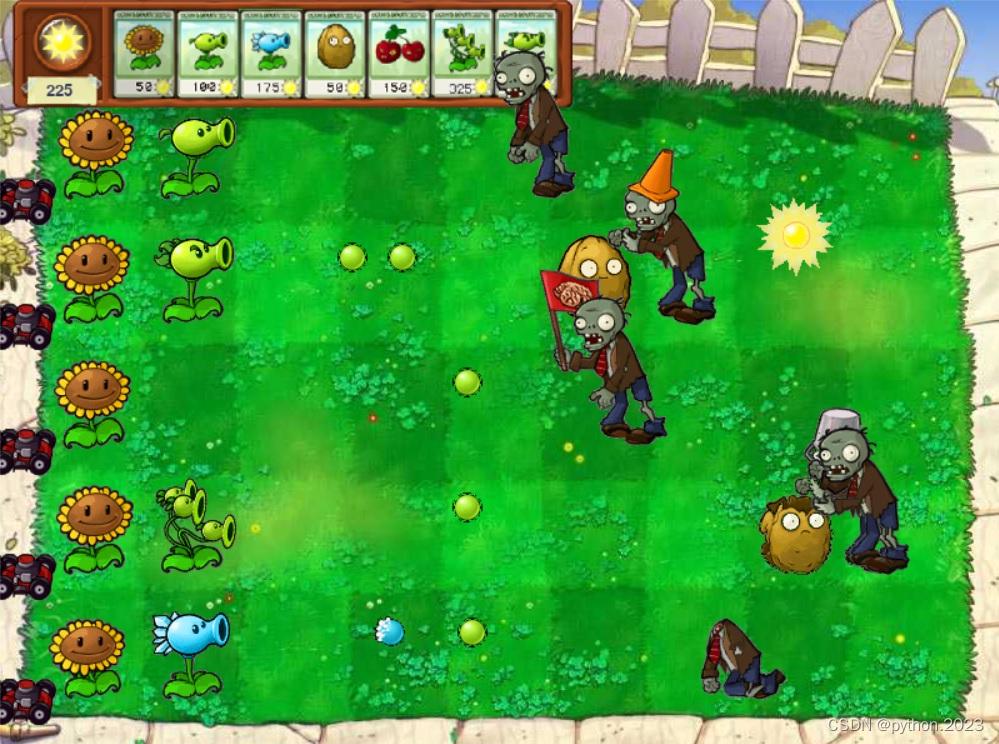
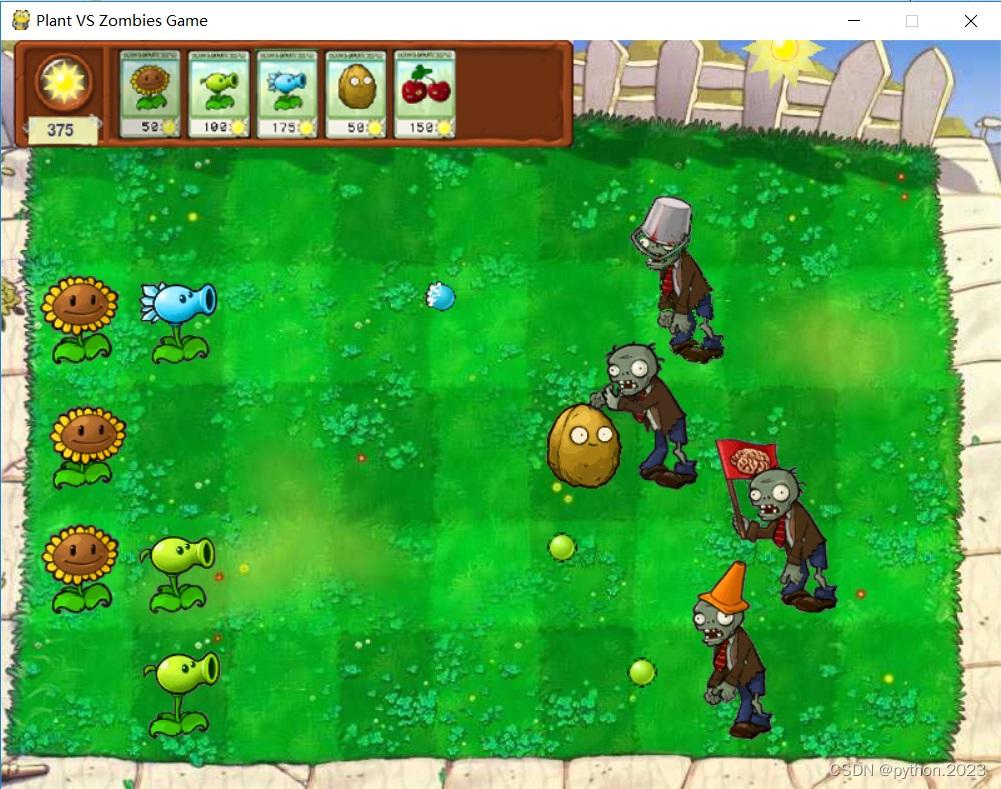
介绍
现在含有的植物
太阳花,豌豆射手,寒冰射手,坚果,樱桃炸弹。新增加植物:双重豌豆射手,三重豌豆射手,食人花 ,小喷菇,土豆地雷,倭瓜。
现在含有的僵尸
普通僵尸,旗子僵尸,路障僵尸,铁桶僵尸。读报僵尸。
现在含有的关卡
在源文件中有六个关卡,四种模式:==白日模式、夜晚模式、传送带模式、坚果保龄球模式==
由于关卡设置是以.json文件保存,所以我们可以自己更改。
代码分析
1.main.py
这个游戏的源文件中包含了多个py文件,main.py中只有这5行代码:
import pygame as pg
from source.main import main

if __name__=='__main__':
    main()
    pg.quit()
2.menubar.py
这个文件是用来设置植物卡片的,先来看源码:
第一部分:卡片设置
card_name_list = [c.CARD_SUNFLOWER, c.CARD_PEASHOOTER, c.CARD_SNOWPEASHOOTER, c.CARD_WALLNUT,
                  c.CARD_CHERRYBOMB, c.CARD_THREEPEASHOOTER, c.CARD_REPEATERPEA, c.CARD_CHOMPER,
                  c.CARD_PUFFMUSHROOM, c.CARD_POTATOMINE, c.CARD_SQUASH]
plant_name_list = [c.SUNFLOWER, c.PEASHOOTER, c.SNOWPEASHOOTER, c.WALLNUT,
                   c.CHERRYBOMB, c.THREEPEASHOOTER, c.REPEATERPEA, c.CHOMPER,
                   c.PUFFMUSHROOM, c.POTATOMINE, c.SQUASH]
plant_sun_list = [50, 100, 175, 50, 150, 325, 200, 150, 0, 25, 50]
plant_frozen_time_list = [0, 5000, 5000, 10000, 5000, 5000, 5000, 5000, 8000, 8000, 8000]
all_card_list = [0, 1, 2, 3, 4, 5, 6, 7, 8, 9, 10]
这里以向日葵卡片为例:
card_name_list[0] 是向日葵卡片的名字,用来获取太阳花卡片的图片。
plant_name_list[0] 是向日葵的名字,用来获取太阳花卡片的图片。
plant_sun_list[0] 是种植向日葵需要花费的太阳点数。
plant_frozen_time_list[0] 是向日葵的冷却时间。
第二部分:点击卡片
这一部分设置了当鼠标点击卡片后执行的动作:
class Card():
    def __init__(self, x, y, name_index, scale=0.78):
        self.loadFrame(card_name_list[name_index], scale)
        self.rect = self.image.get_rect()
        self.rect.x = x
        self.rect.y = y

        self.name_index = name_index
        self.sun_cost = plant_sun_list[name_index]
        self.frozen_time = plant_frozen_time_list[name_index]
        self.frozen_timer = -self.frozen_time
        self.select = True

    def loadFrame(self, name, scale):
        frame = tool.GFX[name]
        rect = frame.get_rect()
        width, height = rect.w, rect.h

        self.image = tool.get_image(frame, 0, 0, width, height, c.BLACK, scale)

    def checkMouseClick(self, mouse_pos):
        x, y = mouse_pos
        if(x >= self.rect.x and x <= self.rect.right and
           y >= self.rect.y and y <= self.rect.bottom):
            return True
        return False

    def canClick(self, sun_value, current_time):
        if self.sun_cost <= sun_value and (current_time - self.frozen_timer) > self.frozen_time:
            return True
        return False

    def canSelect(self):
        return self.select

    def setSelect(self, can_select):
        self.select = can_select
        if can_select:
            self.image.set_alpha(255)
        else:
            self.image.set_alpha(128)

    def setFrozenTime(self, current_time):
        self.frozen_timer = current_time

    def update(self, sun_value, current_time):
        if (self.sun_cost > sun_value or
            (current_time - self.frozen_timer) <= self.frozen_time):
            self.image.set_alpha(128)
        else:
            self.image.set_alpha(255)

    def draw(self, surface):
        surface.blit(self.image, self.rect)
3.level.py
这个程序的一部分功能是设置图片的切换:
    def setupMouseImage(self, plant_name, plant_cost):
        frame_list = tool.GFX[plant_name]
        if plant_name in tool.PLANT_RECT:
            data = tool.PLANT_RECT[plant_name]
            x, y, width, height = data['x'], data['y'], data['width'], data['height']
        else:
            x, y = 0, 0
            rect = frame_list[0].get_rect()
            width, height = rect.w, rect.h

        if plant_name == c.POTATOMINE or plant_name == c.SQUASH:
            color = c.WHITE
        else:
            color = c.BLACK
        self.mouse_image = tool.get_image(frame_list[0], x, y, width, height, color, 1)
        self.mouse_rect = self.mouse_image.get_rect()
        pg.mouse.set_visible(False)
        self.drag_plant = True
        self.plant_name = plant_name
        self.plant_cost = plant_cost

    def drawMouseShow(self, surface):
        if self.hint_plant:
            surface.blit(self.hint_image, self.hint_rect)
        x, y = pg.mouse.get_pos()
        self.mouse_rect.centerx = x
        self.mouse_rect.centery = y
        surface.blit(self.mouse_image, self.mouse_rect)
self.mouse_image :根据 plant_name 获取选中的植物图片;
self.mouse_rect:选中植物图片的位置,在drawMouseShow函数中,需要将植物图片的位置设置成当前鼠标的位置;
**pg.mouse.set_visible(False)**:隐藏默认的鼠标显示,这样效果就是鼠标图片切换为选中的植物了。
4.map.py
这个文件的一个作用是提示种在哪个方格中,比如下图红圈的这种效果:

代码:
MAP_EMPTY = 0
MAP_EXIST = 1

class Map():
    def __init__(self, width, height):
        self.width = width
        self.height = height
        self.map = [[0 for x in range(self.width)] for y in range(self.height)]

    def isValid(self, map_x, map_y):
        if (map_x < 0 or map_x >= self.width or
            map_y < 0 or map_y >= self.height):
            return False
        return True

    def isMovable(self, map_x, map_y):
        return (self.map[map_y][map_x] == c.MAP_EMPTY)

    def getMapIndex(self, x, y):
        x -= c.MAP_OFFSET_X
        y -= c.MAP_OFFSET_Y
        return (x // c.GRID_X_SIZE, y // c.GRID_Y_SIZE)

    def getMapGridPos(self, map_x, map_y):
        return (map_x * c.GRID_X_SIZE + c.GRID_X_SIZE//2 + c.MAP_OFFSET_X,
                map_y * c.GRID_Y_SIZE + c.GRID_Y_SIZE//5 * 3 + c.MAP_OFFSET_Y)

    def setMapGridType(self, map_x, map_y, type):
        self.map[map_y][map_x] = type

    def getRandomMapIndex(self):
        map_x = random.randint(0, self.width-1)
        map_y = random.randint(0, self.height-1)
        return (map_x, map_y)

    def showPlant(self, x, y):
        pos = None
        map_x, map_y = self.getMapIndex(x, y)
        if self.isValid(map_x, map_y) and self.isMovable(map_x, map_y):
            pos = self.getMapGridPos(map_x, map_y)
return posself.map:二维list,用来保存每个方格的状态。每个entry初始化为 0, 表示可以种植物,值为1时表示这个方格已经种了植物。
getMapIndex 函数:传入参数是游戏中的坐标位置(比如当前鼠标的位置),返回该位置在地图的哪个方格中。
getMapGridPos 函数:传入一个方格的index,返回在该方格中种植物的坐标位置。
showPlant 函数:根据传入的坐标位置,判断该位置所在的方格是否能种植物,如果能种,就返回返回在该方格中种植物的坐标位置。
编辑
在源代码中的md文件中介绍了两个可编辑的地方:
1.更改起始关卡
在constants.py中:
__author__ = 'marble_xu'

START_LEVEL_NUM = 0#在这里更改

ORIGINAL_CAPTION = 'Plant VS Zombies Game'

SCREEN_WIDTH = 800
SCREEN_HEIGHT = 600
SCREEN_SIZE = (SCREEN_WIDTH, SCREEN_HEIGHT)

GRID_X_LEN = 9
GRID_Y_LEN = 5
GRID_X_SIZE = 80
GRID_Y_SIZE = 100
0代表第1,1代表第2关......
2.地图设置
地图设置都保存在json文件中,我们以其中一个为例:
{
    "background_type":0,
    "init_sun_value":50,
    "zombie_list":[
        {"time":20000, "map_y":0, "name":"Zombie"},
        {"time":40000, "map_y":2, "name":"FlagZombie"},
        {"time":50000, "map_y":4, "name":"Zombie"},
        {"time":70000, "map_y":3, "name":"Zombie"},
        {"time":72000, "map_y":1, "name":"FlagZombie"},
        {"time":74000, "map_y":2, "name":"Zombie"},
        {"time":90000, "map_y":0, "name":"Zombie"},
        {"time":91000, "map_y":1, "name":"FlagZombie"},
        {"time":92000, "map_y":2, "name":"Zombie"},
        {"time":93000, "map_y":3, "name":"FlagZombie"},
        {"time":94000, "map_y":0, "name":"Zombie"},
        {"time":95000, "map_y":4, "name":"FlagZombie"},
        {"time":96000, "map_y":1, "name":"Zombie"}
    ]
}
通过这一特性,我们可以创造自己的地图。
源码下载
点击链接:https://github.com/PythonPlantsVsZombies后点击左边的code,然后点download zip

旨在为数千万中国开发者提供一个无缝且高效的云端环境,以支持学习、使用和贡献开源项目。
更多推荐


 5
5 0
0- 0


 已为社区贡献4条内容

所有评论(0)