

Bert-VITS2 v2.1.0部署简单教程(加处理数据集脚本)
不是什么很详细很正经的教程,自己写来自己以后看的脚本,方便后面加东西,主要是数据集的处理这一块。没啥加啥异常处理,就是简单的脚本,如果炸了就删掉重新来。有不懂的可以去GitHub加作者的群或者加我的讨论群869029039。
不是什么很详细很正经的教程,自己写来自己以后看的脚本,方便后面加东西,主要是数据集的处理这一块。没啥加啥异常处理,就是简单的脚本,如果炸了就删掉重新来。
有不懂的可以去GitHub加作者的群
或者加我的讨论群869029039
有偿接代训练,加群找管理私聊
拉取最新分支
git clone https://github.com/fishaudio/Bert-VITS2.git环境
pip install -r requirements.txt -i https://pypi.tuna.tsinghua.edu.cn/simple下载模型
https://huggingface.co/audeering/wav2vec2-large-robust-12-ft-emotion-msp-dim/tree/main
把这个地方的pytorch_model.bin放在Bert-VITS2/emotional/wav2vec2-large-robust-12-ft-emotion-msp-dim文件夹里面
下载数据集
可以下原神/星穹铁道的数据集,从红血球那里下
处理数据集
新建文件夹
import os
import shutil

# 文件夹和文件的路径
base_dir = "./Data/StarRail"
directories = ["audio/raws", "audio/wavs", "audio/temp", "filelists"]
file_path = "filelists/StarRail.list"
config_file_src = "./configs/config.json"  # 源配置文件路径

# 创建文件夹
for directory in directories:
    dir_path = os.path.join(base_dir, directory)
    if not os.path.exists(dir_path):
        os.makedirs(dir_path)
        print(f"文件夹 '{dir_path}' 已创建。")
    else:
        print(f"文件夹 '{dir_path}' 已存在。")

# 创建文件
full_file_path = os.path.join(base_dir, file_path)
if not os.path.exists(full_file_path):
    with open(full_file_path, 'w') as file:
        file.write("")  # 创建一个空文件
    print(f"文件 '{full_file_path}' 已创建。")
else:
    print(f"文件 '{full_file_path}' 已存在。")

# 复制config.json文件
config_file_dest = os.path.join(base_dir, "config.json")
if not os.path.exists(config_file_dest):
    shutil.copy(config_file_src, config_file_dest)
    print(f"文件 '{config_file_src}' 已复制到 '{config_file_dest}'。")
else:
    print(f"目标文件 '{config_file_dest}' 已存在,无需复制。")
文件结构如下
Data/
└── StarRail/
    ├── config.json
    ├── audio/
    │   ├── raws/
    │   ├── temp/
    │   └── wavs/
    └── filelist/
        └── StarRail.list
下面的链接不保证一直能用,最好去红血球空间下
假设我训练的是白露的语音
派蒙英配:自己找
下载文件
自己修改里面的url和new_folder_name
也可以手动下载改文件名放到对应地方
import requests
from tqdm import tqdm
import zipfile
import os

# 下载链接和目标文件夹
url = "https://pan.ai-hobbyist.org/d/StarRail%20Datasets/%E6%97%A5%E8%AF%AD%20-%20Japanese/%E5%88%86%E8%A7%92%E8%89%B2%20-%20Single/%E7%99%BD%E9%9C%B2.zip?sign=fDCzPdQT1r4uBmCk1EOpjcfkvsWZXJK8s0XjSi3lCkI=:0"

new_folder_name = "bailu_jp"    #看清楚文件名

zip_filename = url.split('/')[-1].split('?')[0]  # 从 URL 中提取 ZIP 文件名
destination_folder = "./Data/StarRail/audio/temp"  # 指定保存文件的目录
zip_filepath = os.path.join(destination_folder, zip_filename)

# 确保目标文件夹存在
if not os.path.exists(destination_folder):
    os.makedirs(destination_folder)

# 下载 ZIP 文件
response = requests.get(url, stream=True)
if response.status_code == 200:
    total_size = int(response.headers.get('content-length', 0))
    block_size = 1024  # 1 Kibibyte
    t = tqdm(total=total_size, unit='iB', unit_scale=True)
    with open(zip_filepath, 'wb') as file:
        for data in response.iter_content(block_size):
            t.update(len(data))
            file.write(data)
    t.close()
    print(f"文件已下载到: {zip_filepath}")
else:
    print(f"下载失败,状态码: {response.status_code}")

# 创建新文件夹用于解压

new_folder_path = os.path.join(destination_folder, new_folder_name)
if not os.path.exists(new_folder_path):
    os.makedirs(new_folder_path)

# 解压 ZIP 文件到新文件夹
with zipfile.ZipFile(zip_filepath, 'r') as zip_ref:
    zip_ref.extractall(new_folder_path)

print(f"ZIP 文件已解压到: {new_folder_path}")
# 删除原始 ZIP 文件
os.remove(zip_filepath)
print(f"原始 ZIP 文件已删除: {zip_filepath}")
把文件放进对应文件夹里,比如三种语言的白露语音放在./Data/StarRail/audio/temp文件夹里里面,分三个文件夹bailu_en,bailu_zh,bailu_jp
对数据进行标注
from modelscope.pipelines import pipeline
from modelscope.utils.constant import Tasks
import os
import shutil
def get_inference_pipeline(lang_code):
    if lang_code == "ZH":
        return pipeline(
            task=Tasks.auto_speech_recognition,
            model='damo/speech_paraformer-large_asr_nat-zh-cn-16k-common-vocab8404-pytorch')
    elif lang_code == "EN":
        return pipeline(
            task=Tasks.auto_speech_recognition,
            model='damo/speech_paraformer_asr-en-16k-vocab4199-pytorch')
    elif lang_code == "JP":
        return pipeline(
            task=Tasks.auto_speech_recognition,
            model='damo/speech_UniASR_asr_2pass-ja-16k-common-vocab93-tensorflow1-offline')
    else:
        raise ValueError("Unsupported language code")

def process_directory(source_dir, character_name, lang_code, start_number, parent_dir_template, output_file):
    if not os.path.exists(source_dir):
        print(f"跳过不存在的文件夹: {source_dir}")
        return start_number

    parent_dir = parent_dir_template.format(character_name=character_name)
    if not os.path.exists(parent_dir):
        os.makedirs(parent_dir)

    inference_pipeline = get_inference_pipeline(lang_code)
    file_number = start_number

    for dirpath, dirnames, filenames in os.walk(source_dir):
        for file in filenames:
            if file.endswith(".wav"):
                wav_filename = file
                lab_filename = file.replace('.wav', '.lab')
                new_filename_base = f"{character_name}_{file_number}"
                new_lab_file_path = os.path.join(parent_dir, new_filename_base + '.lab')
                new_wav_file_path = os.path.join(parent_dir, new_filename_base + '.wav')

                # 复制.wav文件
                shutil.copy2(os.path.join(dirpath, wav_filename), new_wav_file_path)

                lab_path = os.path.join(dirpath, lab_filename)
                use_recognition = False

                # 检查.lab文件是否存在,及其内容
                if os.path.exists(lab_path):
                    with open(lab_path, 'r', encoding='utf-8') as lab_file:
                        lab_text = lab_file.read().strip()
                        if '{' in lab_text and '}' in lab_text:
                            use_recognition = True
                else:
                    use_recognition = True

                # 根据条件使用语音识别或者.lab文件文本
                if use_recognition:
                    rec_result = inference_pipeline(audio_in=new_wav_file_path)
                    text = rec_result['text'] if 'text' in rec_result else ""
                else:
                    text = lab_text

                # 保存处理后的信息
                line = f"{new_wav_file_path}|{character_name}|{lang_code}|{text}\n"
                with open(output_file, 'a', encoding='utf-8') as f:
                    f.write(line)

                file_number += 1
                print(f"Processed: {line}")

    return file_number
# 路径和其他设置
character_name = "白露"
chinese_dir = "./Data/StarRail/audio/temp/bailu_zh"  # 中文文件夹路径
english_dir = "./Data/StarRail/audio/temp/bailu_en"  # 英文文件夹路径
japanese_dir = "./Data/StarRail/audio/temp/bailu_jp"  # 日语文件夹路径
parent_dir = "./Data/StarRail/audio/wavs/{character_name}"
output_file = "./Data/StarRail/filelists/StarRail.list"

# 依次处理中文、英文、日文文件夹
file_number = process_directory(chinese_dir, character_name, "ZH", 0, parent_dir, output_file)
file_number = process_directory(english_dir, character_name, "EN", file_number, parent_dir, output_file)
process_directory(japanese_dir, character_name, "JP", file_number, parent_dir, output_file)

print("全部处理完毕!")把上述的chinese_dir 、english_dir 、japanese_dir 改为自己对应的文件夹
character_name改为对应的角色名称
对音频进行重采样
import os
import librosa
import soundfile
from multiprocessing import Pool, cpu_count
from tqdm.notebook import tqdm
import shutil

def process(item):
    wav_path, temp_out_path, sr = item
    if os.path.exists(wav_path) and wav_path.endswith(".wav"):
        wav, _ = librosa.load(wav_path, sr=sr)
        soundfile.write(temp_out_path, wav, sr)

def resample_audio(in_dir, temp_out_dir, out_dir, sr=44100, processes=0):
    # 创建临时和最终目录
    os.makedirs(temp_out_dir, exist_ok=True)
    os.makedirs(out_dir, exist_ok=True)

    if processes == 0:
        processes = cpu_count() - 2 if cpu_count() > 4 else 1

    pool = Pool(processes=processes)
    tasks = []

    for dirpath, _, filenames in os.walk(in_dir):
        for filename in filenames:
            if filename.endswith(".wav"):
                wav_path = os.path.join(dirpath, filename)
                temp_out_path = os.path.join(temp_out_dir, os.path.relpath(wav_path, in_dir))
                os.makedirs(os.path.dirname(temp_out_path), exist_ok=True)
                tasks.append((wav_path, temp_out_path, sr))

    for _ in tqdm(pool.imap_unordered(process, tasks)):
        pass

    pool.close()
    pool.join()

    # 移动文件到最终目录,如果目标文件存在则先删除
    for file in os.listdir(temp_out_dir):
        src_file = os.path.join(temp_out_dir, file)
        dst_file = os.path.join(out_dir, file)
        if os.path.exists(dst_file):
            os.remove(dst_file)
        shutil.move(src_file, dst_file)

    # 删除临时目录
    shutil.rmtree(temp_out_dir)
    print("音频重采样完毕并移动到最终目录,临时目录已删除!")

# 设置目录路径
in_dir = "./Data/StarRail/audio/wavs/白露"  # 音频文件的当前位置
temp_out_dir = "./Data/StarRail/audio/temp/temp"  # 临时存储重采样后的文件
out_dir = "./Data/StarRail/audio/wavs/白露"  # 最终存储重采样后的文件

# 调用重采样函数
resample_audio(in_dir, temp_out_dir, out_dir)
生成配置文件
进入Bert-VITS2文件夹根目录下,输入
python config.py会生成一份配置文件config.yml
要改的不多,找一下
修改配置文件
改一下配置文件开头
# 模型镜像源,默认huggingface,使用openi镜像源需指定openi_token
mirror: "openi"
openi_token: ""  # openi token
openi_token到这个网站找
https://openi.pcl.ac.cn/user/settings/applications
然后修改
config_path、use_base_model
train_ms:
  env:
    MASTER_ADDR: "localhost"
    MASTER_PORT: 10086
    WORLD_SIZE: 1
    LOCAL_RANK: 0
    RANK: 0
    # 可以填写任意名的环境变量
    # THE_ENV_VAR_YOU_NEED_TO_USE: "1234567"
  # 底模设置
  base:
    use_base_model: true
    repo_id: "Stardust_minus/Bert-VITS2"
    model_image: "Bert-VITS2_2.1-Emo底模" # openi网页的模型名
  # 训练模型存储目录:与旧版本的区别,原先数据集是存放在logs/model_name下的,现在改为统一存放在Data/你的数据集/models下
  model: "models"
  # 配置文件路径
  config_path: "config.json"
  # 训练使用的worker,不建议超过CPU核心数
  num_workers: 16
  # 关闭此项可以节约接近50%的磁盘空间,但是可能导致实际训练速度变慢和更高的CPU使用率。
  spec_cache: True
  # 保存的检查点数量,多于此数目的权重会被删除来节省空间。
  keep_ckpts: 8
下面四步可以用一个脚本来完成
先装一下openi软件包,用于自动下载
pip install openi -i https://pypi.tuna.tsinghua.edu.cn/simple可以用这个脚本依次运行,也可以自己动手一个一个运行
# 顺序运行多个Python脚本

# 定义要运行的Python脚本列表
python_scripts = ["preprocess_text.py", "bert_gen.py", "emo_gen.py" , "train_ms.py"]

# 遍历列表并运行每个脚本
for script in python_scripts:
    print(f"Running {script}...")
    %run $script
数据集预处理
python preprocess_text.py
生成bert文件
python bert_gen.py

生成emo文件
python emo_gen.py
开始训练
python train_ms.py
会先下载底膜

然后开始训练

推理
改一下模型路径
# 模型路径 model: "StarRail/models/G_8000.pth"G_8000.pth改成自己训练的文件,在models文件夹找一下
然后
python webui.py如果要使用server_fastapi.py
请从下面的链接下载Web文件夹
Releases · jiangyuxiaoxiao/Bert-VITS2-UI · GitHub
我这里以0.5.0版本为例
把Web文件夹放到Bert-VITS2根目录
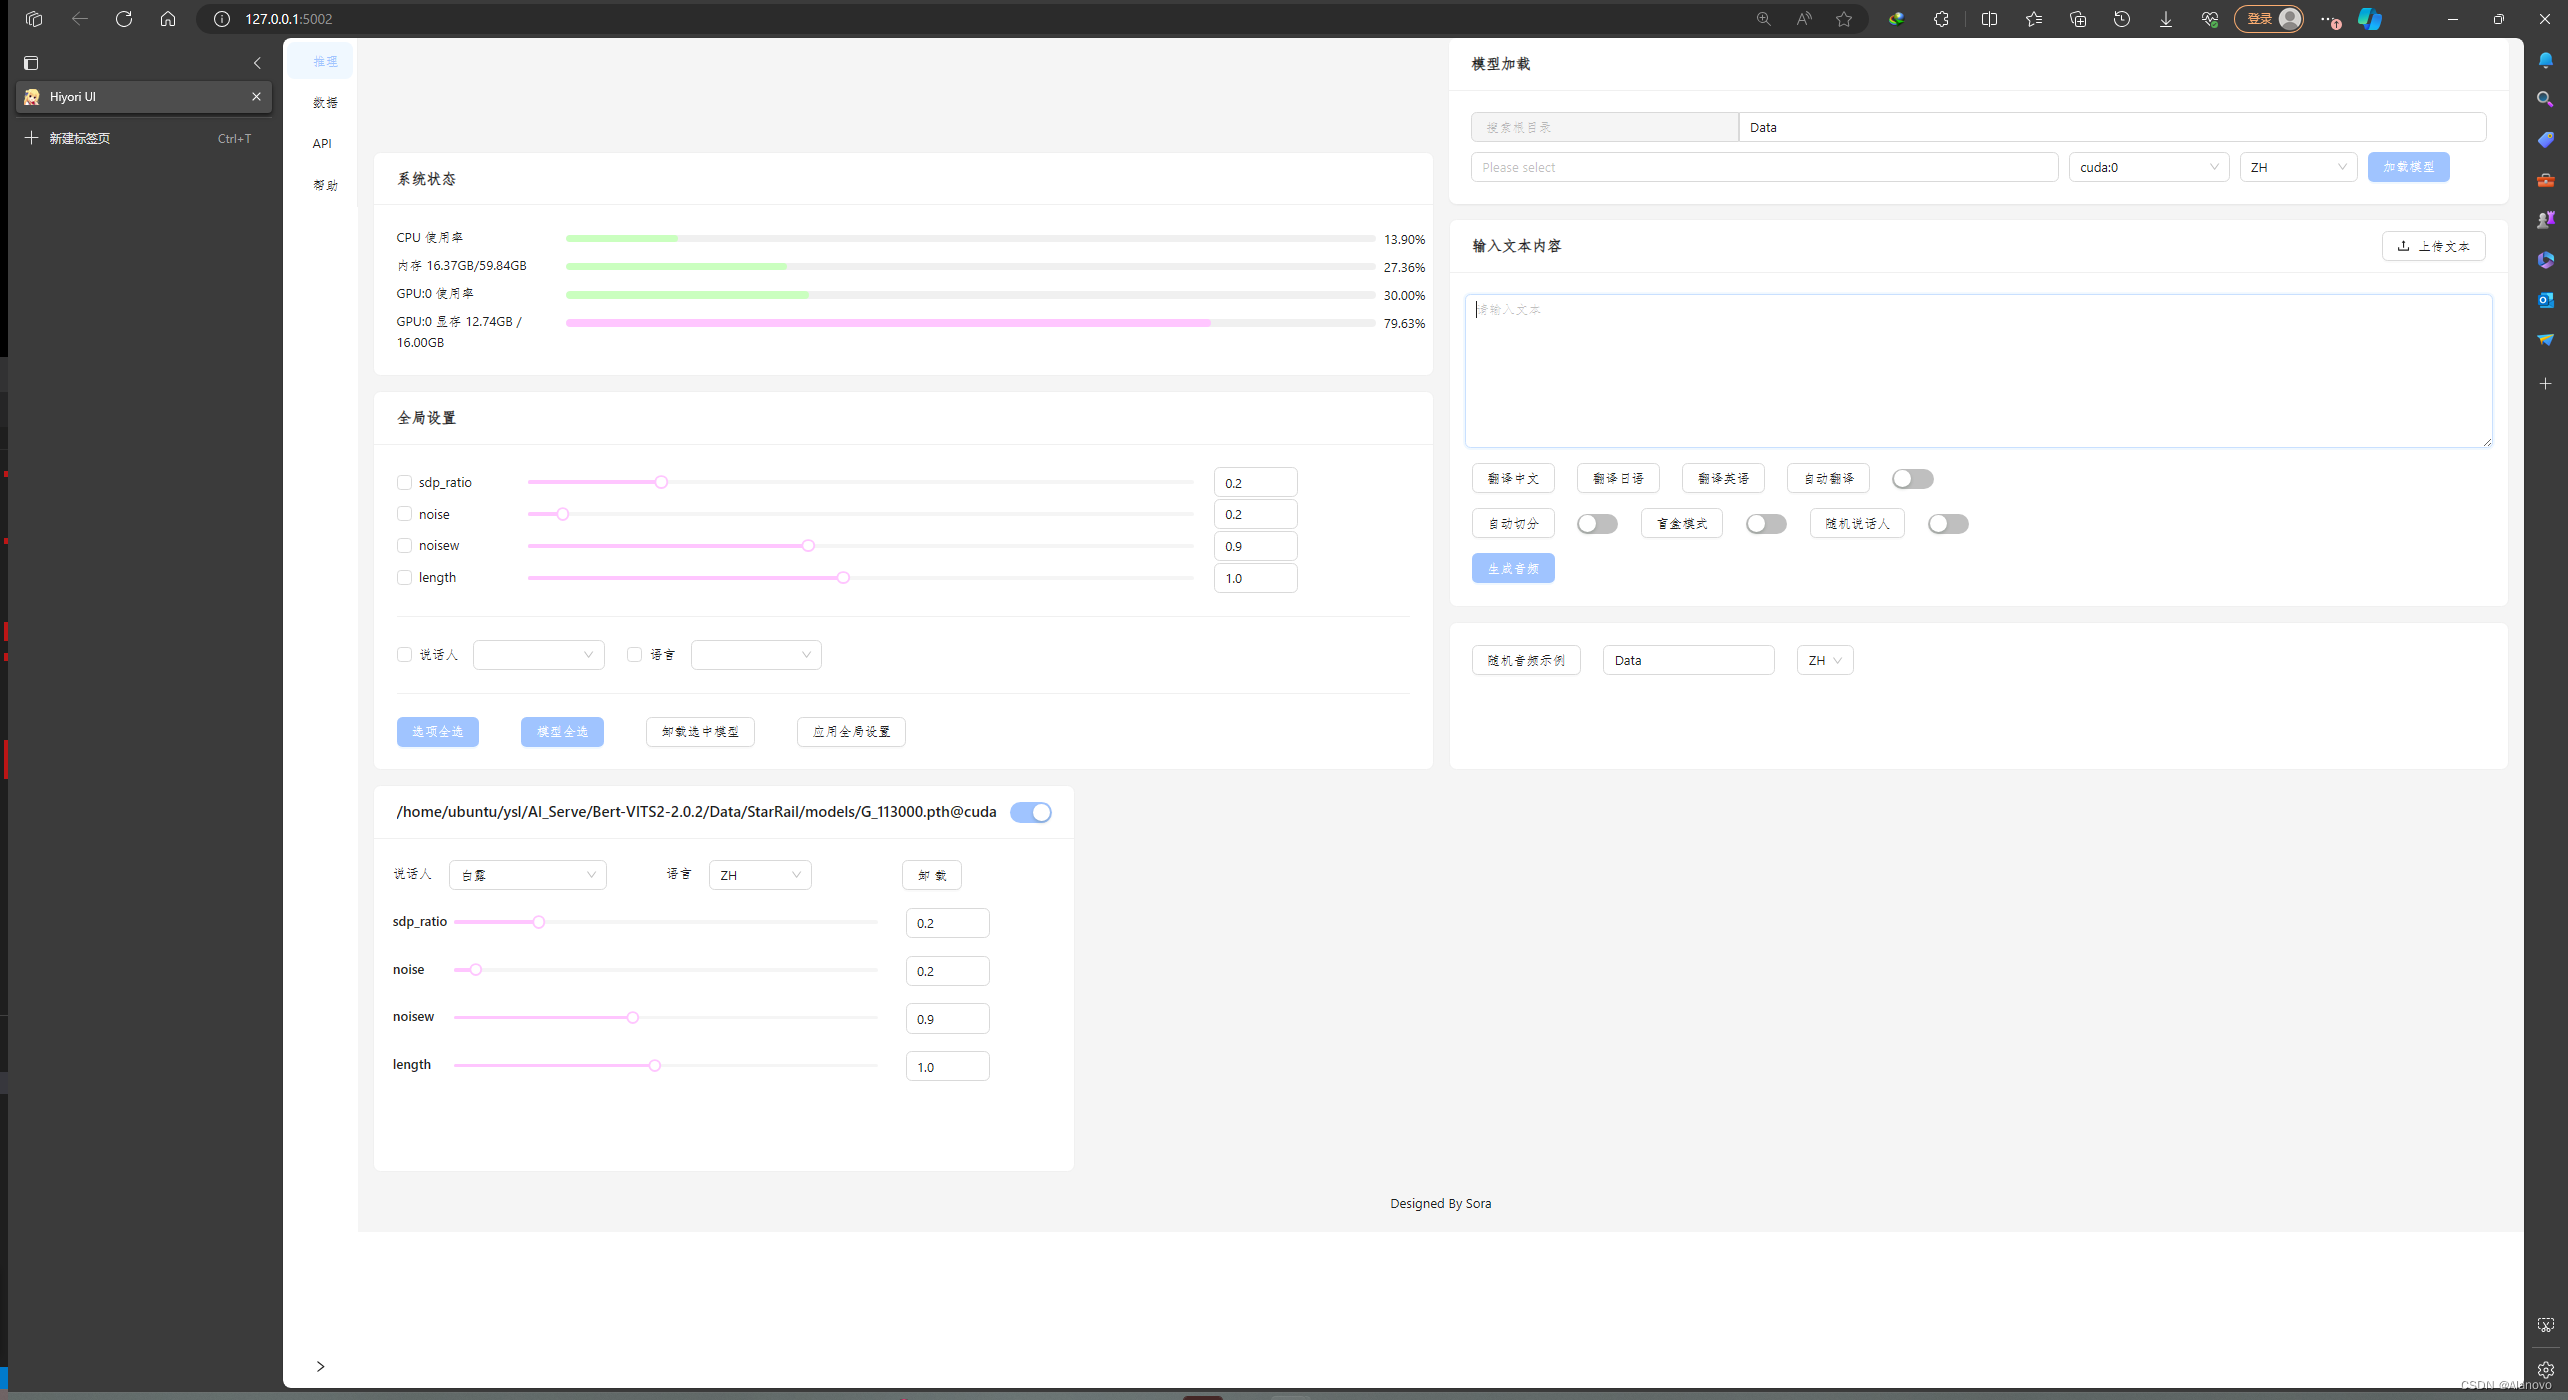
然后运行
python server_fastapi.py就可以开始推理了

旨在为数千万中国开发者提供一个无缝且高效的云端环境,以支持学习、使用和贡献开源项目。
更多推荐


 6
6 0
0- 0


 已为社区贡献1条内容

所有评论(0)